I’ve always believed that the most memorable cookies are the ones that surprise you. These Big Blue Monster Stuffed Cookies do exactly that – they combine the nostalgic charm of Cookie Monster with an irresistible stuffed cookie concept that will have both kids and adults reaching for seconds. When I first created these vibrant blue treats, I knew I had stumbled upon something special.
The beauty of these cookies lies not just in their eye-catching appearance, but in the delightful surprise waiting inside each bite. Picture this: a soft, chewy blue sugar cookie exterior that gives way to a rich, gooey center filled with your favorite treats. Whether you choose chocolate chips, marshmallows, or even cookie dough, these stuffed cookies deliver an experience that goes far beyond ordinary baking.
Understanding the Big Blue Monster Cookie Concept
Stuffed Cookies : Large, thick cookies that contain a filling or surprise element in the center, creating multiple layers of flavor and texture in each bite.
Food Coloring in Baking : Gel or liquid additives that provide vibrant colors to baked goods without significantly altering taste or texture when used properly.
Cookie Dough Consistency : The proper balance of wet and dry ingredients that allows dough to hold together while remaining workable and not overly sticky.
The magic behind these cookies starts with understanding how to create the perfect vessel for your chosen filling. Unlike traditional cookies that rely solely on their base flavor, stuffed cookies require a more strategic approach to both structure and taste balance.
Essential Ingredients and Their Roles
Creating the perfect Big Blue Monster Stuffed Cookies requires careful attention to each ingredient’s purpose. I’ve learned through countless batches that substitutions can work, but understanding why each component matters will help you achieve consistent results.
| Ingredient | Quantity | Purpose | Substitution Options |
|---|---|---|---|
| All-purpose flour | 2¾ cups | Structure and stability | Cake flour (add 2 tbsp more) |
| Unsalted butter | 1 cup (softened) | Flavor and texture | Margarine or coconut oil |
| Granulated sugar | ¾ cup | Sweetness and spread | Brown sugar (changes texture) |
| Brown sugar | ½ cup (packed) | Moisture and chewiness | Additional granulated sugar |
| Large eggs | 2 | Binding and richness | Flax eggs or applesauce |
| Vanilla extract | 2 tsp | Flavor enhancement | Almond or butter extract |
| Blue food coloring | 1-2 tsp (gel) | Signature color | Liquid coloring (use less) |
| Baking soda | 1 tsp | Leavening agent | Baking powder (use 2 tsp) |
| Salt | ½ tsp | Flavor balance | Sea salt or kosher salt |
The filling options are where creativity truly shines. I’ve experimented with numerous combinations, and here are my top recommendations:
Classic Fillings
- Mini chocolate chips mixed with marshmallow fluff
- Peanut butter and chocolate chip combination
- Cookie dough pieces (store-bought or homemade)
- Nutella or chocolate hazelnut spread
Creative Variations
- Crushed cookies and cream candies
- Caramel sauce with sea salt
- Cream cheese and berry jam swirl
- Mini candy pieces or gummy bears
Step-by-Step Preparation Process
The key to successful stuffed cookies lies in proper preparation and timing. I recommend setting aside at least three hours for the entire process, including chilling time.
Preparation Phase:
- Remove butter from refrigerator 30 minutes before starting to ensure proper softening
- Preheat oven to 350°F (175°C) and line baking sheets with parchment paper
- Prepare your chosen filling mixture and set aside in a covered bowl
- Gather all measuring tools and mixing equipment
Mixing the Dough: The order of ingredient incorporation significantly affects the final texture. I always start by creaming the butter and sugars until the mixture becomes light and fluffy – this typically takes 3-4 minutes with an electric mixer on medium speed.
Next, I add eggs one at a time, ensuring each is fully incorporated before adding the next. The vanilla extract goes in with the second egg, followed by the blue food coloring. Here’s where patience pays off: add the coloring gradually until you achieve that perfect Cookie Monster blue shade.
In a separate bowl, I whisk together the flour, baking soda, and salt. This dry mixture gets added to the wet ingredients in two parts, mixing just until combined. Overmixing at this stage leads to tough cookies, so I always err on the side of caution.
Assembly Technique: Creating perfectly stuffed cookies requires a specific assembly method that I’ve refined over years of experimentation:
- Scoop approximately 2 tablespoons of dough and flatten into a 4-inch circle on your palm
- Place 1-2 teaspoons of filling in the center, leaving at least ½ inch border
- Scoop another 2 tablespoons of dough and gently press over the filling
- Carefully seal edges by pinching and rolling into a smooth ball
- Place seam-side down on prepared baking sheet
The spacing between cookies is crucial – I leave at least 3 inches between each cookie as they spread significantly during baking.

Baking Techniques and Temperature Control
Temperature control makes the difference between mediocre and exceptional stuffed cookies. I’ve found that starting at a higher temperature helps set the exterior quickly, preventing excessive spreading while keeping the interior soft.
Optimal Baking Conditions:
- Oven temperature: 350°F (175°C)
- Baking time: 12-15 minutes
- Rack position: Center of oven
- Rotation: Turn sheets halfway through baking
Visual Cues for Doneness: Rather than relying solely on timing, I watch for specific visual indicators. The edges should be set and slightly golden, while the centers might still appear slightly underdone. The cookies will continue cooking on the hot pan after removal from the oven.
Cooling Process: Allow cookies to rest on the baking sheet for 5 minutes before transferring to a wire rack. This brief resting period helps them maintain their shape while preventing breaking during the transfer.
Troubleshooting Common Issues
Throughout my cookie-making journey, I’ve encountered and solved numerous challenges that home bakers commonly face with stuffed cookies.
| Problem | Cause | Solution |
|---|---|---|
| Cookies spread too much | Dough too warm | Chill dough 30 minutes before baking |
| Filling leaks out | Insufficient sealing | Press edges more firmly, use less filling |
| Uneven blue color | Inadequate mixing | Mix coloring thoroughly into wet ingredients |
| Cookies too thick | Overpacking dough | Use lighter hand when shaping |
| Dry texture | Overbaking | Reduce baking time by 2-3 minutes |
| Filling too runny | Wrong consistency | Use thicker fillings or add powdered sugar |
Storage and Freshness Tips
Proper storage ensures these cookies maintain their delightful texture and flavor for days. I store mine in an airtight container at room temperature, where they stay fresh for up to one week.
Storage Methods:
- Room temperature: Airtight container, up to 7 days
- Refrigerated: Sealed container, up to 2 weeks
- Frozen: Freezer bags, up to 3 months
For longer storage, I recommend freezing the unbaked cookie balls. Shape the cookies completely, place on a baking sheet to freeze individually, then transfer to freezer bags. When ready to bake, add 2-3 extra minutes to the baking time.
Nutritional Information and Dietary Considerations
Understanding the nutritional content helps when planning these treats as part of a balanced diet or accommodating dietary restrictions.
| Nutrient | Per Cookie (Large) | Daily Value % |
|---|---|---|
| Calories | 285 | 14% |
| Total Fat | 12g | 18% |
| Saturated Fat | 7g | 35% |
| Cholesterol | 35mg | 12% |
| Sodium | 180mg | 8% |
| Total Carbs | 42g | 14% |
| Dietary Fiber | 1g | 4% |
| Sugars | 28g | – |
| Protein | 4g | 8% |
Dietary Modifications: For those with dietary restrictions, several modifications work well without compromising the cookie’s integrity. Gluten-free flour blends substitute directly for all-purpose flour, though the texture becomes slightly more delicate. Vegan butter alternatives work beautifully, and flax eggs provide adequate binding.
Creative Variations and Seasonal Adaptations
The versatility of this base recipe allows for countless creative interpretations throughout the year. I’ve developed several seasonal variations that have become family favorites.
Holiday Adaptations:
- Halloween: Orange coloring with candy corn filling
- Christmas: Red and green swirl with peppermint pieces
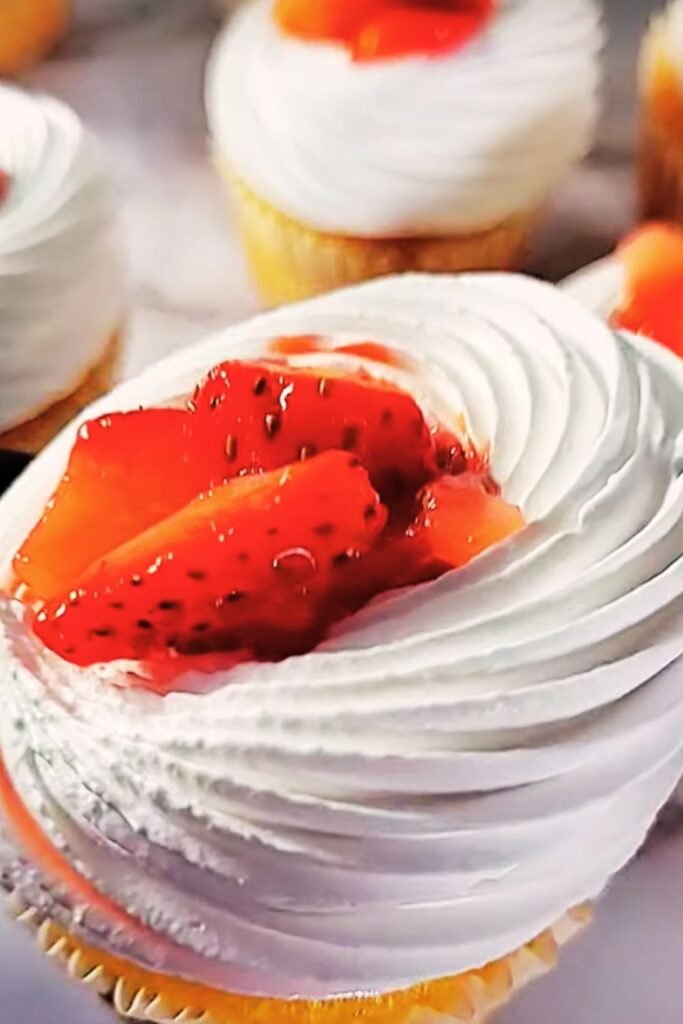
- Valentine’s Day: Pink coloring with strawberry cream filling
- Easter: Pastel colors with mini chocolate egg surprises
Flavor Profile Modifications: Beyond color changes, flavor modifications create entirely new cookie experiences. Adding cocoa powder creates chocolate monster cookies, while lemon extract and yellow coloring produces sunny citrus versions.
Professional Tips for Perfect Results
After years of perfecting this recipe, I’ve accumulated numerous professional tips that consistently produce bakery-quality results at home.
Ingredient Temperature Matters: Room temperature ingredients incorporate more easily and create smoother doughs. I remove eggs and butter from refrigeration at least 30 minutes before baking.
Measuring Accuracy: Baking is science, and accurate measurements ensure consistent results. I always use a kitchen scale when possible, measuring flour by weight rather than volume.
Quality Ingredients: Premium vanilla extract and real butter significantly impact final flavor. While these ingredients cost more initially, the improved taste justifies the investment.
Batch Consistency: When making multiple batches, I portion all cookies before baking any. This ensures uniform size and prevents overbaking early batches while later ones are still being shaped.
Serving Suggestions and Presentation Ideas
These cookies shine brightest when presented thoughtfully. I’ve found several presentation methods that enhance both visual appeal and eating experience.
Individual Presentation: Wrapping each cookie in clear cellophane with colorful ribbons creates perfect party favors or gift options. The blue color shows beautifully through clear packaging.
Platter Arrangements: When serving at gatherings, I arrange cookies on contrasting colored plates or platters. White or yellow serving pieces make the blue color pop dramatically.
Accompaniment Suggestions: These rich cookies pair wonderfully with cold milk, hot cocoa, or vanilla ice cream. For adult gatherings, coffee or espresso provides a nice flavor contrast to the sweet cookie base.
Party Integration: Cookie Monster themed parties benefit from coordinated decorations. Blue tablecloths, cookie-themed games, and related party favors create cohesive experiences that guests remember long after the event ends.
Questions and Answers
Q: Can I make these cookies without food coloring? A: Absolutely! The cookies taste identical without coloring – they’ll simply appear as regular sugar cookies. Natural alternatives like butterfly pea flower powder can provide blue coloring if you prefer avoiding artificial additives.
Q: How do I prevent the filling from leaking during baking? A: Proper sealing is crucial. Press edges firmly together and ensure no filling touches the seam. Using slightly less filling than you think necessary often produces better results than overstuffing.
Q: Can I prepare the dough in advance? A: Yes, cookie dough keeps well in the refrigerator for up to 3 days or frozen for up to 3 months. Bring refrigerated dough to room temperature before shaping, and add 2-3 minutes to baking time for frozen cookies.
Q: What’s the best way to achieve vibrant blue color? A: Gel food coloring produces more intense colors than liquid versions without adding excess moisture to the dough. Start with small amounts and gradually add more until reaching desired intensity.
Q: Can I use different sizes for these cookies? A: Certainly! Smaller cookies require less baking time (8-10 minutes), while larger ones need additional time (15-18 minutes). Adjust filling quantities proportionally to maintain proper ratios.
Q: How do I know when stuffed cookies are properly done? A: Look for set edges and centers that appear slightly underdone. The cookies continue cooking on the hot pan after removal. Overbaked stuffed cookies become dry and lose their soft texture.
Q: What fillings work best for beginners? A: I recommend starting with mini chocolate chips or small candy pieces that won’t melt completely during baking. These fillings are forgiving and less likely to leak than liquid-based options.
Q: Can I make these cookies dairy-free? A: Yes, substitute vegan butter and ensure your chosen fillings are dairy-free. Many chocolate chips and marshmallows contain dairy, so check labels carefully when accommodating dietary restrictions.
These Big Blue Monster Stuffed Cookies represent more than just a baking project – they’re an opportunity to create joy and surprise with every bite. The combination of visual appeal, delicious flavor, and hidden surprises makes them perfect for any occasion where you want to bring smiles to faces. Whether you’re baking for a Cookie Monster birthday party, looking for a unique treat to share with friends, or simply wanting to try something new in the kitchen, these cookies deliver on all fronts. The technique you’ll learn making these translates to countless other stuffed cookie variations, making this recipe a valuable addition to any baker’s repertoire.