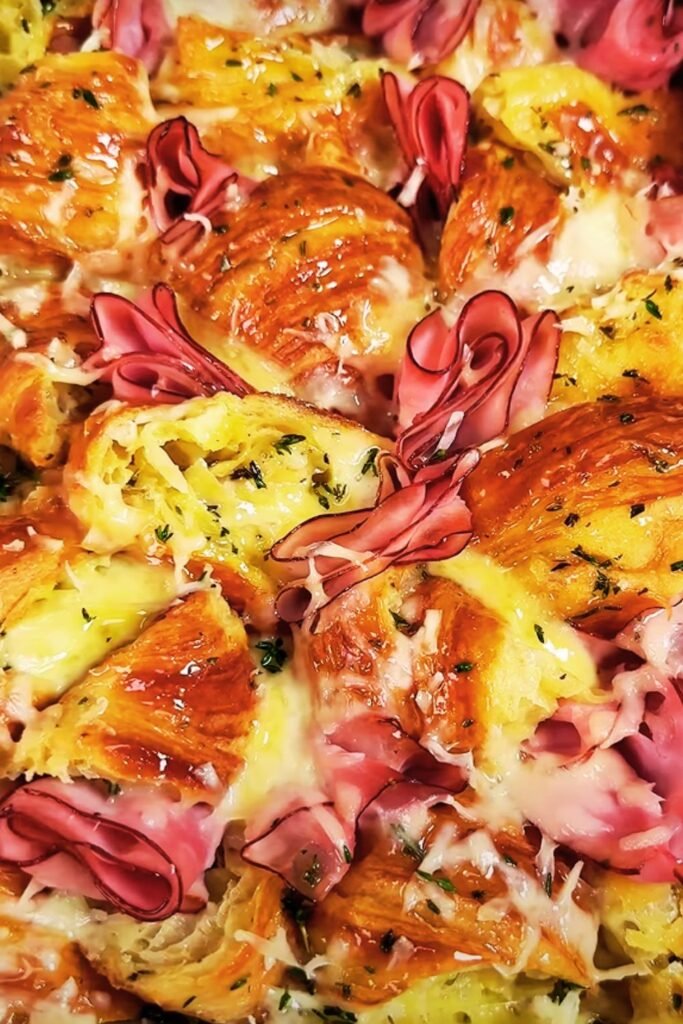
When I first discovered Big Blue Monster Stuffed Cookies, I knew I had stumbled upon something extraordinary. These aren’t your ordinary cookies – they’re massive, vibrant blue treats that hide delicious surprises inside. My kitchen has never been the same since I started making these show-stopping cookies that combine the nostalgic charm of cookie monster aesthetics with modern stuffed cookie techniques.
The beauty of Big Blue Monster Stuffed Cookies lies in their perfect balance of visual appeal and flavor complexity. Each cookie weighs approximately 4-6 ounces, making them substantial enough to satisfy even the most demanding sweet tooth. The vibrant blue color immediately catches attention, while the stuffed center provides an element of surprise that keeps people coming back for more.
Understanding Big Blue Monster Stuffed Cookies
Big Blue Monster Stuffed Cookies: Oversized cookies characterized by their brilliant blue color, chewy texture, and hidden filling center, typically weighing 4-6 ounces each and measuring 4-5 inches in diameter.
Cookie Stuffing Technique: A baking method where cookie dough is wrapped around a filling, creating a surprise center that remains intact during baking.
Blue Food Coloring Types: The coloring agents used to achieve the signature blue hue, including gel, liquid, and powder forms, each offering different intensity levels.
Chilling Process: The essential step of refrigerating assembled cookies before baking to prevent filling leakage and maintain cookie shape.
The concept behind these cookies draws inspiration from the beloved Cookie Monster character, but I’ve elevated them into gourmet treats that work perfectly for special occasions, bake sales, or whenever you want to create something memorable. The stuffing technique requires precision, but once you master it, you’ll have a skill that opens up endless creative possibilities.
Essential Ingredients and Their Roles
Creating perfect Big Blue Monster Stuffed Cookies requires understanding how each ingredient contributes to the final product. I’ve experimented with various combinations over the years, and this ingredient list represents the optimal balance for both flavor and structure.
Cookie Dough Components
| Ingredient | Amount | Purpose | Quality Tips |
|---|---|---|---|
| All-purpose flour | 3 cups | Structure and texture | Use unbleached for better flavor |
| Butter (unsalted) | 1 cup | Richness and tenderness | Room temperature for proper creaming |
| Brown sugar | 1 cup | Moisture and chewiness | Pack firmly when measuring |
| Granulated sugar | ½ cup | Sweetness and spread | Regular white sugar works best |
| Large eggs | 2 | Binding and richness | Room temperature for better mixing |
| Vanilla extract | 2 teaspoons | Flavor enhancement | Pure extract, not imitation |
| Baking soda | 1 teaspoon | Leavening agent | Check expiration date |
| Salt | ½ teaspoon | Flavor enhancement | Fine sea salt preferred |
| Blue food coloring | 1-2 teaspoons | Signature color | Gel coloring for intensity |
Stuffing Options
| Filling Type | Preparation | Texture Result | Flavor Profile |
|---|---|---|---|
| Cream cheese frosting | Chilled into balls | Tangy and creamy | Sweet with slight tang |
| Chocolate ganache | Cooled and scooped | Rich and fudgy | Intense chocolate |
| Cookie butter | Chilled for firmness | Smooth and sweet | Caramelized cookie flavor |
| Marshmallow fluff | Mixed with powdered sugar | Light and fluffy | Pure sweetness |
| Peanut butter | Mixed with powdered sugar | Dense and nutty | Rich peanut flavor |
The key to success lies in balancing moisture content between the cookie dough and filling. I’ve learned that fillings with higher moisture content require additional stabilizers like powdered sugar or cornstarch to prevent them from making the cookies soggy during baking.
Step-by-Step Preparation Process
My approach to making Big Blue Monster Stuffed Cookies involves careful timing and temperature control. I’ve refined this process through countless batches, and following these steps precisely will give you professional-quality results every time.
Preparing the Cookie Dough
The foundation of excellent stuffed cookies starts with properly prepared dough. I begin by creaming the butter and sugars together for exactly 4 minutes using a stand mixer on medium speed. This timing is crucial because it creates the perfect texture – not too dense, not too airy.
Adding the eggs one at a time ensures proper emulsification. I beat each egg for 30 seconds before adding the next, which prevents the mixture from curdling. The vanilla extract goes in with the second egg, and this is when I add the blue food coloring.
For the signature blue color, I prefer gel food coloring over liquid because it doesn’t alter the dough’s moisture content. Start with half a teaspoon and gradually add more until you achieve the desired shade. Remember that the color will deepen slightly during baking, so aim for a shade that’s slightly lighter than your target.
The dry ingredients require gentle handling. I whisk the flour, baking soda, and salt together in a separate bowl before gradually adding them to the wet ingredients. Overmixing at this stage develops too much gluten, resulting in tough cookies. I mix just until the flour disappears – usually about 30 seconds on low speed.
Creating the Perfect Filling
The filling preparation varies depending on your chosen stuffing, but the principles remain consistent. For cream cheese frosting balls, I mix 8 ounces of softened cream cheese with 1 cup of powdered sugar and 1 teaspoon of vanilla extract. The mixture should be firm enough to hold its shape when scooped.
I use a small cookie scoop to create uniform filling portions, then roll them into balls and place them on a parchment-lined baking sheet. These go into the freezer for at least 30 minutes – this step is non-negotiable. Frozen filling maintains its shape during the cookie assembly and baking process.
For chocolate ganache filling, I heat ½ cup of heavy cream and pour it over 6 ounces of chopped dark chocolate. After letting it sit for 2 minutes, I stir until smooth and let it cool to room temperature before scooping and freezing.
Assembly Technique
Cookie assembly requires patience and practice. I work with chilled dough because it’s easier to handle and less likely to stick to my hands. Using a kitchen scale, I portion the dough into 3-ounce portions – this ensures uniformity and professional appearance.
Each dough portion gets flattened into a 4-inch circle in my palm. I place a frozen filling ball in the center, then carefully wrap the dough around it, pinching the seams together thoroughly. Any gaps in the seal will result in filling leakage during baking.
The assembled cookies go onto parchment-lined baking sheets with at least 3 inches between each cookie. They’re large and will spread during baking, so proper spacing prevents them from merging together.
Baking Techniques and Temperature Control
Successful baking of Big Blue Monster Stuffed Cookies requires precise temperature management and timing. I’ve discovered that these cookies perform best with a two-stage baking process that ensures the exterior sets while the interior remains perfectly chewy.
Oven Preparation and Settings
My oven preheats to 350°F (175°C) for exactly 20 minutes before baking. This ensures even heat distribution, which is crucial for uniform cooking of such large cookies. I position the oven rack in the center to promote even browning and prevent the bottoms from overcooking.
Using parchment paper is essential – it prevents sticking and allows for easy removal of the finished cookies. I avoid using cooking spray or butter on the pans because these can cause excessive browning on the cookie bottoms.
Baking Timeline and Visual Cues
| Time Marker | Visual Indicator | Action Required |
|---|---|---|
| 0-5 minutes | Dough begins to set | Monitor for spreading |
| 5-8 minutes | Edges start firming | Check for even cooking |
| 8-12 minutes | Centers appear set | Test doneness |
| 12-15 minutes | Light golden edges | Remove from oven |
| 15+ minutes | Cooling begins | Transfer to cooling rack |
The baking time typically ranges from 12-15 minutes, but I rely more on visual cues than strict timing. The cookies are done when the edges appear set and lightly golden, while the centers still look slightly underdone. They’ll continue cooking from residual heat during the cooling process.

I learned through experience that overbaking results in hard, dry cookies that lose their characteristic chewiness. The ideal texture should be firm on the outside with a soft, almost gooey center that showcases the stuffed filling.
Flavor Variations and Creative Combinations
After mastering the basic Big Blue Monster Stuffed Cookie, I’ve experimented with numerous flavor combinations that maintain the signature appearance while offering unique taste experiences. These variations have become crowd favorites at various events and gatherings.
Popular Stuffing Combinations
Cookies and Cream: I crush chocolate sandwich cookies into the cream cheese filling, creating a cookies-and-cream experience that’s irresistible. The contrast between the blue exterior and speckled interior creates visual intrigue.
Salted Caramel: Homemade salted caramel, thickened with a touch of cornstarch, provides a sophisticated flavor profile. The salt enhances the sweetness while preventing the filling from becoming cloying.
Funfetti Surprise: Rainbow sprinkles mixed into vanilla buttercream create a party-in-your-mouth experience. The colorful sprinkles peek through the blue dough, adding textural interest.
Chocolate Chip Cookie Dough: I make edible cookie dough by omitting eggs and heat-treating the flour, then form it into balls for stuffing. It’s like getting two cookies in one.
Seasonal Adaptations
During different seasons, I modify the basic recipe to reflect seasonal flavors while maintaining the blue monster aesthetic. Fall versions might include pumpkin spice filling, while winter editions could feature peppermint cream centers.
Troubleshooting Common Issues
Even experienced bakers encounter challenges when making stuffed cookies. I’ve compiled solutions to the most frequent problems based on my years of perfecting this recipe.
Filling Leakage Prevention
Problem: Filling oozes out during baking, creating messy cookies.
Solution: Ensure filling is completely frozen before assembly. Seal dough edges thoroughly by pinching and rolling the seam area. Chill assembled cookies for 30 minutes before baking.
Color Consistency Challenges
Problem: Uneven blue coloring throughout the batch.
Solution: Add food coloring gradually while mixing, ensuring complete incorporation before adding more. Mix dough longer than usual when adding coloring to achieve uniformity.
Texture Issues
Problem: Cookies turn out too hard or too soft.
Solution: Monitor baking time carefully and rely on visual cues rather than timer alone. Adjust oven temperature by 25°F if your oven runs hot or cold.
Storage and Serving Recommendations
Proper storage extends the life of Big Blue Monster Stuffed Cookies while maintaining their optimal texture and flavor. I’ve developed specific storage methods that preserve both the cookie structure and filling integrity.
Short-term Storage
Fresh cookies stay optimal for 3-4 days when stored in an airtight container at room temperature. I place parchment paper between layers to prevent sticking and maintain their shape. Avoid refrigerating fresh cookies as this can make them hard and dry.
Long-term Storage Options
| Storage Method | Duration | Quality Retention | Thawing Instructions |
|---|---|---|---|
| Freezer (wrapped) | 3 months | Excellent | Room temperature 2 hours |
| Freezer (container) | 2 months | Very good | Room temperature 1 hour |
| Refrigerator | 1 week | Good | 30 minutes room temperature |
| Room temperature | 4 days | Excellent | Ready to serve |
For freezing, I wrap individual cookies in plastic wrap, then place them in freezer bags. This double protection prevents freezer burn and maintains moisture content.
Serving Suggestions
Big Blue Monster Stuffed Cookies pair beautifully with various beverages and complementary treats. I recommend serving them slightly warm to enhance the filling’s texture and overall flavor experience.
Beverage Pairings: Cold milk remains the classic choice, but I also enjoy these cookies with hot chocolate, coffee, or herbal teas. The blue color makes them particularly striking when served alongside white or cream-colored beverages.
Presentation Ideas: For special occasions, I dust them lightly with powdered sugar or drizzle with white chocolate to create contrast against the blue surface. They make excellent centerpieces when arranged on tiered serving stands.
Nutritional Information and Dietary Considerations
Understanding the nutritional profile of Big Blue Monster Stuffed Cookies helps with meal planning and dietary management. Each cookie is substantial, providing significant energy and satisfaction.
Nutritional Breakdown per Cookie
| Nutrient | Amount | % Daily Value |
|---|---|---|
| Calories | 285 | 14% |
| Total Fat | 12g | 15% |
| Saturated Fat | 7g | 35% |
| Cholesterol | 45mg | 15% |
| Sodium | 165mg | 7% |
| Total Carbohydrates | 42g | 15% |
| Dietary Fiber | 1g | 4% |
| Sugars | 28g | – |
| Protein | 4g | 8% |
These cookies are treats meant for special occasions rather than daily consumption. The high sugar and fat content makes them energy-dense, so I recommend enjoying them in moderation as part of a balanced diet.
Dietary Modifications
For those with dietary restrictions, I’ve successfully adapted this recipe with various substitutions. Gluten-free flour blends work well, though the texture becomes slightly more crumbly. Vegan butter substitutes maintain the cookie’s structure while accommodating plant-based diets.
Professional Tips and Advanced Techniques
Years of making Big Blue Monster Stuffed Cookies have taught me professional techniques that elevate the final product. These insights come from both successful batches and learning from mistakes.
Temperature Management Secrets
Dough Temperature: I work with dough at 65°F (18°C) for optimal handling. Too warm, and it becomes sticky; too cold, and it cracks during assembly.
Filling Temperature: Frozen filling (0°F/-18°C) maintains shape during assembly and initial baking stages, preventing leakage.
Baking Environment: Consistent oven temperature prevents uneven cooking. I use an oven thermometer to verify accuracy and adjust accordingly.
Quality Control Measures
Each batch receives the same careful attention to detail. I weigh cookie portions to ensure uniformity, check filling placement for centering, and inspect seal integrity before baking. This systematic approach produces consistent results.
Scaling for Large Batches
When making cookies for events, I multiply ingredients carefully and mix in smaller batches to maintain quality. Large quantities of dough become difficult to handle and may result in inconsistent coloring or texture.
Questions and Answers
Q. How long do Big Blue Monster Stuffed Cookies stay fresh?
These cookies maintain optimal freshness for 3-4 days when stored properly in an airtight container at room temperature. The stuffed center actually helps maintain moisture, keeping them softer longer than regular cookies. I’ve found that the second day is often when they taste their absolute best, as the flavors have had time to meld together.
Q. Can I make the cookie dough ahead of time?
Absolutely! I often prepare the cookie dough up to 2 days in advance and store it wrapped tightly in the refrigerator. Before using, I let it come to room temperature for about 30 minutes to make it easier to work with. The dough can also be frozen for up to 3 months, though I recommend thawing it overnight in the refrigerator before use.
Q. What’s the best way to achieve the perfect blue color?
Gel food coloring is my preferred choice because it provides intense color without adding extra liquid to the dough. Start with ½ teaspoon and add gradually until you reach your desired shade. Remember that the color will deepen slightly during baking, so aim for a shade that’s slightly lighter than your target. Liquid food coloring works too, but you’ll need more of it.
Q. Why do my cookies spread too much during baking?
Excessive spreading usually indicates that either your dough is too warm or your butter was too soft during mixing. Make sure your assembled cookies are properly chilled before baking – I recommend 30 minutes in the refrigerator. Also, check that your baking soda is fresh, as old leavening agents can affect cookie structure.
Q. Can I use different types of filling?
Definitely! The key is ensuring your filling is firm enough to hold its shape during baking. I’ve successfully used everything from Nutella to fruit preserves, but I always chill or freeze the filling portions before assembly. Avoid very liquid fillings as they’ll leak out during baking.
Q. What should I do if my filling leaks out during baking?
Filling leakage usually occurs when the dough isn’t sealed properly or the filling wasn’t firm enough. Make sure to pinch the seam thoroughly and roll the cookie gently to close any gaps. If it happens during baking, the cookies are still delicious – just not as picture-perfect. You can trim away excess leaked filling once they’re cooled.
Q. How do I know when the cookies are done baking?
These large cookies can be tricky to judge. Look for edges that appear set and lightly golden, while the center still looks slightly underdone. They’ll continue cooking from residual heat after removal from the oven. If you press gently on the center, it should give slightly but not feel raw or gooey.
Q. Can I freeze the assembled cookies before baking?
Yes, this is actually a great make-ahead strategy! Assemble the cookies completely, place them on a baking sheet, and freeze until solid. Then transfer to freezer bags for up to 3 months. Bake directly from frozen, adding 2-3 extra minutes to the baking time.
Q. What’s the secret to getting them so big and fluffy?
The key is using the right ratio of butter to flour and not overbaking. The brown sugar content also contributes to their chewy, substantial texture. Don’t skip the chilling step – it helps the cookies maintain their shape and thickness during baking rather than spreading thin.
Q. How can I make them more or less sweet?
To reduce sweetness, I sometimes decrease the granulated sugar by ¼ cup and add a pinch more salt to balance the flavors. For less sweet filling options, try cream cheese with minimal powdered sugar or even savory options like herb cream cheese for a unique twist. Adding a small amount of espresso powder to chocolate fillings also cuts through the sweetness nicely.
Creating Big Blue Monster Stuffed Cookies has become one of my favorite baking adventures. These show-stopping treats combine visual appeal with incredible flavor, making them perfect for special occasions or whenever you want to surprise someone special. The technique takes practice, but once mastered, opens up endless possibilities for creative expression in the kitchen. I encourage you to experiment with different fillings and make this recipe your own – that’s where the real magic happens in baking.