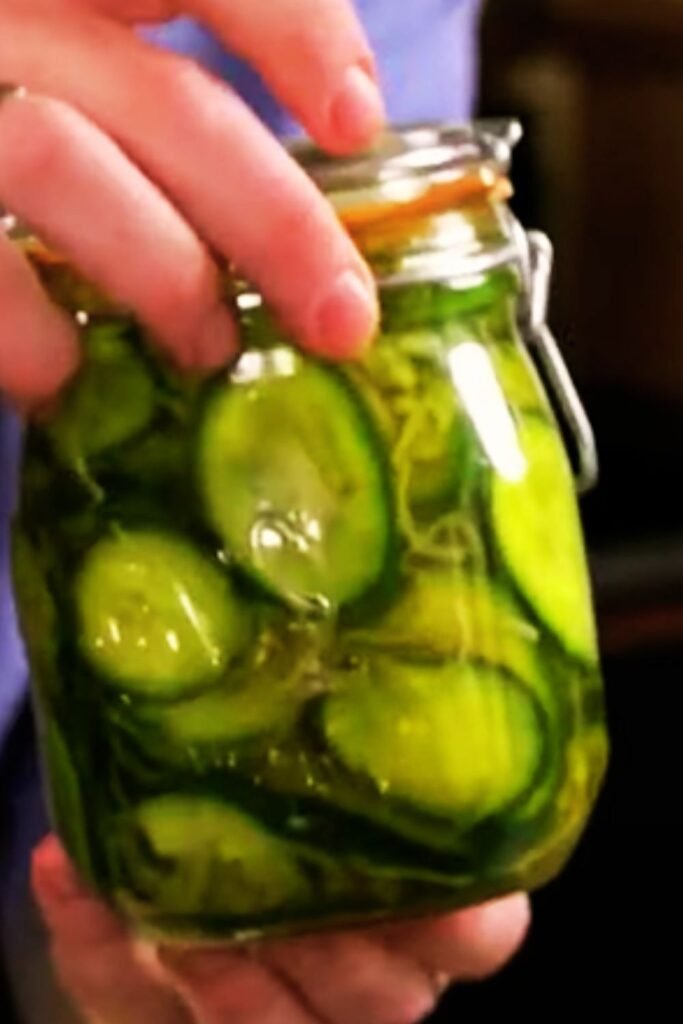
When I first discovered the art of making bread and butter pickles at home, I never imagined how this simple preserve would transform my kitchen adventures. These delightfully sweet and tangy pickles have become my go-to condiment, elevating everything from simple sandwiches to elaborate charcuterie boards. The crisp texture and balanced flavor profile make them irresistible, and I’m excited to share my perfected recipe with you.
The beauty of homemade bread and butter pickles lies in their versatility and the satisfaction of creating something truly special from basic ingredients. Unlike store-bought versions that often contain preservatives and artificial flavors, my homemade approach allows complete control over sweetness levels, spice intensity, and texture preferences.
Understanding Bread and Butter Pickles
Bread and Butter Pickles: A sweet pickle variety characterized by thin-sliced cucumbers and onions preserved in a tangy-sweet brine made with vinegar, sugar, and aromatic spices.
Brine: The preserving liquid consisting of vinegar, water, sugar, and spices that creates the signature flavor profile and ensures proper preservation.
Quick Pickle Method: A faster pickling technique that doesn’t require traditional fermentation, making pickles ready to eat within hours rather than weeks.
Turmeric: The spice responsible for the characteristic golden color in traditional bread and butter pickles, also providing subtle earthy notes.
The name “bread and butter pickles” originated during the Great Depression when these sweet pickles became so popular that families could supposedly trade them for basic necessities like bread and butter. This historical context adds charm to an already beloved recipe.
Essential Ingredients and Their Roles
My recipe relies on carefully selected ingredients, each playing a crucial role in achieving the perfect balance of flavors and textures.
Primary Ingredients
| Ingredient | Quantity | Purpose | Quality Tips |
|---|---|---|---|
| Cucumbers | 4 pounds | Main vegetable base | Choose firm, unblemished pickling cucumbers 3-4 inches long |
| Yellow Onions | 2 large | Adds sweetness and crunch | Select firm onions without soft spots |
| Kosher Salt | 1/4 cup | Draws out moisture, enhances flavor | Use pure kosher salt without additives |
| White Vinegar | 2 cups | Provides acidity for preservation | 5% acidity level is essential |
| Sugar | 1 1/2 cups | Creates signature sweetness | Granulated white sugar works best |
| Turmeric | 1 tablespoon | Golden color and subtle flavor | Fresh ground turmeric preferred |
| Celery Seeds | 1 tablespoon | Distinctive aromatic note | Whole seeds provide better flavor |
| Mustard Seeds | 2 teaspoons | Adds mild spice and texture | Yellow mustard seeds are traditional |
Optional Flavor Enhancers
| Addition | Quantity | Flavor Impact | When to Add |
|---|---|---|---|
| Bell Peppers | 1 medium | Sweet crunch and color | Slice thin, add with cucumbers |
| Garlic Cloves | 2-3 cloves | Savory depth | Slice thin, add to brine |
| Red Pepper Flakes | 1/2 teaspoon | Gentle heat | Mix into dry spices |
| Bay Leaves | 2 leaves | Herbal complexity | Remove before serving |
Equipment and Preparation
My pickling setup includes several essential tools that ensure consistent results every time I make these pickles.
Large Non-Reactive Bowl: For salting cucumbers and onions, I use a stainless steel or glass bowl that won’t react with acidic ingredients.
Sharp Mandoline or Knife: Consistent slicing is crucial for even pickling and attractive presentation.
Heavy-Bottom Saucepan: For heating the brine, ensuring even heat distribution without scorching.
Sterilized Glass Jars: I prefer wide-mouth mason jars for easy packing and removal of pickles.
Fine-Mesh Strainer: Essential for draining salted vegetables and removing excess liquid.
Step-by-Step Preparation Method
Phase 1: Preparing the Vegetables
I begin by washing my cucumbers thoroughly under cold running water, scrubbing gently to remove any residual dirt or wax coating. After patting them dry, I slice them into rounds approximately 1/8-inch thick. Consistency in thickness ensures uniform pickling and texture.
Next, I peel the onions and slice them into thin half-moons, maintaining the same 1/8-inch thickness as the cucumbers. This uniformity creates an aesthetically pleasing final product and ensures even flavor distribution.
The salting process comes next, which I consider the most critical step for achieving proper texture. I layer the sliced cucumbers and onions in my large bowl, sprinkling kosher salt generously between layers. This salt draws out excess moisture that would otherwise dilute the brine and create soggy pickles.
After covering the salted vegetables with ice cubes, I let them sit for exactly three hours. This timing allows sufficient moisture extraction without over-salting. I then drain the vegetables in my fine-mesh strainer and rinse them thoroughly with cold water to remove excess salt.
Phase 2: Creating the Perfect Brine
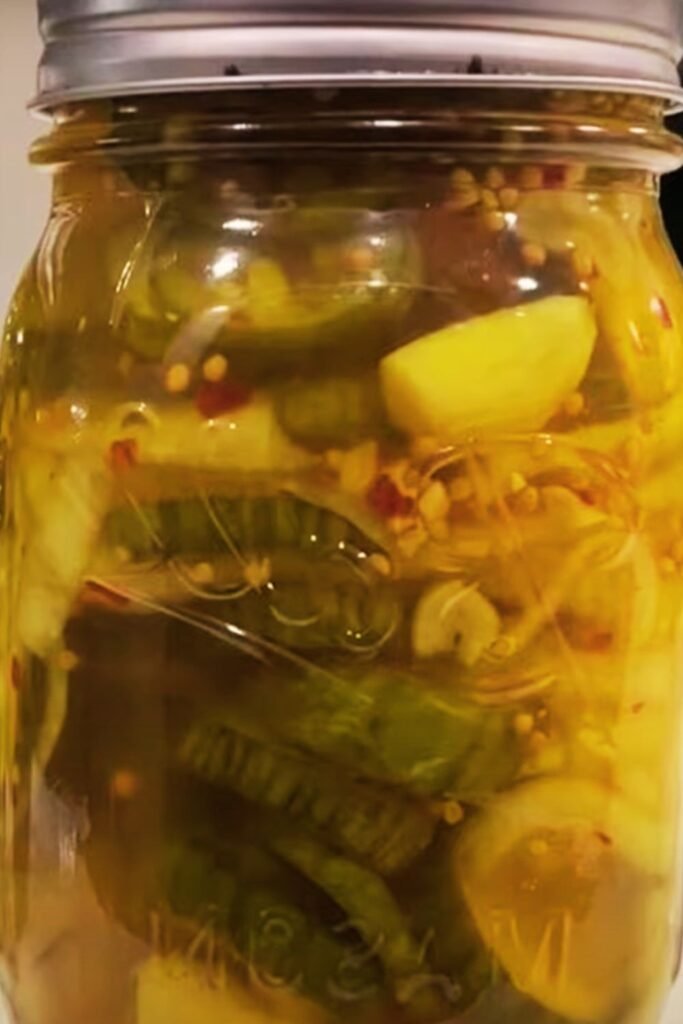
While the vegetables drain, I prepare my signature brine that gives these pickles their distinctive character. In my heavy-bottom saucepan, I combine white vinegar, sugar, turmeric, celery seeds, and mustard seeds.
The key to my brine lies in the gradual heating process. I bring the mixture to a gentle boil over medium heat, stirring constantly to ensure the sugar dissolves completely. The turmeric needs particular attention, as it can clump if not properly incorporated.
Once the brine reaches a rolling boil, I reduce the heat and simmer for five minutes. This simmering time allows the spices to release their essential oils and creates a more complex flavor profile. The kitchen fills with an incredible aroma that never fails to make my mouth water.
Phase 3: Combining and Packing
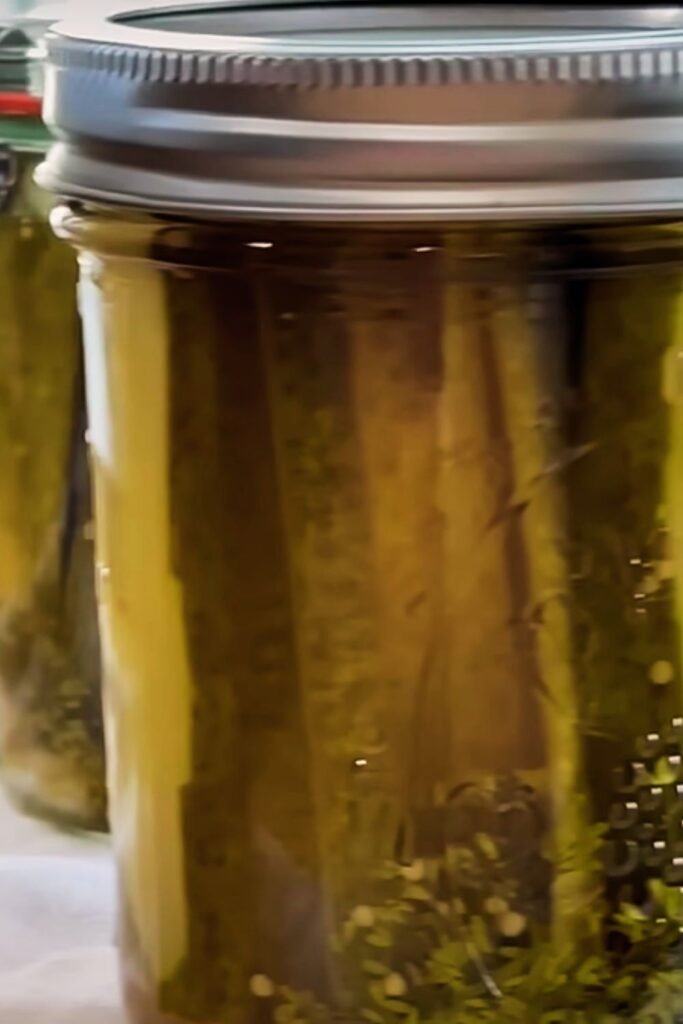
After thoroughly draining and patting dry the cucumber-onion mixture, I pack it tightly into my sterilized jars, leaving about half an inch of headspace at the top. The packing technique matters – I want the vegetables snug but not compressed to the point of bruising.
I then carefully pour the hot brine over the packed vegetables, ensuring complete coverage while maintaining that crucial half-inch headspace. Any vegetables not covered by brine risk spoilage and uneven flavoring.
Using a clean knife or chopstick, I gently tap the sides of each jar to release air bubbles that might have formed during packing. These air pockets can create uneven pickling and potentially affect preservation.
Processing and Storage Guidelines
Hot Water Bath Processing
| Jar Size | Processing Time | Altitude Adjustment |
|---|---|---|
| Pint Jars | 10 minutes | Add 1 minute per 1000 feet above sea level |
| Quart Jars | 15 minutes | Add 1 minute per 1000 feet above sea level |
| Half-Pint | 5 minutes | Add 1 minute per 1000 feet above sea level |
For long-term storage, I process my filled jars in a boiling water bath. This heat treatment ensures safety and extends shelf life significantly. I place the sealed jars in my canner, ensuring they’re covered by at least one inch of water.
The processing time depends on jar size and altitude. I live at sea level, so my pint jars need exactly ten minutes of processing time. I start timing only after the water returns to a full boil following jar insertion.
Refrigerator Storage Method
If I plan to consume my pickles within two months, I skip the hot water processing and simply refrigerate them after the brine cools to room temperature. This method preserves a slightly firmer texture that many people prefer.
Troubleshooting Common Issues
Texture Problems
Soft or Mushy Pickles: Usually caused by insufficient salting time, overripe cucumbers, or too-low vinegar acidity. I always check my vinegar labels to ensure 5% acidity and never rush the salting process.
Uneven Texture: Results from inconsistent slicing or inadequate brine coverage. My mandoline ensures uniform thickness, and I always double-check brine levels before sealing jars.
Flavor Issues
Too Salty: Often occurs when vegetables aren’t rinsed thoroughly after salting. I taste-test my vegetable mixture after rinsing and re-rinse if necessary.
Insufficient Sweetness: Can be adjusted in future batches by increasing sugar content or adding a touch of honey to the brine.
Weak Spice Flavor: Results from old spices or insufficient simmering time. I replace my spices every six months and always simmer the brine for the full five minutes.
Nutritional Benefits and Considerations
My homemade bread and butter pickles offer several nutritional advantages over commercial varieties while providing unique health benefits.
Nutritional Profile Per Serving (2 tablespoons)
| Nutrient | Amount | Daily Value % |
|---|---|---|
| Calories | 25 | 1% |
| Carbohydrates | 6g | 2% |
| Sugar | 5g | – |
| Sodium | 180mg | 8% |
| Vitamin K | 8mcg | 7% |
| Vitamin C | 2mg | 2% |
| Fiber | 0.5g | 2% |
Probiotics: While these quick pickles don’t contain the same probiotic benefits as fermented varieties, the vinegar does support digestive health and may help regulate blood sugar levels.
Antioxidants: Turmeric provides curcumin, a powerful antioxidant with anti-inflammatory properties. The onions contribute quercetin, another beneficial antioxidant.
Low Calorie: Compared to many condiments, my pickles are relatively low in calories while providing satisfying flavor and crunch.
Creative Serving Suggestions
The versatility of these pickles extends far beyond the traditional sandwich application. I’ve discovered numerous creative ways to incorporate them into my cooking and entertaining.
Classic Applications
My bread and butter pickles shine brightest in traditional settings. They’re essential components of my deli-style sandwiches, providing the perfect counterpoint to rich meats and creamy condiments. I always include them in my burger toppings, where their sweetness balances the savory beef and tangy condiments.
Potato salad becomes extraordinary when I fold in chopped bread and butter pickles. The sweet-tart flavor and crisp texture elevate this simple side dish into something memorable. I use the same technique in my chicken salad, where the pickles add both flavor and textural interest.
Gourmet Applications
My more adventurous culinary experiments have yielded surprising successes. I dice these pickles finely and incorporate them into my homemade tartar sauce, creating a more complex flavor profile than traditional recipes. The sweetness plays beautifully against the capers and herbs.
For entertaining, I create pickle wraps using cream cheese spread on tortillas, then adding thin slices of ham and whole pickle spears before rolling tightly and slicing into pinwheels. These appetizers disappear quickly at parties.
I’ve also discovered that chopped bread and butter pickles make an excellent addition to deviled eggs, replacing or complementing traditional sweet relish. The flavor is more sophisticated and the texture more interesting.
International Fusion Ideas
My Korean-inspired dishes benefit from these pickles as a sweet counterpoint to spicy kimchi. I serve them alongside bulgogi or bibimbap for guests who prefer milder flavors.
In my tex-mex cooking, I use these pickles as a cooling element in spicy quesadillas or as a garnish for black bean bowls. The sweetness helps balance heat while adding crunch.
Seasonal Variations and Adaptations
Throughout the year, I adapt my basic recipe to incorporate seasonal ingredients and create unique flavor profiles that keep this preserve interesting.
Summer Abundance Variations
During peak cucumber season, I experiment with different cucumber varieties. English cucumbers create a milder flavor, while Persian cucumbers offer superior crunch. I sometimes combine varieties for complexity.
My summer batches often include thinly sliced bell peppers in red, yellow, and orange. These additions create a more colorful final product while adding subtle sweetness variations.
Autumn Spice Adaptations
As cooler weather approaches, I incorporate warming spices into my brine. A cinnamon stick or few whole cloves create a more complex flavor profile perfect for hearty autumn meals.
I’ve experimented with adding thin apple slices to create an autumn-inspired pickle that pairs beautifully with pork dishes and cheese platters.
Winter Preservation Focus
Winter batches focus on maximizing storage life and creating comfort food pairings. I increase the vinegar slightly and ensure perfect processing technique for pickles that will last through spring.
These winter pickles become essential components of my holiday entertaining, appearing on charcuterie boards and in appetizer spreads.
Advanced Techniques and Tips
After years of perfecting my technique, I’ve developed several advanced methods that consistently produce superior results.
Temperature Control Mastery
I’ve learned that brine temperature at packing time significantly affects final texture. Pouring boiling brine creates softer pickles, while allowing the brine to cool to 160°F before packing maintains more crunch.
For maximum crispness, I sometimes add a grape leaf or cherry leaf to each jar. The tannins in these leaves help maintain vegetable firmness during processing.
Flavor Layering Techniques
My most successful batches involve layering flavors rather than simply mixing everything together. I create spice sachets using cheesecloth for some ingredients, allowing easy removal if the flavor becomes too intense.
I’ve experimented with toasting whole spices before adding them to the brine. This technique intensifies flavors and creates more complex aromatic profiles.
Quality Control Methods
Every batch gets tested before final processing. I sample the brine for proper balance and adjust sweetness or acidity as needed. This quality control step prevents disappointing results.
I maintain detailed notes about each batch, including cucumber variety, processing dates, and any modifications made. This record-keeping helps me replicate successful batches and avoid repeating mistakes.
Questions and Answers
Q. How long do homemade bread and butter pickles last once opened?
Once opened, my pickles maintain peak quality for about two months when stored in the refrigerator. I always use clean utensils when removing pickles from the jar to prevent contamination, and I ensure the remaining pickles stay covered by brine. The high acidity and sugar content help preserve them, but I notice the best flavor and texture occur within the first month after opening.
Q. Can I reduce the sugar content in this recipe?
While I can reduce sugar somewhat, it significantly changes both flavor and preservation qualities. Sugar isn’t just for sweetness – it helps create the proper brine concentration for safe preservation. I recommend reducing by no more than 25% for first-time modifications. Artificial sweeteners don’t provide the same preservation benefits and often create off-flavors during processing.
Q. What’s the best type of cucumber for bread and butter pickles?
I achieve the best results using small, firm pickling cucumbers, typically 3-4 inches long. These varieties have fewer seeds, thicker skin, and maintain crispness better than slicing cucumbers. Kirby cucumbers work exceptionally well, as do any varieties specifically labeled for pickling. I avoid waxed cucumbers from grocery stores, as the wax interferes with proper brining.
Q. Why did my pickles turn out cloudy?
Cloudiness usually results from several possible causes: using table salt with anti-caking agents instead of pure kosher salt, insufficient rinsing after the salting process, or bacterial contamination from unsterilized equipment. Hard water can also create cloudiness due to mineral content. I always use filtered water and ensure all equipment is properly sterilized to prevent this issue.
Q. Can I make these pickles without processing them in a water bath?
Yes, I frequently make refrigerator pickles that skip the hot water bath processing. These must be stored in the refrigerator immediately after cooling and consumed within 2-3 months. They often maintain better crunch than processed pickles but have a shorter shelf life. This method works perfectly for smaller batches intended for immediate consumption.
Q. How can I make my pickles spicier?
I add heat through several methods: red pepper flakes in the brine, thin jalapeño slices layered with the vegetables, or a pinch of cayenne pepper mixed with the dry spices. For milder heat, I use sweet banana peppers. I always start with small amounts since heat intensifies during the pickling process, and I can’t remove it once added.
Q. What causes pickles to be too salty?
Excessive saltiness typically occurs when the vegetables aren’t rinsed thoroughly after the initial salting process, or when too much salt is used during the salting phase. I always taste the vegetable mixture after rinsing and will re-rinse if needed. Using the correct salt-to-vegetable ratio and timing the salting process properly prevents this issue.
Q. Can I use different types of vinegar?
While white vinegar creates the cleanest flavor and maintains the bright color, I sometimes experiment with apple cider vinegar for a more complex taste. However, I never use vinegar with less than 5% acidity, as this compromises safety. Rice vinegar works but creates a milder flavor, while malt vinegar can overpower the delicate balance. I stick with white vinegar for consistent results.
My journey with bread and butter pickles has taught me that patience and attention to detail create the most rewarding results. These sweet, tangy preserves have become a staple in my kitchen, enhancing countless meals and creating lasting memories around my table. The satisfaction of opening a jar of perfectly crisp, flavorful pickles months after making them never gets old.
Whether you’re new to pickling or looking to perfect your technique, remember that each batch teaches valuable lessons. I encourage you to start with my basic recipe, then experiment with your own variations as you gain confidence. The beauty of homemade pickles lies not just in their superior flavor, but in the pride that comes from creating something wonderful with your own hands.