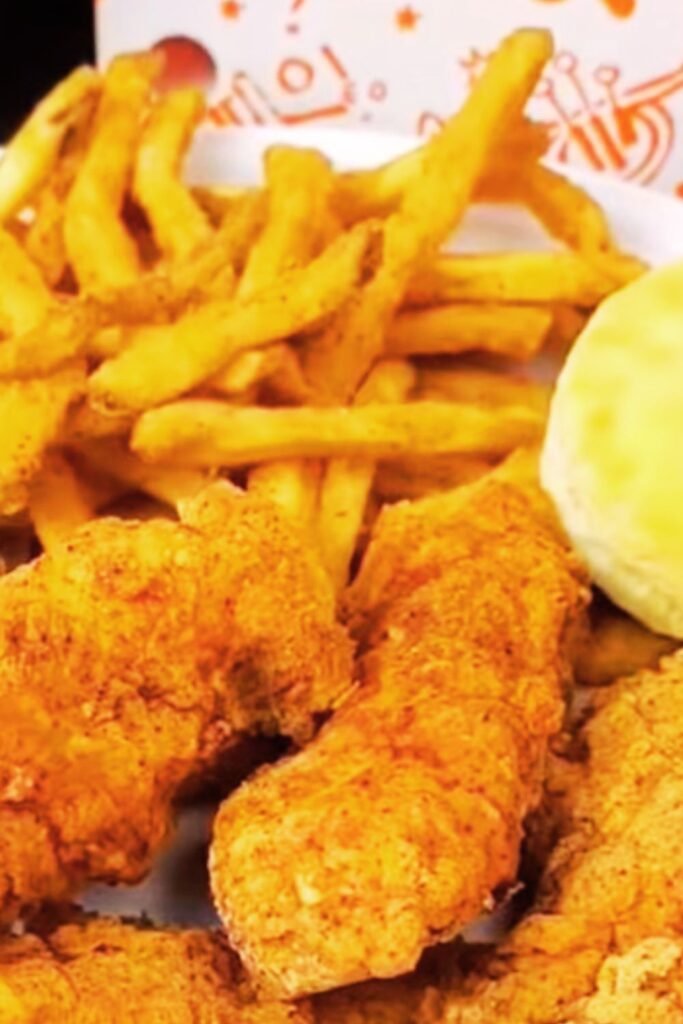
I’ve always been fascinated by the crispy, golden perfection of Popeye’s chicken strips. There’s something magical about that first bite – the way the seasoned coating shatters between your teeth, revealing tender, juicy chicken inside. After countless attempts in my kitchen, I’ve finally cracked the code to recreating these beloved strips at home.
The secret isn’t just in the coating or the seasoning; it’s in understanding the complete process that makes Popeye’s chicken strips so irresistible. Through trial and error, I’ve discovered the precise combination of ingredients, techniques, and timing that brings restaurant-quality results to your home kitchen.
Understanding the Popeye’s Magic
What sets Popeye’s chicken strips apart from other fried chicken isn’t just their Louisiana-inspired seasoning – it’s their unique preparation method. The original recipe combines a perfectly balanced blend of spices with a double-coating technique that creates an incredibly crispy exterior while maintaining moisture inside.
Key Elements of Authentic Popeye’s Strips:
- Louisiana-style seasoning blend
- Buttermilk marinade for tenderness
- Double flour coating system
- Precise oil temperature control
- Perfect timing for optimal crispiness
The beauty of this copycat recipe lies in its accessibility. I’ve adapted the complex restaurant techniques for home cooking while maintaining that signature taste and texture we all crave.
Essential Ingredients Breakdown
Creating authentic-tasting Popeye’s chicken strips requires understanding each ingredient’s role in the final product. I’ve spent considerable time perfecting these ratios to match the original as closely as possible.
For the Chicken and Marinade
Chicken Selection:
- 2 pounds boneless, skinless chicken breasts or tenderloins
- 2 cups buttermilk
- 2 tablespoons hot sauce (Louisiana-style preferred)
- 1 tablespoon garlic powder
- 1 teaspoon onion powder
- 1 teaspoon salt
The buttermilk marinade is crucial – it not only tenderizes the meat but also helps the coating adhere better during frying. I always use real buttermilk rather than substitutes because its acidity and thickness create the perfect base for our marinade.
The Signature Seasoning Blend
Popeye’s-Style Spice Mix:
- 2 tablespoons paprika (sweet)
- 1 tablespoon garlic powder
- 1 tablespoon onion powder
- 2 teaspoons cayenne pepper
- 2 teaspoons black pepper (freshly ground)
- 1 teaspoon white pepper
- 1 teaspoon dried thyme
- 1 teaspoon dried oregano
- 1 teaspoon celery seed
- 2 teaspoons salt
- 1 teaspoon MSG (optional but recommended)
This blend captures the complex flavor profile that makes Popeye’s chicken so addictive. The combination of different peppers creates layers of heat, while the herbs add depth and authenticity.
The Coating System
First Coating:
- 2 cups all-purpose flour
- 2 tablespoons cornstarch
- Half of the seasoning blend
Second Coating:
- 1½ cups all-purpose flour
- ½ cup cornstarch
- Remaining seasoning blend
- 1 teaspoon baking powder
The double coating system is what creates that signature crunch. The first coating acts as a base layer, while the second coating provides the final texture and flavor punch.
Detailed Preparation Method
Step 1: Preparing the Chicken
I start by cutting my chicken breasts into strips about ¾ inch thick and 3-4 inches long. Consistency in size ensures even cooking – something I learned the hard way after having some strips overcooked while others remained undercooked.
Marination Process:
- Place chicken strips in a large bowl
- Pour buttermilk over chicken, ensuring complete coverage
- Add hot sauce, garlic powder, onion powder, and salt
- Mix thoroughly, making sure every piece is coated
- Cover and refrigerate for at least 4 hours (preferably overnight)
The extended marination time allows the buttermilk’s acids to break down tough proteins while infusing flavor throughout the meat. I’ve found that overnight marination produces noticeably more tender results.
Step 2: Creating the Perfect Coating
While the chicken marinates, I prepare my coating stations. This setup is crucial for achieving that restaurant-quality finish.
Coating Station Setup:
- Bowl 1: First flour mixture with half the seasoning
- Bowl 2: Second flour mixture with remaining seasoning and baking powder
- Bowl 3: Reserved buttermilk marinade (about 1 cup)
The addition of baking powder to the second coating creates extra lift and crispiness – a technique I discovered after studying various fried chicken methods.
Step 3: The Double-Coating Technique
This is where the magic happens. The double-coating method creates layers of texture that replicate Popeye’s signature crunch.
Coating Process:
- Remove chicken from marinade, allowing excess to drip off
- Dredge in first flour mixture, pressing gently to adhere
- Dip back into reserved buttermilk marinade
- Coat thoroughly in second flour mixture, pressing firmly
- Place on wire rack and let rest for 15 minutes
The resting period allows the coating to set, which prevents it from falling off during frying. I learned this technique from professional chefs, and it makes a significant difference in the final product.
Frying Techniques for Perfect Results
Oil Selection and Temperature Control
Choosing the right oil and maintaining proper temperature are critical for achieving that perfect golden color and crispy texture without greasiness.
Recommended Oils:
- Peanut oil (preferred for flavor and high smoke point)
- Canola oil (neutral flavor, good heat stability)
- Vegetable shortening (traditional choice for maximum crispiness)
I heat my oil to 350°F (175°C) and use a reliable thermometer to monitor temperature throughout cooking. Temperature fluctuations can result in soggy or burnt coating.
The Frying Process
Step-by-Step Frying:
- Heat oil in heavy-bottomed pot or deep fryer to 350°F
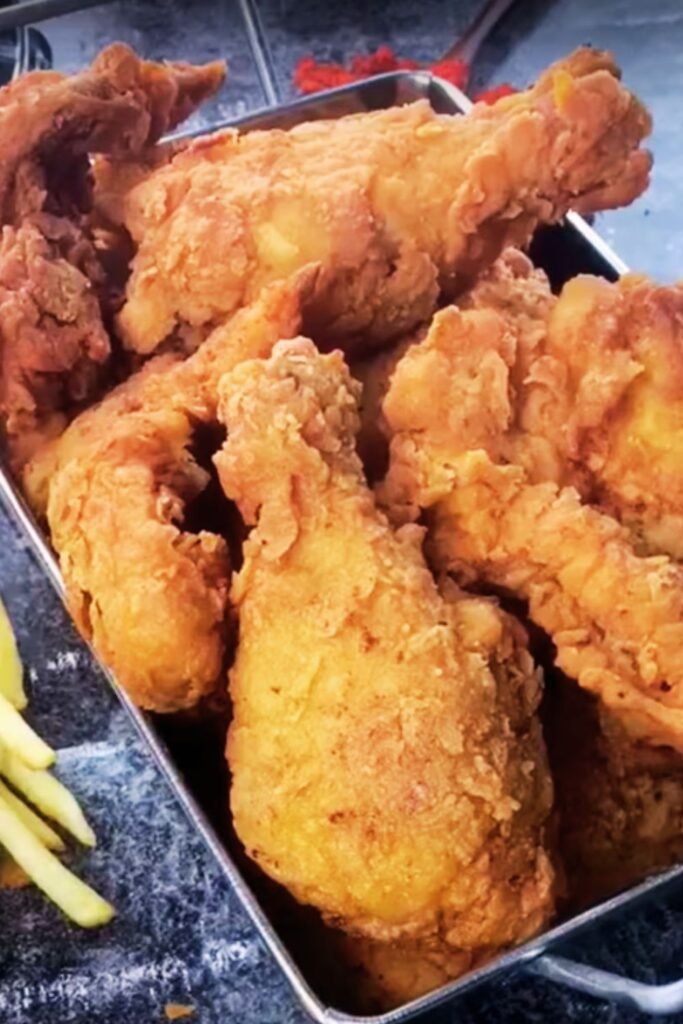
- Fry strips in small batches (don’t overcrowd)
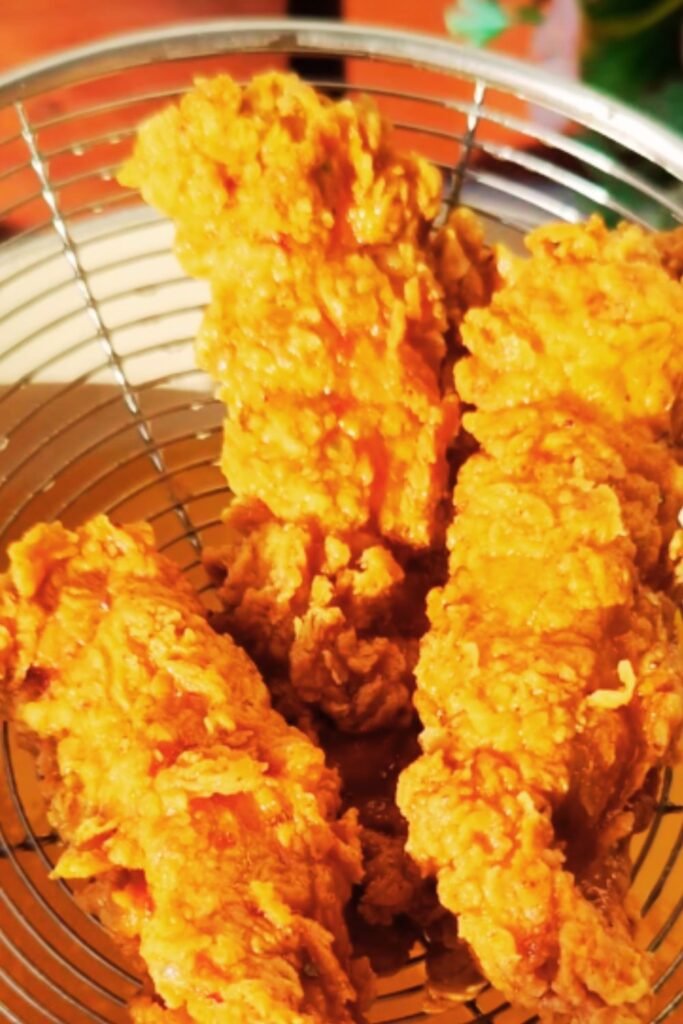
- Cook for 3-4 minutes until golden brown
- Remove and drain on wire rack over paper towels
- Season immediately with a light sprinkle of salt
Overcrowding the pot drops oil temperature, resulting in greasy chicken. I typically fry 4-5 strips at a time, depending on their size.
Nutritional Information and Serving Details
Understanding the nutritional aspects of these chicken strips helps with meal planning and portion control.
| Nutritional Information | Per Serving (3 strips) |
|---|---|
| Calories | 485 |
| Total Fat | 28g |
| Saturated Fat | 6g |
| Cholesterol | 95mg |
| Sodium | 890mg |
| Total Carbohydrates | 28g |
| Dietary Fiber | 2g |
| Sugars | 3g |
| Protein | 32g |
Flavor Variations and Customization
Heat Level Adjustments
Mild Version:
- Reduce cayenne pepper to 1 teaspoon
- Omit white pepper
- Use mild paprika
Extra Spicy Version:
- Increase cayenne to 1 tablespoon
- Add ½ teaspoon ghost pepper powder
- Include 1 teaspoon chipotle powder
Nashville Hot Style:
- Add 2 tablespoons hot sauce to final seasoning
- Brush finished strips with spicy oil mixture
- Increase cayenne to 2 tablespoons
Alternative Coating Options
| Coating Style | Modification | Result |
|---|---|---|
| Extra Crispy | Add ½ cup cornmeal to second coating | Coarser, crunchier texture |
| Gluten-Free | Replace flour with rice flour blend | Lighter, crispier coating |
| Keto-Friendly | Use almond flour and pork rinds | Low-carb alternative |
| Asian-Inspired | Add 5-spice powder and sesame seeds | Unique flavor profile |
Troubleshooting Common Issues
Problem: Coating Falls Off During Frying
Solution: This usually happens when the coating isn’t properly adhered or the oil temperature is incorrect. Ensure you’re pressing the coating firmly and letting it rest before frying. Also, maintain oil temperature at 350°F.
Problem: Chicken is Dry
Solution: Overcooking is the main culprit. Use a meat thermometer – internal temperature should reach 165°F. Also, ensure adequate marination time in buttermilk.
Problem: Coating is Too Soggy
Solution: Oil temperature is too low, or you’re overcrowding the pot. Fry at 350°F in small batches, and drain on a wire rack rather than paper towels alone.
Problem: Uneven Browning
Solution: Cut strips to uniform thickness and turn them halfway through cooking. Inconsistent sizing leads to uneven cooking.
Storage and Reheating Guidelines
Proper Storage Methods
Refrigerator Storage:
- Store in airtight container for up to 3 days
- Place paper towels between layers to absorb moisture
- Keep separate from sauces to maintain crispiness
Freezer Storage:
- Freeze for up to 3 months in freezer-safe containers
- Flash freeze individually before storing together
- Label with date and reheating instructions
Reheating for Best Results
| Method | Temperature | Time | Result Quality |
|---|---|---|---|
| Oven | 400°F | 8-10 minutes | Excellent crispiness |
| Air Fryer | 380°F | 5-6 minutes | Best overall results |
| Toaster Oven | 375°F | 6-8 minutes | Good for small portions |
| Microwave | High | 1-2 minutes | Quick but less crispy |
The air fryer method produces results closest to freshly made strips, while the oven method works well for larger quantities.
Serving Suggestions and Pairings
Classic Accompaniments
Traditional Sides:
- Coleslaw with tangy dressing
- Mac and cheese (homemade preferred)
- Biscuits with honey butter
- Red beans and rice
- Mashed potatoes with gravy
Sauce Options:
- Honey mustard (classic pairing)
- Ranch dressing (cool contrast)
- Buffalo sauce (extra heat)
- Creole remoulade (authentic Louisiana flavor)
- Sweet and sour sauce (family-friendly)
Creative Serving Ideas
Chicken Strip Wraps: Wrap strips in flour tortillas with lettuce, tomatoes, and ranch dressing for a handheld meal.
Salad Toppers: Slice strips and serve over mixed greens with your favorite vegetables and dressing.
Sandwich Style: Serve on brioche buns with pickles and mayo for a gourmet chicken sandwich experience.
Appetizer Platter: Cut into smaller pieces and serve with multiple dipping sauces for parties or game day.
Cost Analysis and Meal Planning
Budget Breakdown
| Ingredient Category | Approximate Cost | Cost per Serving |
|---|---|---|
| Chicken (2 lbs) | $8.00 | $2.00 |
| Flour and Coating | $1.50 | $0.38 |
| Spices | $2.00 | $0.50 |
| Oil for Frying | $2.00 | $0.50 |
| Buttermilk | $1.50 | $0.38 |
| Total | $15.00 | $3.76 |
Making these chicken strips at home costs significantly less than purchasing from restaurants while providing better portion control and ingredient quality.
Meal Prep Strategies
Weekly Prep Method:
- Marinate chicken on Sunday evening
- Prepare coating mixtures and store in airtight containers
- Fry fresh as needed throughout the week
- Pre-cut vegetables and prepare sauces
Batch Cooking Approach:
- Fry large batches when you have time
- Freeze in meal-sized portions
- Reheat using recommended methods
- Saves time on busy weeknights
Tips for Success
Professional Techniques I’ve Learned
Temperature Management: Use two thermometers – one for oil temperature and one for checking internal chicken temperature. Consistent monitoring prevents overcooking and ensures food safety.
Seasoning Distribution: Mix seasoning blends thoroughly and sift to eliminate clumps. Uneven seasoning distribution creates inconsistent flavor throughout the batch.
Oil Management: Strain oil between batches to remove coating particles that can burn and create off-flavors. Quality oil can be reused 3-4 times with proper care.
Timing Coordination: Start heating oil before beginning the coating process. This ensures optimal temperature when you’re ready to fry, preventing extended waiting times that can affect coating quality.
Questions and Answers
Q: Can I bake these chicken strips instead of frying them?
Yes, you can bake them at 425°F for 18-20 minutes, flipping halfway through. While they won’t be quite as crispy as fried versions, they’ll still be delicious. Spray with cooking oil before baking for better browning.
Q: How long should I marinate the chicken for best results?
I recommend marinating for at least 4 hours, but overnight (8-12 hours) produces the most tender results. The buttermilk needs time to break down the proteins and infuse flavor throughout the meat.
Q: What’s the secret to getting the coating to stick properly?
The key is the double-coating technique combined with proper resting time. Make sure to press the coating firmly onto the chicken and let it rest for 15 minutes before frying. This allows the coating to set and adhere better.
Q: Can I make this recipe spicier?
Absolutely! Increase the cayenne pepper, add hot sauce to the marinade, or include additional spicy seasonings like chipotle powder or ghost pepper. Start with small increases and adjust to your heat preference.
Q: Why does my chicken turn out greasy?
Greasy chicken usually results from oil that’s too cool or overcrowding the pot. Maintain oil temperature at 350°F and fry in small batches. Also, drain on a wire rack rather than paper towels alone.
Q: Can I use chicken thighs instead of breasts?
Yes, boneless chicken thighs work excellently and often stay more moist than breasts. Cut them into similar-sized strips and follow the same process. Cooking time might increase slightly due to higher fat content.
Q: How do I know when the chicken is fully cooked?
Use a meat thermometer to check that the internal temperature reaches 165°F. The coating should be golden brown, and juices should run clear when pierced.
Q: Can I prepare the coating mixture ahead of time?
Yes, you can mix the dry ingredients up to a week in advance and store in airtight containers. This actually helps the flavors meld together and can save time during busy cooking days.
Q: What type of flour works best for this recipe?
All-purpose flour provides the best balance of protein content for proper coating texture. Avoid cake flour (too soft) or bread flour (too tough). The combination with cornstarch creates the perfect crispy texture.
Q: How can I make this recipe healthier?
Consider air frying or baking instead of deep frying, using less oil. You can also increase the protein-to-coating ratio by making the coating thinner, or serve with fresh vegetables and lighter sides.
Creating these copycat Popeye’s chicken strips at home has become one of my favorite weekend cooking projects. The process might seem involved, but the results are absolutely worth the effort. There’s something incredibly satisfying about achieving that perfect combination of crispy coating and tender, juicy chicken in your own kitchen.
The beauty of this recipe lies not just in its authentic taste, but in its adaptability. Whether you prefer mild or spicy, traditional or creative serving styles, these chicken strips provide a versatile base for countless meal variations. I’ve served them at family gatherings, casual dinners, and even game day parties – they’re always a crowd-pleaser.
Remember, mastering this recipe takes practice. Don’t be discouraged if your first attempt isn’t perfect. Each time you make these strips, you’ll develop better timing, temperature control, and technique. Soon, you’ll be creating restaurant-quality chicken strips that rival the original and satisfy those Popeye’s cravings anytime you want.