There’s something absolutely magical about the moment I first slice into a perfectly swirled pumpkin cheesecake. The creamy vanilla base marbled with ribbons of spiced pumpkin creates a visual masterpiece that’s almost too beautiful to eat – almost. After years of perfecting this recipe in my kitchen, I can confidently say this dessert has become my go-to showstopper for every autumn gathering.
The beauty of swirled pumpkin cheesecake lies in its perfect balance of flavors and textures. Unlike traditional pumpkin cheesecakes that can sometimes feel heavy or one-dimensional, the swirling technique creates pockets of different intensities – some bites burst with warm spices and pumpkin richness, while others offer the clean, tangy notes of classic cheesecake. It’s like getting two desserts in one, and honestly, that’s exactly what makes it so irresistible.
Understanding the Art of Cheesecake Swirling
Before diving into the recipe, let me share what I’ve learned about creating those Instagram-worthy swirls. The key lies in understanding the consistency of your batters and the timing of when you combine them. I’ve made plenty of muddy-looking cheesecakes in my early attempts, and I want to save you from that disappointment.
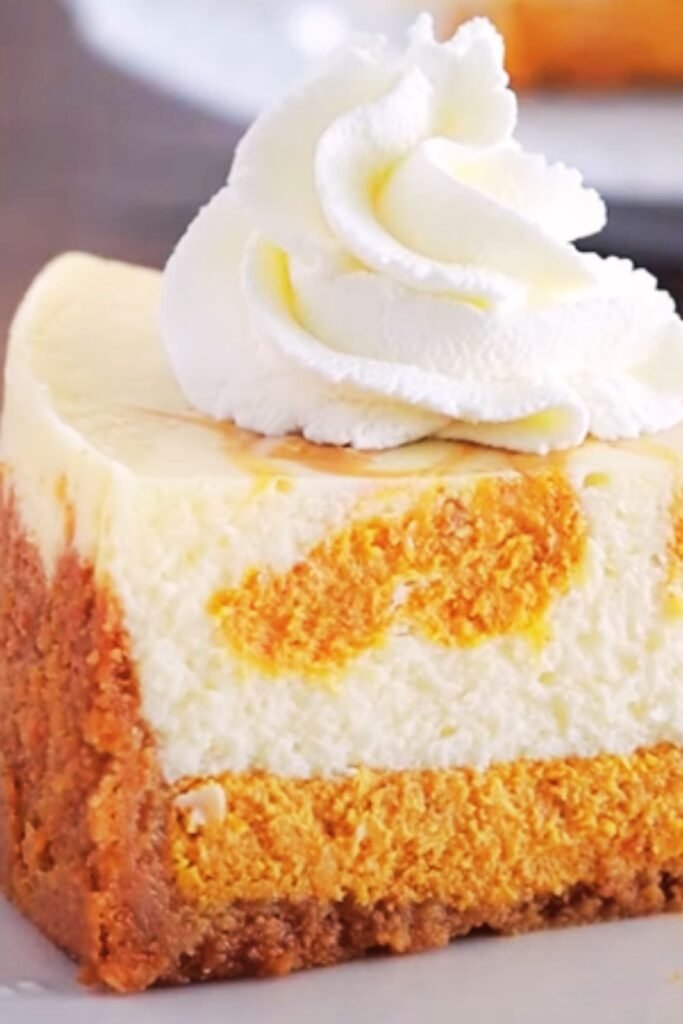
Swirling Technique: The process involves creating two distinct batters – a vanilla cream cheese base and a pumpkin-spiced mixture. The magic happens when you dollop the pumpkin mixture over the vanilla base and use a knife to create elegant marble patterns.
Temperature Control: Room temperature ingredients are absolutely crucial. I cannot stress this enough. Cold cream cheese will create lumps, and your swirls will look more like chunks than elegant ribbons.
Timing: The swirling must happen immediately after layering. Wait too long, and the batters will start to set, making smooth swirls impossible.
Essential Ingredients Breakdown
Let me walk you through each component that makes this cheesecake extraordinary. I’ve tested various brands and types over the years, and these specifications will give you the best results.
Crust Components
- Graham crackers: I prefer honey graham crackers for their subtle sweetness that complements the pumpkin
- Unsalted butter: Always use unsalted so you can control the salt content
- Brown sugar: Adds depth and connects beautifully with the fall flavors
Cream Cheese Base
- Full-fat cream cheese: Never use low-fat versions – they’ll make your cheesecake grainy
- Large eggs: Room temperature is essential for smooth incorporation
- Pure vanilla extract: Skip imitation vanilla; the real thing makes a noticeable difference
Pumpkin Swirl Mixture
- Pumpkin puree: Use 100% pure pumpkin, not pumpkin pie filling
- Ground cinnamon: Freshly ground if possible
- Nutmeg: A little goes a long way with this potent spice
- Ground ginger: Adds warmth without overwhelming heat
- Allspice: The secret ingredient that ties all the spices together
Detailed Nutrition Information
| Nutrient | Per Slice (1/12 of cake) | Daily Value % |
|---|---|---|
| Calories | 420 | 21% |
| Total Fat | 28g | 43% |
| Saturated Fat | 17g | 85% |
| Cholesterol | 145mg | 48% |
| Sodium | 320mg | 14% |
| Total Carbohydrates | 35g | 13% |
| Dietary Fiber | 2g | 7% |
| Sugars | 31g | – |
| Protein | 8g | 16% |
| Vitamin A | 6,850 IU | 137% |
| Calcium | 125mg | 13% |
| Iron | 1.2mg | 7% |
Step-by-Step Recipe Instructions
Preparing the Crust
I start every cheesecake with the crust because it needs time to cool while I prepare the filling. This foundation sets the tone for the entire dessert.
First, I preheat my oven to 350°F and line a 9-inch springform pan with parchment paper. I’ve learned the hard way that skipping this step can lead to sticking disasters.
For the crust, I combine 1½ cups of finely crushed graham crackers with ⅓ cup of melted unsalted butter and 2 tablespoons of brown sugar. The mixture should hold together when pressed but not feel wet. I press this firmly into the bottom of my prepared pan, making sure to create an even layer that goes slightly up the sides.
The crust bakes for 10 minutes until it’s lightly golden. While it cools, I reduce the oven temperature to 325°F – this lower temperature prevents cracking and ensures even cooking.
Creating the Vanilla Base
Room temperature cream cheese is absolutely critical here. I take my cream cheese out at least 2 hours before I plan to bake. In my stand mixer, I beat 24 ounces of cream cheese until it’s completely smooth and fluffy – this usually takes about 3 minutes on medium speed.
Gradually, I add ¾ cup of granulated sugar, beating until combined. Then come the eggs, one at a time, mixing just until incorporated after each addition. Overmixing at this stage incorporates too much air, which can cause cracking later.
Finally, I add ½ cup of sour cream, 2 teaspoons of vanilla extract, and a pinch of salt. The base should be smooth, creamy, and without any lumps.
Preparing the Pumpkin Swirl
In a separate bowl, I whisk together ¾ cup of pumpkin puree, ¼ cup of brown sugar, 1 large egg, 1 teaspoon of cinnamon, ½ teaspoon of nutmeg, ¼ teaspoon of ginger, and ⅛ teaspoon of allspice. This mixture should be smooth and well-combined but not overmixed.
The consistency should be similar to the vanilla base – thick enough to hold its shape when dolloped, but fluid enough to swirl easily.
Assembly and Swirling Technique
This is where the magic happens, and I’ll share my foolproof technique for creating those beautiful swirls.
I pour about two-thirds of the vanilla base into my cooled crust, spreading it evenly. Then, I dollop spoonfuls of the pumpkin mixture over the vanilla base – I aim for about 8-10 dollops distributed evenly across the surface.
Next, I pour the remaining vanilla base over the top, which will partially cover the pumpkin dollops. Finally, I add the remaining pumpkin mixture in smaller dollops on top.
For the swirling, I use the tip of a knife to create figure-eight patterns and gentle S-curves throughout the batter. The key is to not overdo it – too much swirling creates a muddy appearance rather than distinct ribbons.
Baking and Cooling Process
I place the cheesecake on the center rack of my 325°F oven and bake for 55-65 minutes. The center should still have a slight jiggle when gently shaken – it will continue cooking from residual heat.
I turn off the oven and crack the door open, letting the cheesecake cool gradually for 1 hour. This prevents thermal shock, which is a major cause of cracking.
After the hour, I remove it completely and cool it to room temperature before refrigerating overnight. I know it’s tempting to cut into it sooner, but overnight chilling is essential for the perfect texture.
Troubleshooting Common Issues
Preventing Cracks
Temperature shock: Always use room temperature ingredients and cool the cheesecake gradually.
Overmixing: Beat just until combined – excess air causes expansion and cracking during cooling.
Overbaking: The center should still jiggle slightly when done.
Achieving Perfect Swirls
Batter consistency: Both batters should be similar in thickness for optimal swirling.
Technique: Use light pressure and don’t overwork the swirls.
Timing: Swirl immediately after layering – don’t let the batters sit.
Texture Problems
Graininess: Usually caused by cold cream cheese or overmixing after adding eggs.
Dense texture: Often results from overmixing or using low-fat ingredients.
Soggy crust: Make sure the crust is fully cooled before adding filling.
Serving and Storage Recommendations
Presentation Tips
I always use a sharp knife dipped in warm water and wiped clean between cuts. This creates those clean, professional-looking slices that showcase the beautiful swirl pattern.
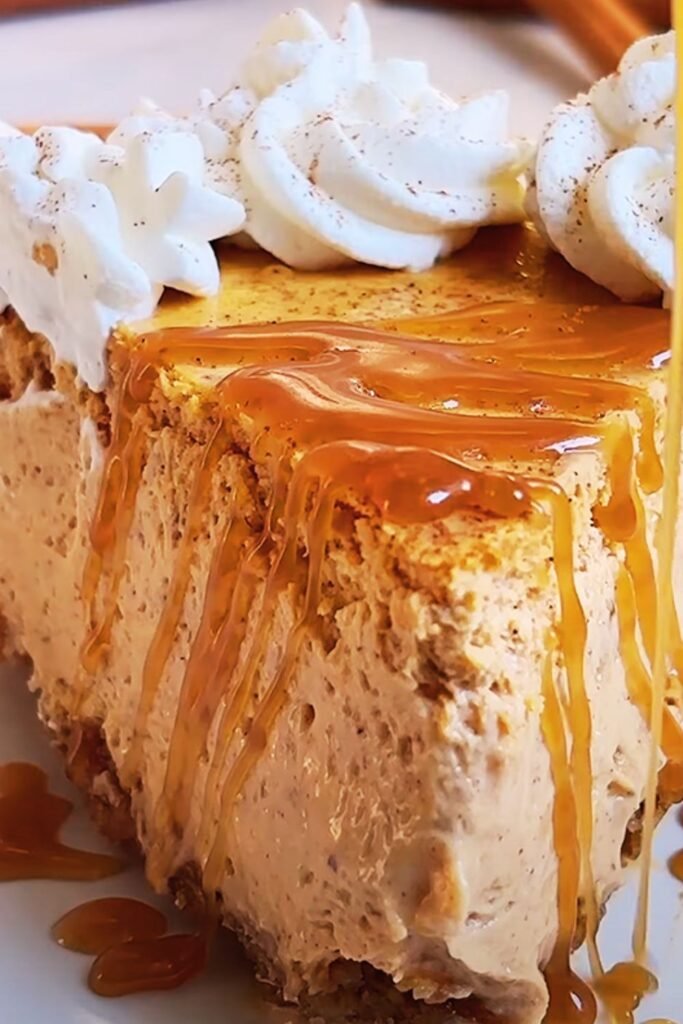
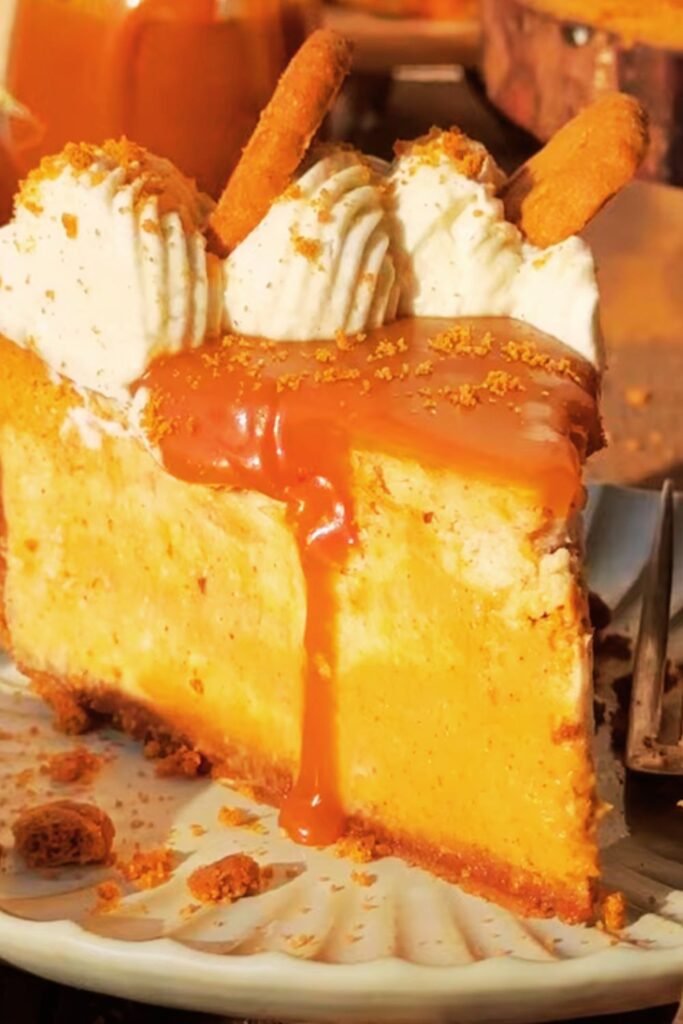
For special occasions, I garnish each slice with a dollop of whipped cream and a sprinkle of cinnamon. Sometimes I add a few toasted pecans or a drizzle of caramel sauce for extra indulgence.
Storage Guidelines
| Storage Method | Duration | Temperature | Notes |
|---|---|---|---|
| Refrigerator | 5-7 days | 35-40°F | Cover tightly with plastic wrap |
| Freezer (whole) | 2-3 months | 0°F | Wrap in plastic, then foil |
| Freezer (slices) | 1 month | 0°F | Individual wrapping recommended |
| Room temperature | 2 hours max | 68-72°F | Only for serving |
Serving Suggestions
This cheesecake pairs beautifully with hot coffee or spiced chai tea. I often serve it alongside other fall desserts at Thanksgiving, where it holds its own against pumpkin pie and apple crisp.
For a more elegant presentation, I sometimes serve it with a warm spiced berry compote or a drizzle of maple syrup. The contrast between the cool, creamy cheesecake and warm accompaniments creates a delightful sensory experience.
Seasonal Variations and Adaptations
Spice Modifications
During different times of fall, I adjust the spice profile to match my mood and the occasion. For early autumn, I might increase the ginger for a brighter note. Later in the season, I add a touch of cardamom for warmth.
Dietary Adaptations
Gluten-free crust: I substitute graham crackers with gluten-free gingersnaps or vanilla wafers.
Reduced sugar: I’ve successfully used sugar substitutes, reducing the amount by about 25% since they tend to be sweeter.
Mini versions: This recipe adapts beautifully to mini cheesecakes – just reduce the baking time to 18-22 minutes.
Expert Tips for Success
After making this recipe countless times, I’ve developed some insider techniques that consistently produce bakery-quality results.
Water bath alternative: While traditional cheesecakes benefit from water baths, I’ve found that placing a pan of hot water on the bottom rack achieves similar humidity without the hassle.
Testing for doneness: The center should jiggle like set gelatin when gently shaken. If it’s still liquid-like, continue baking in 5-minute intervals.
Make-ahead strategy: This cheesecake actually improves after 2-3 days in the refrigerator as the flavors meld and the texture becomes even more luxurious.
Nutritional Benefits of Key Ingredients
Pumpkin Powerhouse
Pumpkin brings more than just flavor to this dessert. It’s loaded with beta-carotene, which our bodies convert to vitamin A. This essential nutrient supports eye health and immune function. One slice provides over 100% of your daily vitamin A needs.
Protein Content
The cream cheese and eggs contribute significant protein – about 8 grams per slice. This makes the dessert more satisfying and helps balance blood sugar better than purely carbohydrate-based desserts.
Calcium Benefits
Each serving provides about 13% of your daily calcium needs, supporting bone health. The combination of cream cheese and eggs makes this a surprisingly good source of this essential mineral.
Questions and Answers
Q: Can I make this cheesecake without a springform pan?
I don’t recommend it. The springform pan’s removable sides are essential for getting clean edges and easy removal. A regular cake pan will likely result in broken pieces when you try to remove the cheesecake.
Q: How do I know when my cheesecake is perfectly done?
The center should have just a slight jiggle when you gently shake the pan. It should not be liquid or completely firm. The edges might be slightly puffed but shouldn’t be browned or cracked.
Q: Why did my cheesecake crack despite following the recipe exactly?
Cracking usually results from temperature shock or overbaking. Make sure all ingredients are at room temperature, don’t overmix after adding eggs, and cool the cheesecake gradually in the oven with the door cracked open.
Q: Can I substitute the pumpkin puree with fresh pumpkin?
Yes, but you’ll need to roast and puree the pumpkin first, then strain it to remove excess moisture. Canned puree is actually more consistent and often preferred by professional bakers.
Q: How far in advance can I make this cheesecake?
This cheesecake is actually better when made 2-3 days ahead. The flavors develop and the texture becomes even more luxurious. It can be stored in the refrigerator for up to a week.
Q: What’s the best way to transport this cheesecake?
Keep it chilled until the last possible moment, then place it on a flat, stable surface in your vehicle. I use a large, flat container with high sides to prevent sliding. Avoid sudden stops and sharp turns.
Q: Can I freeze individual slices?
Absolutely! Wrap each slice individually in plastic wrap, then place in freezer bags. They’ll keep for up to a month and thaw beautifully in the refrigerator overnight.
Q: Why is my pumpkin swirl sinking to the bottom?
This usually happens when the pumpkin mixture is too thin or the vanilla base is too thick. Make sure both batters have similar consistencies, and don’t overmix the pumpkin portion.
Q: Can I use Greek yogurt instead of sour cream?
Yes, full-fat Greek yogurt works well as a substitute. It might make the cheesecake slightly denser, but the flavor will still be excellent.
Q: What’s the secret to getting perfectly smooth cream cheese mixture?
Room temperature cream cheese is crucial – it should be soft enough to press easily with your finger. Beat it alone first until completely smooth before adding any other ingredients, and scrape down the bowl frequently.