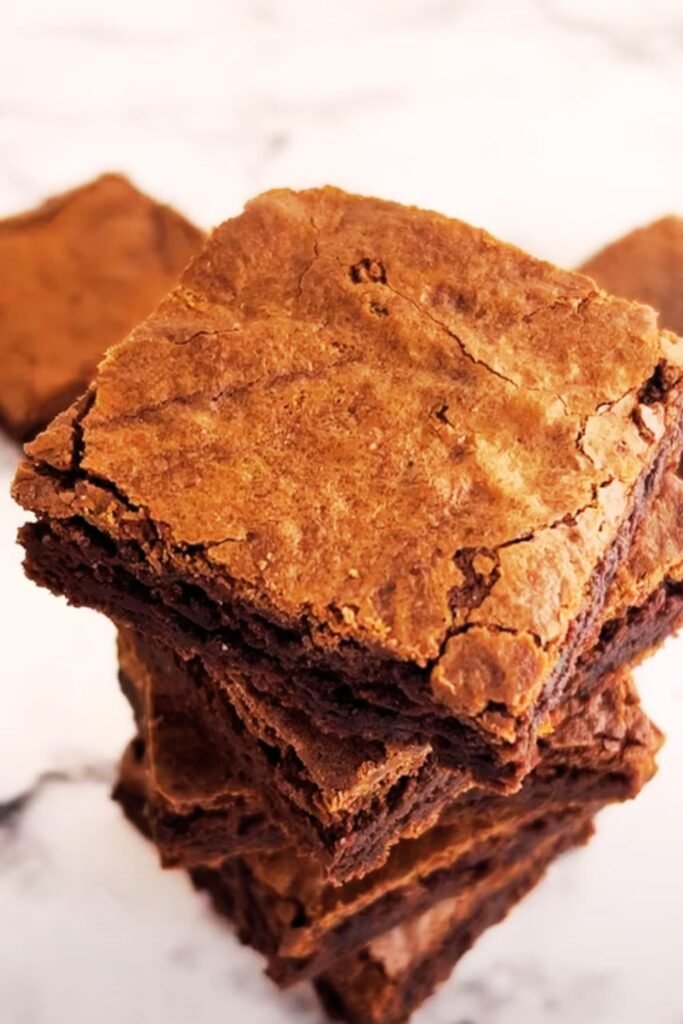
I’ll never forget the first time I made brownies from scratch. After years of relying on those convenient box mixes, I was skeptical that a homemade version could truly compete. But that first bite of my homemade brownies—with their perfect crackly top, fudgy center, and deep chocolate flavor—completely changed my perspective. Today, I’m sharing my tried-and-true recipe that beats any box mix and will transform you into a brownie-making expert.
Why Homemade Brownies Beat Box Mix Every Time
Box mixes are convenient, I won’t argue with that. But the difference in flavor, texture, and satisfaction when making brownies from scratch is truly remarkable. Here’s why homemade brownies are superior:
- Control over ingredients: No artificial flavors, preservatives, or mystery ingredients
- Customizable sweetness: Adjust to your exact preference
- Chocolate intensity: Use high-quality chocolate for deeper flavor
- Texture perfection: Create exactly the fudginess or cakiness you desire
- Freshness factor: Nothing beats the aroma and taste of freshly baked goods
- Bragging rights: The pride of saying “I made these from scratch!”
Essential Ingredients for Perfect Brownies
Quality ingredients make all the difference when crafting brownies that outshine any box mix. Here’s what you’ll need:
Dark Chocolate
The foundation of incredible brownies lies in using excellent chocolate. I prefer 70% dark chocolate for its robust flavor without overwhelming bitterness.
Butter
Real, unsalted butter creates a rich flavor base that vegetable oil simply can’t match. Always use room temperature butter for best results.
Eggs
Eggs provide structure and richness. The proteins help create that coveted crackly top layer we all love.
Sugar
A combination of granulated and brown sugar creates the perfect sweetness profile while contributing to texture.
Flour
Just enough all-purpose flour to hold everything together, but not so much that you lose the fudgy texture.
Salt
Don’t skip this! Salt enhances chocolate flavor and balances sweetness.
Vanilla Extract
Real vanilla extract adds depth and complexity to the chocolate flavor.
Optional Add-ins
Consider chocolate chips, nuts, espresso powder, or cayenne for interesting variations.
Kitchen Equipment You’ll Need
Before diving into the recipe, gather these essential tools:
- 8×8 or 9×9 inch baking pan
- Parchment paper
- Medium saucepan
- Mixing bowls (medium and large)
- Whisk
- Rubber spatula
- Measuring cups and spoons
- Wire cooling rack
The Ultimate Better-Than-Box-Mix Brownie Recipe

Ingredients
| Ingredient | Amount | Notes |
|---|---|---|
| High-quality dark chocolate | 8 ounces (225g) | Chopped, 60-70% cocoa content |
| Unsalted butter | 1/2 cup (113g) | Cut into pieces |
| Granulated sugar | 1 cup (200g) | Regular white sugar |
| Brown sugar | 1/2 cup (100g) | Light or dark, packed |
| Large eggs | 3 | Room temperature |
| Vanilla extract | 2 teaspoons | Pure, not imitation |
| All-purpose flour | 1 cup (125g) | Measured by spooning into cup, then leveling |
| Unsweetened cocoa powder | 1/4 cup (25g) | Dutch-processed preferred |
| Salt | 1/2 teaspoon | Fine sea salt works best |
| Espresso powder | 1 teaspoon | Optional, enhances chocolate flavor |
| Chocolate chips | 1/2 cup (90g) | Optional, semisweet or dark |
| Chopped walnuts or pecans | 1/2 cup (60g) | Optional, toasted for best flavor |
Instructions
- Prep your workspace
- Preheat your oven to 350°F (175°C)
- Line your baking pan with parchment paper, leaving overhang on two sides for easy removal
- Gather all ingredients and measure them out (mise en place)
- Melt the chocolate and butter
- Set up a double boiler by placing a heat-proof bowl over a pot of simmering water (don’t let the bowl touch the water)
- Add the chopped chocolate and butter to the bowl
- Stir occasionally until completely melted and smooth
- Remove from heat and let cool slightly (about 5 minutes)
- Mix the sugar and eggs
- In a large bowl, whisk both sugars together
- Add eggs one at a time, whisking vigorously after each addition
- Mix until the mixture becomes lighter in color and slightly thickened
- Add vanilla extract and whisk to combine
- Combine wet and dry ingredients
- Pour the cooled chocolate-butter mixture into the egg-sugar mixture
- Whisk until completely combined
- In a separate bowl, whisk together flour, cocoa powder, salt, and espresso powder (if using)
- Gently fold the dry ingredients into the wet ingredients using a rubber spatula
- Stop mixing as soon as no dry flour is visible (overmixing leads to tough brownies)
- Add mix-ins and bake
- If using, fold in chocolate chips and/or nuts
- Pour the batter into the prepared pan and smooth the top with your spatula
- Tap the pan gently on the counter a few times to remove air bubbles
- Bake for 25-30 minutes, or until a toothpick inserted in the center comes out with a few moist crumbs (not wet batter)
- Cool properly
- Let the brownies cool completely in the pan on a wire rack (at least 1 hour)
- Once cooled, lift out using the parchment paper overhang
- Cut into squares with a sharp knife (cleaning the knife between cuts gives cleaner edges)
The Science Behind Perfect Brownies
Understanding the science behind brownie-making can help you achieve consistent, amazing results:
The Role of Chocolate Fat Content
Higher-quality chocolate with higher cocoa butter content creates a more luxurious mouthfeel. This is a key difference from box mixes, which often use lower-grade chocolate products.
Melting Method Matters
Melting chocolate over gentle heat prevents burning and resulting bitterness. The double boiler method allows the chocolate to melt smoothly without direct heat exposure.
Sugar’s Dual Purpose
Sugar not only sweetens but creates the structure. When beaten with eggs, sugar helps create that signature crackly top by dissolving and then crystallizing during baking.
Flour and Texture
The ratio of flour to fat determines whether your brownies are fudgy or cakey:
- Less flour = fudgier brownies
- More flour = cakier brownies
This recipe uses just enough flour to hold everything together while maintaining a rich, fudgy texture.
The Perfect Bake Time
Overbaking is the most common brownie mistake. Remember that brownies continue cooking from residual heat after removal from the oven. When in doubt, underbake slightly for fudgier results.
Troubleshooting Common Brownie Issues
| Problem | Possible Cause | Solution |
|---|---|---|
| Brownies too cakey | Too much flour or leavening | Measure flour carefully; this recipe intentionally uses no baking powder |
| Brownies too dry | Overbaking | Bake only until a toothpick has moist crumbs |
| No crackly top | Sugar not properly incorporated | Beat sugar and eggs thoroughly until lightened |
| Brownies sink in the middle | Underbaking | Increase bake time by 2-3 minutes |
| Edges too hard | Pan may conduct heat too quickly | Use glass or ceramic pan instead of metal |
| Brownies stick to pan | Improper pan preparation | Always use parchment paper with overhang |
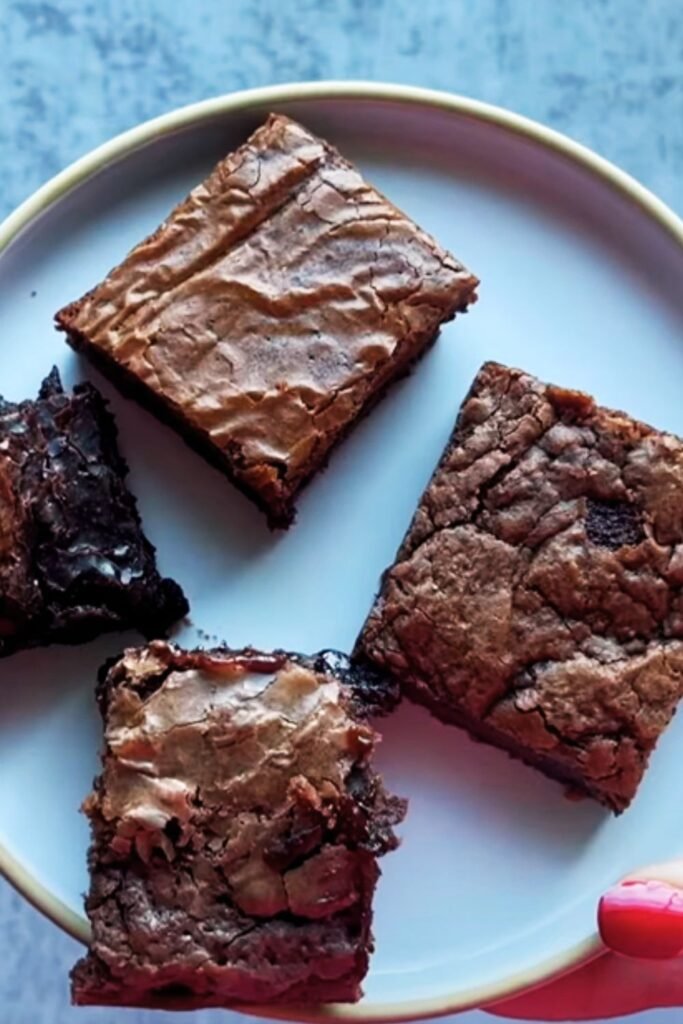
Variations to Try
Once you’ve mastered the basic recipe, try these exciting variations:
Salted Caramel Brownies
Swirl 1/3 cup of salted caramel sauce into the batter before baking and sprinkle with flaky sea salt.
Peppermint Mocha Brownies
Add 1 tablespoon of instant espresso powder and 1/2 teaspoon peppermint extract to the batter.
Mexican Chocolate Brownies
Add 1 teaspoon cinnamon, 1/4 teaspoon cayenne pepper, and a pinch of nutmeg to the dry ingredients.
Peanut Butter Swirl Brownies
Drop 1/4 cup warmed peanut butter in dollops over the batter and swirl with a knife before baking.
S’mores Brownies
Top partially baked brownies (after 20 minutes) with mini marshmallows and graham cracker pieces, then return to oven for 5-7 minutes.
Storage Tips for Maximum Freshness
How you store your brownies can significantly impact their taste and texture days after baking:
- Counter storage: Place in an airtight container at room temperature for 3-4 days
- Refrigerator: Extend freshness to 1 week (bring to room temperature before serving)
- Freezer: Wrap individual brownies in plastic wrap, then aluminum foil, and freeze for up to 3 months
- Reviving stale brownies: Warm in microwave for 10-15 seconds or in oven at 300°F for 5 minutes
Serving Suggestions
Transform your brownies from simple treats to impressive desserts with these serving ideas:
Brownie Sundae
Top a warm brownie with vanilla ice cream, hot fudge sauce, whipped cream, and a cherry.
Brownie Trifle
Layer brownie pieces with whipped cream, chocolate pudding, and berries in a clear glass.
Brownie Milkshake
Blend a brownie with vanilla ice cream and milk for an indulgent shake.
Brownie à la Mode with Raspberry Sauce
Serve with vanilla ice cream and fresh raspberry sauce for a restaurant-quality dessert.
Coffee Pairing
Serve with espresso or cappuccino for an afternoon treat. The coffee enhances the chocolate flavors.
Nutritional Information
While these brownies are an indulgence, it’s helpful to know what you’re enjoying. Here’s the approximate nutritional information per brownie (based on cutting into 16 pieces):
| Nutrient | Amount per serving |
|---|---|
| Calories | 245 |
| Total Fat | 14g |
| Saturated Fat | 8g |
| Cholesterol | 60mg |
| Sodium | 95mg |
| Total Carbohydrates | 28g |
| Dietary Fiber | 2g |
| Sugars | 21g |
| Protein | 3g |
Health-Conscious Adaptations
While these brownies are meant to be a decadent treat, you can make some adjustments for dietary needs:
Lower Sugar Option
Reduce total sugar to 1 cup total (instead of 1.5 cups) and add 1/4 cup unsweetened applesauce.
Gluten-Free Version
Substitute all-purpose flour with a high-quality 1:1 gluten-free flour blend (look for one with xanthan gum included).
Dairy-Free Alternative
Use plant-based butter and dairy-free dark chocolate (check labels to ensure no milk ingredients).
Egg Substitute
Replace each egg with 1/4 cup unsweetened applesauce or a commercial egg replacer (texture will be slightly different).
Portion Control
Cut into 25 smaller squares instead of 16 for reduced calories per serving.
Why This Recipe Works Every Time
I’ve made these brownies dozens of times, and they’ve never failed me. Here’s why this recipe stands the test of time:
- The chocolate-to-fat ratio creates the perfect fudgy texture
- The combination of cocoa powder and chocolate delivers deep flavor
- The melting method ensures smooth incorporation
- The minimal flour amount prevents dryness
- The precise baking instructions guarantee consistent results
Unlike box mixes that rely on artificial flavors and preservatives, these brownies derive their incredible taste from high-quality, simple ingredients that shine through in every bite.
Frequently Asked Questions
Q: Can I double this recipe? Absolutely! Double all ingredients and use a 9×13 inch pan. You may need to increase baking time by 5-10 minutes, but still use the toothpick test to determine doneness.
Q: Why do you use both melted chocolate and cocoa powder? Each contributes differently to the final product. Melted chocolate provides richness and fudginess, while cocoa powder intensifies the chocolate flavor and helps create structure.
Q: My brownies never get that crackly top. What am I doing wrong? The crackly top comes from properly beating the eggs and sugar together until the mixture is lighter in color and slightly thickened. This creates a meringue-like effect that forms the crackly top during baking.
Q: Can I use milk chocolate instead of dark chocolate? Yes, but your brownies will be significantly sweeter. I’d recommend reducing the sugar by about 1/4 cup if using milk chocolate.
Q: How can I tell when brownies are done without overbaking them? Insert a toothpick in the center. For fudgy brownies, it should come out with a few moist crumbs attached (not wet batter). The edges should be set and slightly pulled away from the pan, but the center should still look slightly underdone.
Q: Do I really need to wait for them to cool completely? Yes! Cooling allows the flavors to develop and the texture to set properly. Cutting hot brownies results in messy edges and an underdeveloped flavor profile.
Q: Can I use Dutch-processed and natural cocoa powder interchangeably? For this recipe, yes. Since we’re not using chemical leavening that reacts differently with different cocoa types, either will work, though Dutch-processed offers a smoother flavor.
My Personal Brownie Journey
I remember standing in my grandmother’s kitchen, watching her bypass the box mix and pull out bars of chocolate, butter, and other ingredients from her pantry. “Anyone can make box brownies,” she’d say, “but homemade brownies are made with love.”
It took me years to truly appreciate what she meant. The process of making brownies from scratch—the careful measuring, the chocolate melting, the gentle folding of ingredients—became a form of meditation. The anticipation as the aroma fills the kitchen cannot be replicated with a box mix.
These brownies have become my signature dessert, requested at every family gathering and potluck. They’ve comforted friends during difficult times, celebrated achievements, and even played a role in a few successful dinner parties where I was trying to impress guests.
The beauty of this recipe lies not just in its superior taste but in its ability to create moments and memories. Next time you have the urge to reach for the box mix, I hope you’ll give this recipe a try instead. The extra few minutes of effort yield immeasurable returns in satisfaction and flavor.
Give these brownies a chance, and I promise you’ll never look at a box mix the same way again.