When I first discovered the magical combination of crème brûlée and cheesecake, my dessert world completely transformed. This isn’t just another dessert recipe – it’s a masterpiece that marries the silky smoothness of New York-style cheesecake with the sophisticated caramelized sugar top that makes crème brûlée so irresistible.
I’ve been perfecting this recipe for years, and I can confidently say that once you master this technique, you’ll have a show-stopping dessert that will leave your guests speechless. The contrast between the cool, creamy cheesecake base and the warm, crackling sugar crust creates an experience that’s both familiar and surprisingly innovative.
What Makes Crème Brûlée Cheesecake Special?
The genius of this dessert lies in its dual personality. During my culinary experiments, I’ve learned that the key to success is understanding how these two classic desserts complement each other:
Texture Harmony: The dense, velvety cheesecake provides a stable foundation, while the brittle caramelized sugar adds that satisfying crack we all love from traditional crème brûlée.
Flavor Balance: The tangy cream cheese base mellows the intense sweetness of the caramelized sugar, creating a perfectly balanced flavor profile.
Temperature Contrast: Serving the cheesecake chilled with a freshly torched top creates an exciting temperature variation in each bite.
Essential Ingredients and Their Roles
Understanding each ingredient’s purpose has been crucial in my journey to perfect this recipe. Let me break down the key components:
Cheesecake Base Components
Cream Cheese: I always use full-fat cream cheese at room temperature. This is non-negotiable – low-fat versions will compromise the texture and richness.
Heavy Cream: Adds luxurious smoothness and helps achieve that perfect consistency.
Eggs: Room temperature eggs incorporate more easily and prevent lumps. I use large eggs exclusively.
Vanilla Extract: Pure vanilla extract is essential – imitation simply doesn’t provide the depth of flavor this dessert deserves.
Crust Foundation
Graham Crackers: I prefer honey graham crackers for their subtle sweetness, but regular ones work perfectly too.
Butter: Unsalted butter gives us control over the salt content and binds the crust beautifully.
Caramelization Layer
Granulated Sugar: Fine granulated sugar caramelizes most evenly. I’ve experimented with different sugars, and this consistently gives the best results.
Detailed Ingredient Measurements
| Ingredient | Quantity | Notes |
|---|---|---|
| Cream Cheese | 32 oz (4 packages) | Room temperature, Philadelphia brand preferred |
| Heavy Cream | 1 cup | 35% fat content minimum |
| Large Eggs | 4 whole | Room temperature for 2 hours |
| Granulated Sugar (filling) | 3/4 cup | Superfine works best |
| Vanilla Extract | 2 teaspoons | Pure vanilla only |
| Graham Crackers | 1.5 sleeves (24 crackers) | Finely crushed |
| Unsalted Butter | 6 tablespoons | Melted and slightly cooled |
| Salt | 1/4 teaspoon | For crust enhancement |
| Granulated Sugar (topping) | 6-8 tablespoons | For caramelization |
Equipment You’ll Need
Through trial and error, I’ve identified the essential tools that make this recipe foolproof:
9-inch Springform Pan: This is absolutely crucial for easy removal and presentation.
Kitchen Torch: A culinary torch is essential for achieving that perfect caramelized top. I recommend investing in a quality one.
Food Processor: For creating perfectly fine graham cracker crumbs.
Electric Mixer: Stand mixer preferred, but a hand mixer works with patience.
Fine-Mesh Sieve: For silky smooth filling without lumps.
Step-by-Step Preparation Guide
Preparing the Perfect Crust
My crust technique has evolved through countless attempts, and this method never fails me:
- Preheat and Prep: Set your oven to 350°F (175°C). Wrap the bottom of your springform pan tightly with aluminum foil to prevent water bath leakage.
- Crush the Crackers: Process graham crackers until you have fine, even crumbs. I aim for pieces no larger than coarse breadcrumbs.
- Combine and Press: Mix crumbs with melted butter and salt until the mixture holds together when squeezed. Press firmly into the pan bottom, creating slight edges up the sides.
- Pre-bake: Bake for 10 minutes until lightly golden. This step prevents a soggy bottom.
Creating the Silky Cheesecake Filling
This is where patience becomes your best friend:
- Room Temperature is Key: Ensure all dairy ingredients are at room temperature. Cold ingredients create lumps that are nearly impossible to eliminate.
- Gradual Mixing: Beat cream cheese until completely smooth, scraping bowl sides frequently. This takes about 3-4 minutes.
- Sugar Integration: Gradually add sugar, beating until dissolved and mixture is fluffy.
- Egg Addition: Add eggs one at a time, beating just until incorporated. Overbeating creates air bubbles that cause cracks.
- Final Touches: Slowly pour in heavy cream and vanilla, mixing until just combined.
The Water Bath Technique
I cannot stress enough how important the water bath is for preventing cracks:
- Prepare the Bath: Place your wrapped springform pan in a large roasting pan.
- Add Hot Water: Pour hot water halfway up the sides of the springform pan.
- Bake Low and Slow: 325°F (163°C) for 55-65 minutes until the center barely jiggles.
Nutritional Information
| Nutrient | Per Slice (12 servings) | Daily Value % |
|---|---|---|
| Calories | 485 | 24% |
| Total Fat | 35g | 54% |
| Saturated Fat | 22g | 110% |
| Cholesterol | 165mg | 55% |
| Sodium | 340mg | 15% |
| Carbohydrates | 38g | 13% |
| Protein | 8g | 16% |
| Calcium | 145mg | 14% |
Cooling and Chilling Process
Proper cooling is what separates good cheesecake from exceptional cheesecake:
Initial Cooling: Turn off oven, crack door slightly, and let cheesecake cool in the oven for 1 hour.
Room Temperature: Remove from oven and cool completely at room temperature, about 2 hours.
Refrigeration: Chill for at least 4 hours, preferably overnight. This is when the flavors meld and the texture becomes perfect.
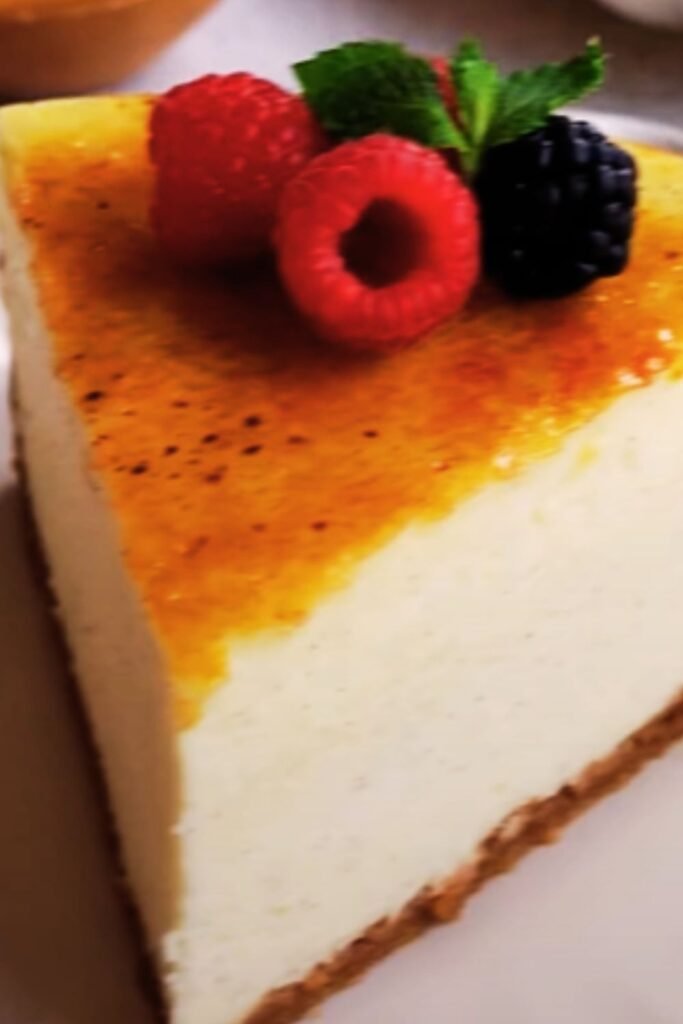
Mastering the Caramelized Sugar Top
This is the moment of truth – creating that signature crème brûlée crust:
Sugar Application Technique
- Even Distribution: Sprinkle 1-2 tablespoons of granulated sugar evenly across the chilled cheesecake surface.
- Torch Method: Hold the torch 3-4 inches from the surface, moving in small circles to caramelize evenly.
- Perfect Color: Aim for deep amber color with some darker spots for complexity.
- Safety First: Always torch in a well-ventilated area and keep a damp towel nearby.
Alternative Caramelization Methods
If you don’t have a torch, here are my backup methods:
Broiler Method: Place cheesecake on the highest oven rack and broil for 1-2 minutes, watching constantly.
Caramel Drizzle: Make a separate caramel sauce and pour over the chilled cheesecake.
Flavor Variations I’ve Perfected
Over the years, I’ve developed several variations that keep this dessert exciting:
Chocolate Crème Brûlée Cheesecake
Add 1/2 cup melted dark chocolate to the filling and use chocolate graham crackers for the crust.
Lemon Crème Brûlée Cheesecake
Incorporate 1/4 cup fresh lemon juice and 2 tablespoons lemon zest into the filling.
Coffee Crème Brûlée Cheesecake
Dissolve 2 tablespoons instant espresso powder in the heavy cream before adding to the mixture.
Storage and Serving Guidelines
| Storage Method | Duration | Quality Notes |
|---|---|---|
| Refrigerated (covered) | 5-7 days | Best quality first 3 days |
| Frozen (wrapped well) | 2-3 months | Thaw overnight before serving |
| Room Temperature | 2 hours maximum | Food safety concern beyond this |
Common Mistakes and How to Avoid Them
Through my years of making this dessert, I’ve encountered every possible pitfall:
Cracked Surface: Usually caused by overbaking or temperature shock. Use a water bath and gradual cooling.
Lumpy Texture: Cold ingredients are the culprit. Always bring dairy to room temperature first.
Soggy Crust: Pre-baking the crust and proper sealing prevent this issue.
Uneven Caramelization: Keep the torch moving and maintain consistent distance from the surface.
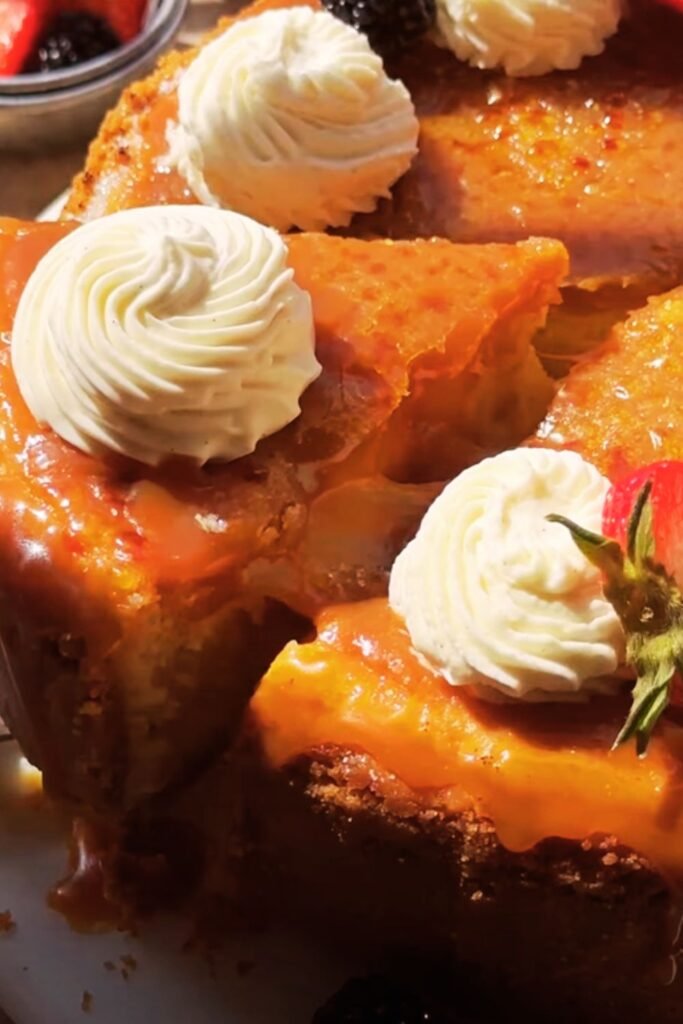
Serving Suggestions and Presentation
The beauty of this dessert lies not just in its taste but in its stunning presentation:
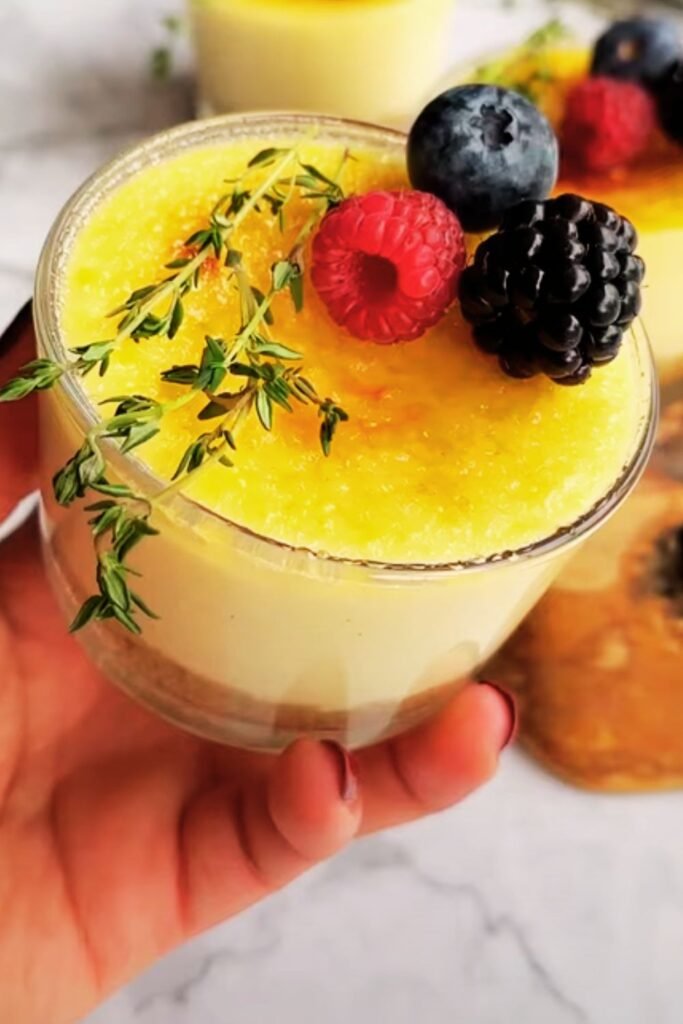
Fresh Berry Accompaniment: I love serving thin slices with fresh strawberries or raspberries. The tartness cuts through the richness beautifully.
Mint Garnish: A small sprig of fresh mint adds color and a refreshing aroma.
Fruit Coulis: A raspberry or strawberry coulis drizzled artfully around the plate elevates the presentation to restaurant quality.
Portion Control: I recommend 12 slices from a 9-inch cheesecake – this dessert is incredibly rich.
Troubleshooting Guide
Even experienced bakers encounter challenges. Here’s my troubleshooting wisdom:
If Your Cheesecake Cracks
Don’t panic! Cracks are cosmetic and won’t affect taste. The caramelized sugar top will hide minor imperfections. For future prevention, ensure your oven temperature is accurate and use the water bath method religiously.
If the Sugar Won’t Caramelize
This usually indicates the sugar is too thick or the torch isn’t hot enough. Apply thinner layers of sugar and ensure your torch flame is blue, not yellow.
If the Cheesecake is Too Soft
This typically means underbaking. The center should have just a slight jiggle when done. Next time, bake 5-10 minutes longer.
Make-Ahead Tips for Busy Hosts
I often make this dessert for dinner parties, and timing is everything:
Three Days Before: Make and bake the cheesecake completely. Cover and refrigerate without the sugar top.
Day of Serving: Apply sugar and torch just before serving for the best texture contrast.
Portion Planning: Cut slices 2-3 hours before serving and keep chilled. This makes plating much easier.
Professional Tips I’ve Learned
After making hundreds of these cheesecakes, here are my insider secrets:
Temperature Monitoring: Use an instant-read thermometer. The center should reach 150°F (66°C) for perfect doneness.
Ingredient Quality: Invest in high-quality cream cheese and pure vanilla extract. The difference is remarkable.
Mixing Technique: Scrape the bowl sides every 30 seconds during mixing to ensure no lumps hide at the bottom.
Water Bath Safety: Always use hot water in the bath – cold water creates temperature shock.
Frequently Asked Questions
Q: Can I make this cheesecake without a springform pan? A: While possible, I strongly recommend using a springform pan for easy removal and professional presentation. The investment is worth it for this recipe.
Q: How far in advance can I torch the sugar top? A: For best results, torch the sugar within 2 hours of serving. The caramelized layer starts to soften after extended time due to the cheesecake’s moisture.
Q: What’s the best way to cut clean slices? A: Use a thin, sharp knife dipped in warm water and wiped clean between each cut. This prevents the filling from sticking to the blade.
Q: Can I use a different type of sugar for caramelizing? A: I’ve experimented with various sugars, but granulated white sugar gives the most consistent results. Brown sugar burns too quickly, and superfine sugar can be tricky to control.
Q: Why did my cheesecake sink in the middle? A: This usually indicates overbeating or rapid temperature changes. Beat ingredients just until combined and cool gradually in the oven with the door cracked.
Q: Can I freeze individual slices? A: Absolutely! Wrap each slice individually in plastic wrap, then aluminum foil. Thaw in the refrigerator overnight and torch fresh sugar on top before serving.
Q: What should I do if I don’t have a kitchen torch? A: The broiler method works as an alternative, but requires constant attention. Place the cheesecake on the highest rack and broil for 1-2 minutes, watching carefully to prevent burning.
Q: How do I know when the cheesecake is properly done? A: The edges should be set and lightly golden, while the center should have just a slight jiggle when gently shaken. The internal temperature should reach 150°F (66°C).
Q: Can I add other flavors to the caramelized sugar? A: I sometimes add a pinch of sea salt or cinnamon to the sugar before torching. These subtle additions create interesting flavor layers without overwhelming the classic combination.
Q: What’s the secret to preventing water from leaking into the cheesecake during the water bath? A: Double-wrap the bottom and sides of your springform pan with heavy-duty aluminum foil. I create a complete seal to ensure no water penetration.
This crème brûlée cheesecake represents the perfect marriage of two beloved desserts. The time and attention it requires are investments in creating something truly spectacular. Every step, from the perfectly pressed crust to that final satisfying crack of the caramelized sugar, contributes to a dessert experience that will be remembered long after the last bite.
The beauty of mastering this recipe lies not just in the final result, but in understanding the techniques that make it possible. Once you’ve conquered the water bath method, perfected your torching technique, and learned to read the subtle signs of doneness, you’ll have the confidence to create this showstopper whenever the occasion calls for something extraordinary.