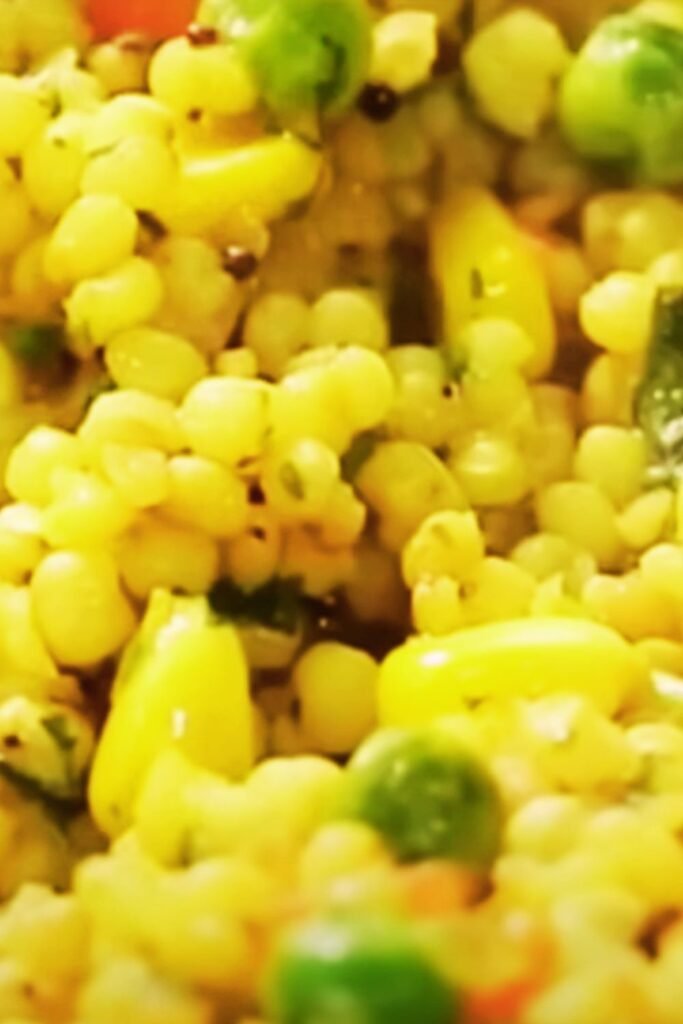
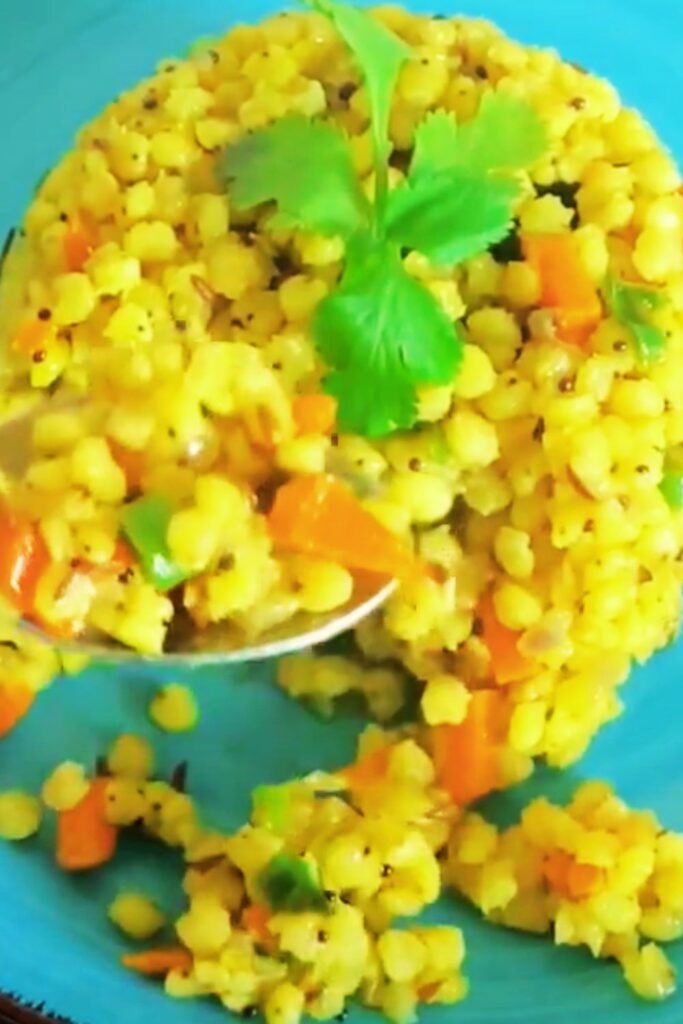
As a parent who’s constantly searching for recipes that’ll make my kids actually excited about dinner time, I’ve discovered something magical: Easy Cheezy Peazy Pasta Balls. These little golden spheres of joy have become my secret weapon against picky eaters, and I’m thrilled to share this game-changing recipe with you.
There’s something absolutely enchanting about watching children’s faces light up when they see these crispy, cheesy pasta balls on their plates. Unlike traditional pasta dishes that can sometimes feel repetitive, these bite-sized treasures transform ordinary ingredients into an extraordinary dining experience that kids can’t resist.
What Makes These Pasta Balls So Special?
Crispy exterior: The outside develops a beautiful golden crust that provides satisfying crunch Gooey center: Inside, melted cheese and tender pasta create the perfect comfort food texture Kid-friendly size: Perfect for little hands to grab and enjoy Customizable flavors: Easy to adapt based on your family’s preferences Make-ahead friendly: Prepare in advance for busy weeknight dinners
I remember the first time I made these pasta balls. My usually skeptical 8-year-old took one bite, paused dramatically, and declared them “better than pizza.” That’s when I knew I had stumbled upon something truly special.
Essential Ingredients for Success
The beauty of this recipe lies in its simplicity. You probably have most of these ingredients sitting in your pantry right now.
Main Components
| Ingredient | Quantity | Purpose | Substitution Options |
|---|---|---|---|
| Cooked pasta (small shapes) | 2 cups | Base structure | Any small pasta: orzo, ditalini, elbow |
| Mozzarella cheese, shredded | 1½ cups | Binding and flavor | Cheddar, provolone, or Italian blend |
| Parmesan cheese, grated | ½ cup | Depth of flavor | Romano or aged cheddar |
| Large eggs | 2 | Binding agent | Flax eggs for vegan option |
| Breadcrumbs | 1 cup | Texture and coating | Panko or homemade crumbs |
| Italian seasoning | 2 teaspoons | Flavor enhancement | Individual herbs: basil, oregano |
Flavor Enhancers
| Ingredient | Quantity | Benefit | Kid-Friendly Rating |
|---|---|---|---|
| Garlic powder | 1 teaspoon | Mild garlic flavor | High (not overwhelming) |
| Onion powder | ½ teaspoon | Subtle depth | High (undetectable) |
| Salt | 1 teaspoon | Flavor amplification | Essential |
| Black pepper | ¼ teaspoon | Mild spice | Medium (use sparingly) |
| Fresh parsley | 2 tablespoons | Color and freshness | Medium (optional for kids) |
Step-by-Step Preparation Guide
Creating these pasta balls requires attention to detail, but the process itself is wonderfully straightforward. I’ve refined this method through countless batches, and these steps ensure consistent results every time.
Preparation Phase
- Cook your pasta according to package directions until al dente
- Drain thoroughly and let cool for 10 minutes
- Preheat oven to 400°F (200°C)
- Line baking sheet with parchment paper
- Gather all ingredients for easy assembly
Mixing and Shaping
- Combine dry ingredients: In a large bowl, mix breadcrumbs, Italian seasoning, garlic powder, onion powder, salt, and pepper
- Add pasta: Fold in the cooled, cooked pasta until evenly distributed
- Incorporate cheese: Add mozzarella and Parmesan, mixing gently to avoid breaking pasta
- Create binding mixture: In a separate bowl, whisk eggs until smooth
- Combine everything: Pour egg mixture over pasta mixture and fold until everything holds together
The mixture should feel slightly sticky but manageable. If it’s too wet, add more breadcrumbs. If too dry, add another beaten egg.
Shaping Technique
Rolling method: Use a small ice cream scoop or your hands to form balls roughly 1½ inches in diameter Consistency tip: Keep your hands slightly damp to prevent sticking Size matters: Uniform sizing ensures even cooking Spacing: Place balls 2 inches apart on prepared baking sheet
Cooking Instructions for Perfect Results
Baking Method (Recommended)
Temperature: 400°F (200°C) Initial baking: 15 minutes Flip carefully: Turn each ball using tongs Final baking: 10-12 minutes until golden brown Internal temperature: Should reach 165°F (74°C)
Air Fryer Alternative
Temperature: 375°F (190°C) Time: 12-15 minutes total Flip halfway: Turn at 7-minute mark Batch cooking: Don’t overcrowd the basket
Nutritional Benefits That Parents Love
While kids are drawn to the crispy, cheesy goodness, parents can feel good about the nutritional value these pasta balls provide.
Nutritional Breakdown (Per Serving – 4 balls)
| Nutrient | Amount | % Daily Value | Benefit |
|---|---|---|---|
| Calories | 185 | 9% | Sustained energy |
| Protein | 12g | 24% | Muscle development |
| Carbohydrates | 22g | 7% | Brain fuel |
| Fat | 6g | 9% | Healthy fats |
| Calcium | 180mg | 18% | Strong bones |
| Iron | 1.2mg | 7% | Blood health |
Health Advantages
Protein powerhouse: The combination of cheese and eggs provides complete proteins essential for growing bodies Calcium boost: Supports developing bones and teeth Complex carbohydrates: Pasta provides sustained energy for active children Customizable nutrition: Easy to sneak in vegetables or use whole grain pasta
Creative Variations to Keep Things Exciting
One reason I adore this recipe is its incredible versatility. Once you’ve mastered the basic version, these variations will keep your family interested and excited about dinner time.
Veggie-Packed Versions
Spinach surprise: Fold in ½ cup finely chopped frozen spinach (thawed and drained) Carrot confetti: Add ¼ cup finely grated carrots for sweetness and color Zucchini magic: Include ⅓ cup grated zucchini (squeeze out excess moisture) Bell pepper bits: Finely diced bell peppers add crunch and vitamins
Protein Variations
Mini meatball style: Add ¼ cup cooked, crumbled ground turkey or beef Ham and cheese: Include ½ cup diced ham for a breakfast-meets-dinner vibe Bacon bits: Sprinkle in cooked, crumbled bacon (kids go crazy for this!)
International Flavors
Mexican fiesta: Add cumin, chili powder, and pepper jack cheese Italian classic: Extra basil, oregano, and sun-dried tomatoes Greek inspired: Feta cheese, dried oregano, and a pinch of dill
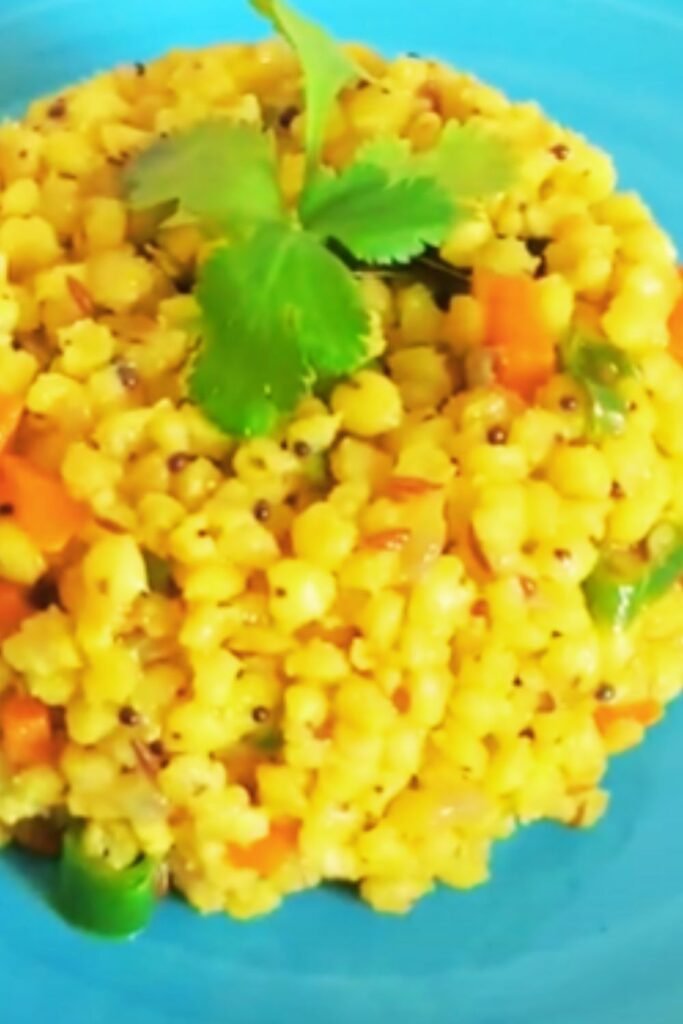
Serving Suggestions and Presentation Ideas
The presentation of these pasta balls can transform a simple dinner into a special occasion that kids will remember.
Sauce Pairings
| Sauce Type | Flavor Profile | Kid Appeal | Preparation Time |
|---|---|---|---|
| Marinara | Classic tomato | Very High | 5 minutes |
| Alfredo | Creamy, mild | High | 10 minutes |
| Pesto | Herby, nutty | Medium | 2 minutes |
| Ranch dressing | Creamy, tangy | Very High | 0 minutes |
| Honey mustard | Sweet, tangy | High | 2 minutes |
Creative Serving Ideas
Pasta ball skewers: Thread 3-4 balls on colorful skewers with cherry tomatoes Build-your-own stations: Let kids choose their own sauces and toppings Lunchbox portions: Pack in small containers with dipping sauce on the side Party platters: Arrange on large platters with multiple sauce options
Side Dish Companions
Fresh vegetables: Carrot sticks, cucumber slices, and bell pepper strips Simple salads: Mixed greens with light vinaigrette Garlic bread: Perfect for soaking up any leftover sauce Fruit cups: Balance the meal with natural sweetness
Storage and Meal Prep Strategies
As a busy parent, I’ve learned that successful meal planning often depends on smart storage and reheating techniques.
Refrigerator Storage
Duration: Up to 4 days in airtight container Best practices: Layer between parchment paper to prevent sticking Reheating: 350°F oven for 8-10 minutes or microwave for 30-45 seconds
Freezer Storage
Preparation: Flash freeze on baking sheet for 2 hours, then transfer to freezer bags Duration: Up to 3 months Reheating from frozen: 375°F oven for 15-18 minutes
Make-Ahead Tips
Prep day strategy: Form balls and refrigerate overnight before baking Batch cooking: Double the recipe and freeze half for future meals Lunch prep: Portion into individual containers with sauce packets
Troubleshooting Common Issues
Through my experience making hundreds of these pasta balls, I’ve encountered and solved virtually every problem you might face.
Problem-Solution Guide
| Issue | Cause | Solution | Prevention |
|---|---|---|---|
| Balls fall apart | Too little binding | Add extra egg or breadcrumbs | Ensure pasta is well-drained |
| Too soggy inside | Excess moisture | Bake longer at lower temperature | Pat pasta completely dry |
| Not crispy enough | Insufficient heat | Increase temperature by 25°F | Don’t overcrowd pan |
| Burnt outside, raw inside | Temperature too high | Lower heat, extend time | Use oven thermometer |
| Bland flavor | Under-seasoning | Season each component separately | Taste mixture before shaping |
Quality Indicators
Perfect texture: Crispy exterior with tender, cheesy interior Ideal color: Golden brown all around Proper binding: Holds together when cut in half Temperature check: Internal temperature reaches 165°F
Fun Facts and Kitchen Science
Understanding the science behind cooking helps create better results and makes the process more interesting for curious kids.
Why These Work So Well
Starch science: Cooked pasta releases starches that help bind ingredients Protein coagulation: Eggs set when heated, creating structure Maillard reaction: The browning process creates complex flavors and appealing color Cheese behavior: Mozzarella melts smoothly while Parmesan adds sharp flavor notes
Teaching Moments for Kids
Measuring practice: Let children measure ingredients for math skills Color changes: Observe how ingredients change color during cooking Texture exploration: Feel different ingredients and discuss textures Temperature awareness: Use this as an opportunity to teach kitchen safety
Questions and Answers
Q: Can I make these pasta balls gluten-free? Absolutely! Simply substitute gluten-free pasta and use gluten-free breadcrumbs. The texture will be slightly different, but they’re equally delicious. I recommend using a pasta made from rice or corn for the best results.
Q: How do I know when the pasta balls are perfectly cooked? The exterior should be golden brown and crispy to the touch, while the interior should be heated through completely. Using a food thermometer, the internal temperature should reach 165°F (74°C). If you don’t have a thermometer, cut one open – the cheese should be melted and steaming.
Q: Can I prepare the mixture ahead of time? Yes! You can prepare the mixture up to 24 hours in advance and store it covered in the refrigerator. However, I recommend shaping the balls just before baking for the best texture. The mixture may become slightly firmer when chilled, which can actually make shaping easier.
Q: What’s the best pasta shape to use for this recipe? Small, sturdy shapes work best. My favorites include ditalini, elbow macaroni, small shells, or orzo. Avoid long pasta like spaghetti or delicate shapes like angel hair, as they don’t hold together well in ball form.
Q: How can I make these more appealing to very picky eaters? Start with the basic recipe using mild cheeses and familiar flavors. Let kids help with the mixing and shaping process – they’re more likely to eat something they helped create. You can also serve with their favorite dipping sauce and gradually introduce new flavors over time.
Q: Are there any dairy-free alternatives for this recipe? Yes! Use dairy-free cheese alternatives and replace the eggs with flax eggs (1 tablespoon ground flaxseed mixed with 3 tablespoons water per egg, let sit for 5 minutes). Nutritional yeast can add a cheesy flavor without dairy.
Q: Can I bake these at a different temperature? While 400°F works best for the optimal crispy exterior and properly cooked interior, you can adjust. At 375°F, increase the time by 5-7 minutes. At 425°F, reduce the time by 3-5 minutes and watch carefully to prevent burning.
Q: What should I do if the mixture seems too wet to shape? Add breadcrumbs gradually, about 2 tablespoons at a time, until the mixture holds together properly. You can also refrigerate the mixture for 30 minutes to help it firm up before shaping.
Q: How many pasta balls does this recipe make? This recipe typically yields about 20-24 pasta balls, depending on size. I usually count on 4-5 balls per child serving and 6-8 balls per adult serving, though kids often want more!
Q: Can I use this recipe for a party or large gathering? Absolutely! This recipe doubles or triples easily. For large batches, I recommend using multiple baking sheets and rotating them halfway through cooking. You can also set up a DIY pasta ball bar with various sauces and toppings for guests to customize their own.
These Easy Cheezy Peazy Pasta Balls have revolutionized dinnertime in my household, transforming ordinary weeknight meals into something special that brings the whole family to the table with enthusiasm. The combination of familiar flavors, perfect kid-sized portions, and endless customization possibilities makes this recipe a true winner for busy parents who want to serve something both nutritious and irresistible.
Whether you’re dealing with picky eaters, planning ahead for busy weeks, or simply wanting to add more fun to your family meals, these pasta balls deliver on every front. The joy on children’s faces when they bite into that crispy exterior and discover the gooey, cheesy center inside makes every minute of preparation worthwhile.
Remember, cooking with kids isn’t just about the final result – it’s about creating memories, teaching life skills, and sharing quality time together. These pasta balls provide the perfect opportunity for all three. So gather your ingredients, invite your little helpers into the kitchen, and prepare to create not just a delicious meal, but lasting family memories that will warm your hearts for years to come.