There’s something magical about red velvet that makes my heart skip a beat every time I see that gorgeous crimson hue. When I first tried Crumbl’s famous red velvet cupcake cookies, I knew I had to recreate them at home. After countless attempts and tweaks, I’ve perfected this recipe that captures all the decadent flavors of a classic red velvet cupcake in cookie form.
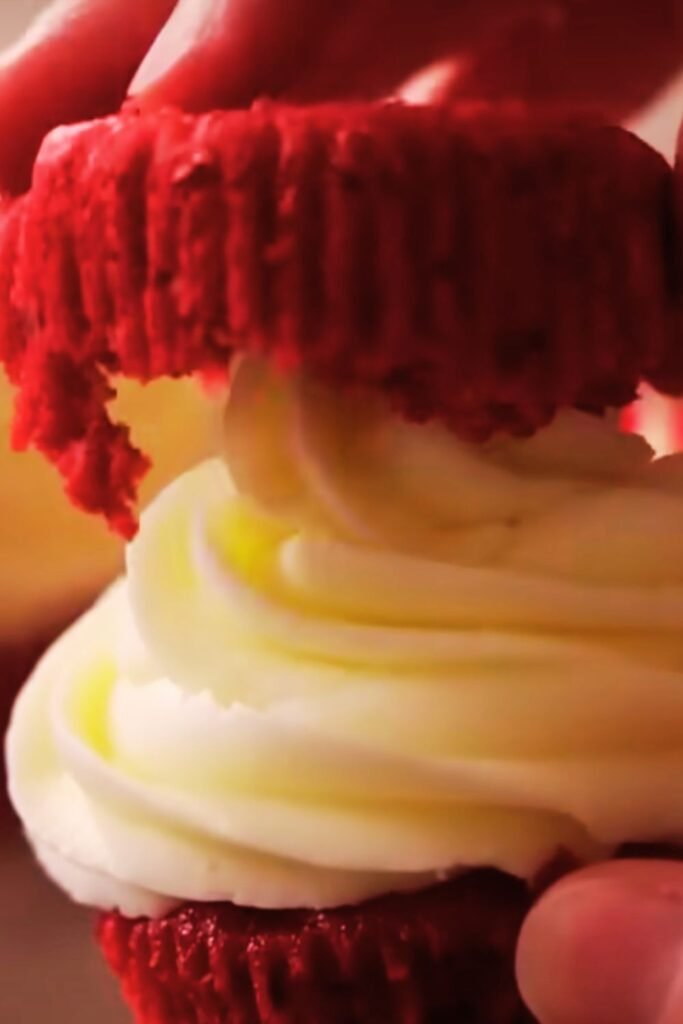
These aren’t your ordinary cookies – they’re thick, soft, and topped with the most incredible cream cheese frosting that’ll make you question whether you’re eating a cookie or a cupcake. The best part? You don’t need any fancy equipment or hard-to-find ingredients. I’ve designed this recipe to be foolproof, so even if you’re new to baking, you’ll achieve bakery-quality results.
What Makes These Cookies Special
Red Velvet Flavor Profile: The distinctive taste comes from a subtle cocoa flavor enhanced by tangy buttermilk and a hint of vanilla. It’s not chocolate, but it’s not vanilla either – it’s that perfect in-between that makes red velvet so beloved.
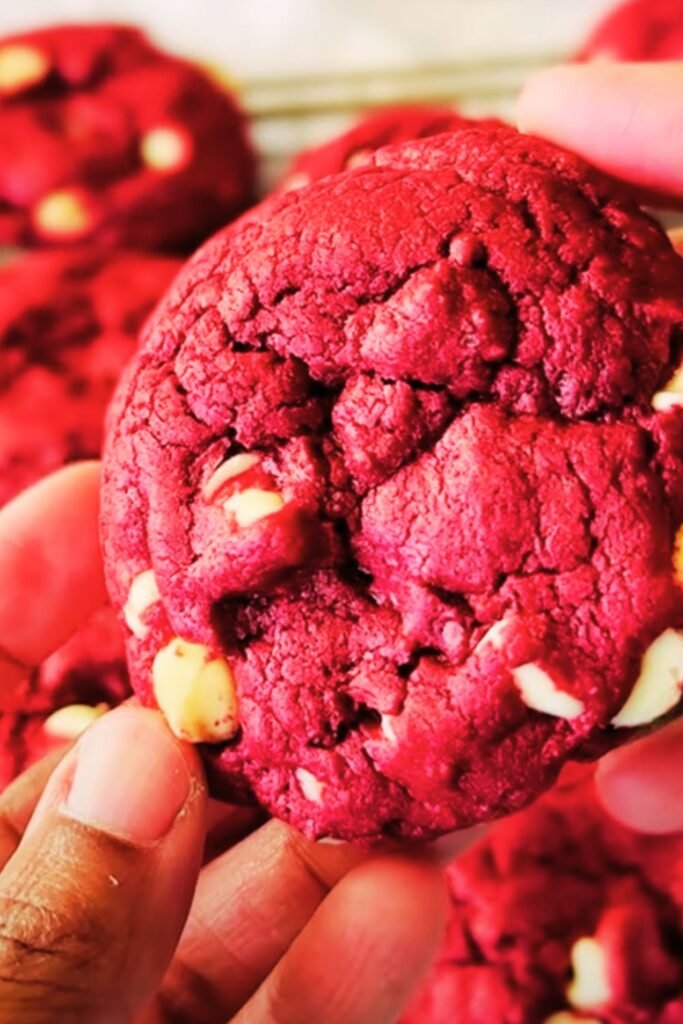
Texture Excellence: These cookies achieve that perfect Crumbl-style thickness with crispy edges and a soft, cake-like center. The secret lies in the right balance of ingredients and baking technique.
Visual Appeal: The vibrant red color creates an stunning contrast against the white cream cheese frosting, making these cookies as Instagram-worthy as they are delicious.
Versatility: Perfect for holidays, special occasions, or whenever you’re craving something indulgent. They’re also excellent for gifting or bringing to potluck gatherings.
Essential Ingredients Breakdown
For the Cookie Base
| Ingredient | Amount | Purpose | Substitution Notes |
|---|---|---|---|
| All-purpose flour | 2¼ cups | Structure and texture | Can use cake flour for extra tenderness |
| Unsweetened cocoa powder | 2 tablespoons | Subtle chocolate flavor | Dutch-processed preferred |
| Baking soda | 1 teaspoon | Leavening agent | Essential for proper rise |
| Salt | ½ teaspoon | Flavor enhancement | Use fine sea salt |
| Unsalted butter | 1 cup (softened) | Fat content and flavor | Must be room temperature |
| Granulated sugar | ¾ cup | Sweetness and structure | Regular white sugar |
| Brown sugar | ½ cup (packed) | Moisture and depth | Light or dark brown |
| Large eggs | 2 | Binding and richness | Room temperature works best |
| Vanilla extract | 2 teaspoons | Flavor enhancement | Pure vanilla recommended |
| Buttermilk | ¼ cup | Tanginess and moisture | Can make with milk + vinegar |
| Red food coloring | 2-3 tablespoons | Signature color | Gel coloring works best |
| White vinegar | 1 teaspoon | Chemical reaction enhancer | Distilled white vinegar |
For the Cream Cheese Frosting
| Ingredient | Amount | Purpose | Notes |
|---|---|---|---|
| Cream cheese | 8 oz (softened) | Base and tanginess | Full-fat recommended |
| Unsalted butter | ½ cup (softened) | Richness and smoothness | Room temperature |
| Powdered sugar | 4 cups | Sweetness and structure | Sift for smoothness |
| Vanilla extract | 1 teaspoon | Flavor enhancement | Pure vanilla |
| Salt | Pinch | Flavor balance | Just a tiny amount |
Step-by-Step Baking Instructions
Preparing Your Kitchen
Before I start any baking project, I always prepare my workspace completely. This makes the process smoother and ensures consistent results.
- Preheat your oven to 350°F (175°C). This temperature is crucial for achieving the right texture.
- Line baking sheets with parchment paper. I prefer parchment over silicone mats for these cookies because it helps create those slightly crispy edges.
- Gather all ingredients and let butter, eggs, and cream cheese come to room temperature. This step is non-negotiable for proper mixing.
Making the Cookie Dough
The order of mixing ingredients matters significantly in this recipe. I’ve learned through trial and error that following these steps precisely gives the best results.
Dry Ingredients First: In a medium bowl, whisk together flour, cocoa powder, baking soda, and salt. This ensures even distribution of leavening agents.
Cream Butter and Sugars: In a large bowl, using an electric mixer, cream the softened butter with both granulated and brown sugars for 3-4 minutes until light and fluffy. This step incorporates air, which contributes to the cookie’s texture.
Add Eggs and Vanilla: Beat in eggs one at a time, ensuring each is fully incorporated before adding the next. Then mix in vanilla extract.
Color Addition: Here’s where the magic happens. Add the red food coloring gradually while mixing. I prefer gel coloring because it’s more concentrated and doesn’t thin the dough. Start with 2 tablespoons and add more if needed for your desired shade.
Alternate Wet and Dry: Add the flour mixture in three additions, alternating with buttermilk. Begin and end with flour mixture. Mix just until combined – overmixing leads to tough cookies.
Final Touch: Stir in the white vinegar. This reacts with the baking soda to create extra lift and contributes to the traditional red velvet flavor.
Shaping and Baking Techniques
Portion Control: Using a large cookie scoop (about 3 tablespoons), portion the dough onto prepared baking sheets. Leave 3 inches between cookies as they spread significantly.
Shape Perfection: I gently pat each portion into a thick disc shape. This ensures even baking and that signature thick appearance.
Baking Process: Bake for 11-13 minutes. The edges should be set but the centers should still look slightly underdone. They’ll continue cooking on the hot pan after removal.
Cooling Strategy: Let cookies cool on the baking sheet for 5 minutes before transferring to a wire rack. This prevents breaking while ensuring they don’t overcook.
Mastering the Cream Cheese Frosting
The frosting is what transforms these cookies from good to extraordinary. I’ve perfected this recipe to achieve that perfect balance of sweet and tangy that complements the red velvet flavor.
Frosting Preparation Steps
Temperature Matters: Ensure cream cheese and butter are at room temperature. Cold ingredients create lumpy frosting that’s difficult to fix.
Cream Cheese First: Beat cream cheese alone for 2 minutes until completely smooth. This prevents lumps later.
Add Butter Gradually: Incorporate softened butter and beat until fully combined and fluffy.
Sugar Integration: Add powdered sugar one cup at a time, beating well after each addition. This prevents a sugar cloud in your kitchen.
Flavor Enhancement: Mix in vanilla extract and a pinch of salt. The salt enhances all the other flavors.
Consistency Check: The frosting should be smooth, pipeable, and hold its shape. If too thick, add a tablespoon of milk. If too thin, add more powdered sugar.
Frosting Application Techniques
| Method | Description | Best For |
|---|---|---|
| Piping | Use a large star tip for professional swirls | Special occasions |
| Spreading | Simple knife or offset spatula technique | Everyday baking |
| Dipping | Dip cookie tops directly into frosting | Quick and easy |
| Dolloping | Spoon frosting onto center of each cookie | Rustic appearance |
Troubleshooting Common Issues
Cookie Problems and Solutions
Cookies Spreading Too Much
- Cause: Butter too warm or dough too soft
- Solution: Chill dough for 30 minutes before baking
Cookies Too Cake-Like
- Cause: Too much flour or overbaking
- Solution: Measure flour properly using spoon-and-level method
Color Too Light
- Cause: Insufficient food coloring
- Solution: Add more gel coloring gradually until desired shade
Cookies Too Dry
- Cause: Overbaking or too much flour
- Solution: Reduce baking time by 1-2 minutes
Frosting Challenges
Lumpy Frosting
- Cause: Cold cream cheese or butter
- Solution: Bring ingredients to room temperature and re-beat
Frosting Too Sweet
- Cause: Too much powdered sugar
- Solution: Add more cream cheese or a pinch of salt
Won’t Hold Shape
- Cause: Too warm or too much liquid
- Solution: Chill frosting for 15 minutes before using
Storage and Serving Recommendations
Proper Storage Methods
Unfrosted Cookies: Store in an airtight container at room temperature for up to one week. Layer between parchment paper to prevent sticking.
Frosted Cookies: Refrigerate in a single layer for up to 5 days. Bring to room temperature before serving for best flavor.
Freezing Options: Unfrosted cookies freeze beautifully for up to 3 months. Wrap individually in plastic wrap, then store in freezer bags.
Frosting Storage: Leftover frosting keeps in the refrigerator for up to one week. Re-whip before using.
Serving Suggestions
These cookies are versatile enough for various occasions:
Holiday Gatherings: Perfect for Christmas, Valentine’s Day, or any red-themed celebration Birthday Parties: Kids and adults alike love the vibrant color and sweet flavor Bake Sales: They’re eye-catching and always sell quickly Gift Giving: Package in clear bags with ribbons for beautiful homemade gifts Afternoon Tea: Pair with coffee, tea, or hot chocolate for an indulgent treat
Nutritional Information
| Nutrient | Per Cookie (with frosting) | Daily Value % |
|---|---|---|
| Calories | 285 | 14% |
| Total Fat | 12g | 18% |
| Saturated Fat | 7g | 35% |
| Cholesterol | 45mg | 15% |
| Sodium | 180mg | 8% |
| Total Carbs | 45g | 15% |
| Sugars | 38g | – |
| Protein | 3g | 6% |
Based on a recipe yielding 24 cookies
Variations and Customizations
Flavor Variations
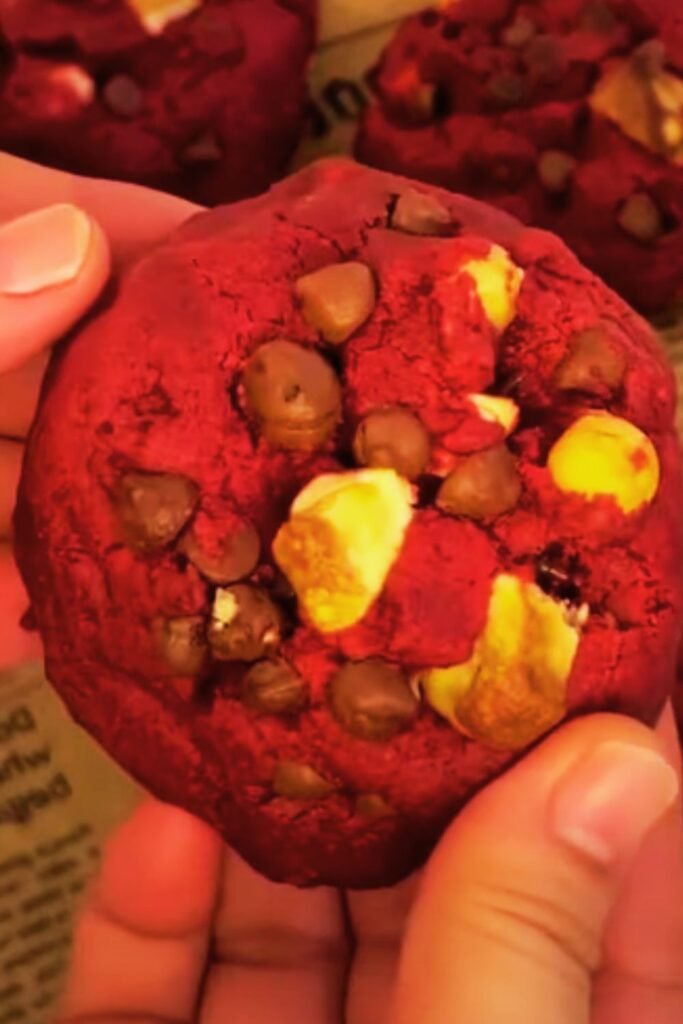
Chocolate Red Velvet: Add an extra tablespoon of cocoa powder for a more pronounced chocolate flavor.
Orange Red Velvet: Replace vanilla with orange extract and add orange zest for a citrus twist.
Mint Red Velvet: Add peppermint extract to both cookies and frosting for a holiday version.
Frosting Alternatives
Buttercream Frosting: Replace cream cheese with additional butter for a sweeter option.
Chocolate Ganache: Pour warm ganache over cooled cookies for a decadent finish.
Marshmallow Frosting: Use marshmallow fluff mixed with butter for a different texture.
Dietary Modifications
Gluten-Free Version: Substitute with a 1:1 gluten-free flour blend. Results may vary slightly in texture.
Reduced Sugar: Cut sugar by ¼ cup and add extra vanilla for flavor compensation.
Dairy-Free: Use vegan butter and dairy-free cream cheese alternatives.
Professional Tips for Success
After making these cookies dozens of times, I’ve learned several tricks that consistently produce perfect results:
Ingredient Temperature: Room temperature ingredients mix more easily and create better texture. Plan ahead and take everything out 2-3 hours before baking.
Measuring Accuracy: Use a kitchen scale for flour measurement if possible. Too much flour is the most common mistake in cookie baking.
Don’t Overbake: These cookies continue cooking on the hot pan after removal from the oven. Slightly underbaked is better than overbaked.
Frosting Timing: Wait until cookies are completely cool before frosting. Warm cookies will melt the frosting.
Color Consistency: Make note of how much food coloring you use so you can replicate the exact shade next time.
Frequently Asked Questions
Q: Can I make the dough ahead of time? A: Absolutely! The dough can be made up to 2 days in advance and stored in the refrigerator. Let it come to room temperature before scooping and baking.
Q: Why do my cookies look more brown than red? A: This usually happens when there’s too much cocoa powder or not enough food coloring. The reaction between acids and cocoa can also affect color. Make sure you’re using the right amount of each ingredient.
Q: Can I use liquid food coloring instead of gel? A: Yes, but you’ll need more liquid coloring to achieve the same intensity, which might affect the dough consistency. Start with 1 tablespoon and add more as needed.
Q: How can I make my cookies thicker like Crumbl’s? A: Use a large cookie scoop, don’t flatten the dough too much, and slightly underbake them. The key is controlling the spread by keeping your dough cool and not overbaking.
Q: What’s the best way to achieve vibrant red color? A: Gel food coloring works best because it’s concentrated and won’t thin your dough. Red velvet traditionally has a deep red color, so don’t be afraid to add enough coloring to achieve it.
Q: Can I freeze the frosted cookies? A: I don’t recommend freezing frosted cookies as the cream cheese frosting doesn’t freeze well. Instead, freeze unfrosted cookies and add fresh frosting when ready to serve.
Q: Why is my frosting too runny? A: This usually happens when the cream cheese or butter is too warm, or if there’s too much liquid. Chill the frosting for 15-20 minutes and try again. You can also add more powdered sugar to thicken it.
Q: How do I know when the cookies are done baking? A: The edges should be set and the centers should still look slightly soft and underbaked. They’ll finish cooking on the hot pan after you remove them from the oven.
Q: Can I make mini versions of these cookies? A: Definitely! Use a smaller cookie scoop and reduce the baking time to 8-10 minutes. They make great bite-sized treats for parties.
Q: What’s the secret to getting that perfect cream cheese frosting consistency? A: Room temperature ingredients are crucial, and beating the cream cheese until completely smooth before adding other ingredients prevents lumps. Don’t rush this step!
These Easy Crumbl Red Velvet Cupcake Cookies have become my go-to recipe whenever I want to impress friends and family. The combination of that distinctive red velvet flavor with the rich cream cheese frosting creates a cookie that’s truly special. Whether you’re making them for a holiday celebration or just because you’re craving something indulgent, this recipe delivers bakery-quality results every single time.
Remember, baking is as much about enjoying the process as it is about the final result. Take your time, follow the steps carefully, and don’t be afraid to make adjustments based on your preferences. Happy baking!