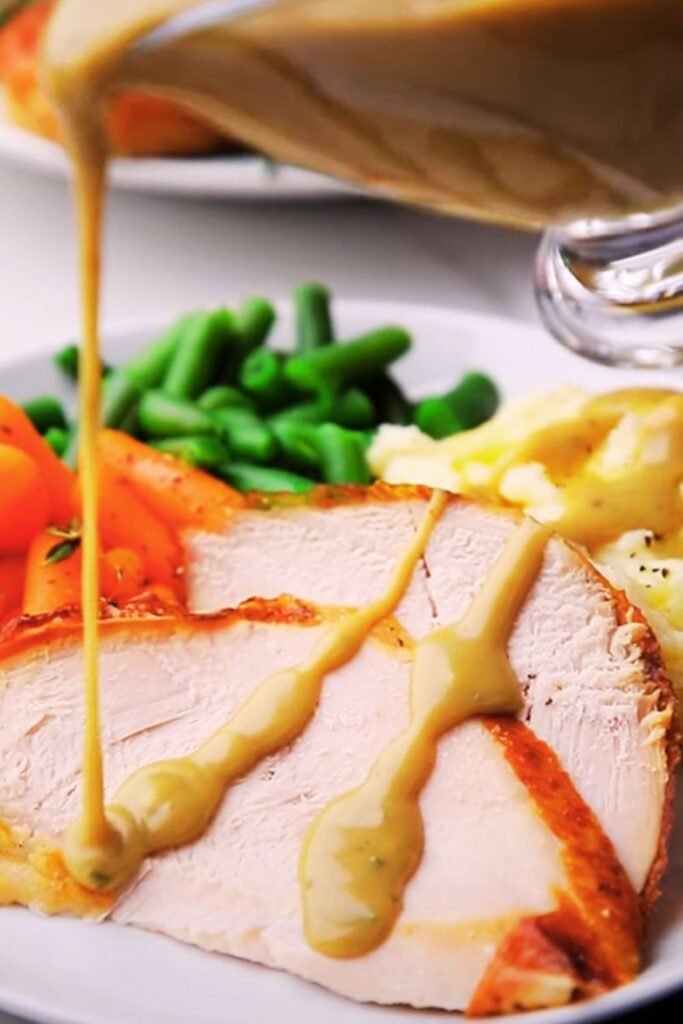
There’s nothing quite like the moment when I place that perfect turkey on the dinner table, golden and glistening, but I know the real showstopper is what comes next – my homemade gravy. After years of perfecting this recipe, I’ve learned that great gravy isn’t just an accompaniment; it’s the silky, savory bridge that connects every element of your holiday meal.
I remember my first attempt at making gravy from scratch – what a disaster that was! Lumpy, bland, and frankly embarrassing. But through countless trials, kitchen mishaps, and gentle guidance from my grandmother, I’ve mastered the art of creating restaurant-quality gravy that consistently earns rave reviews from family and friends.
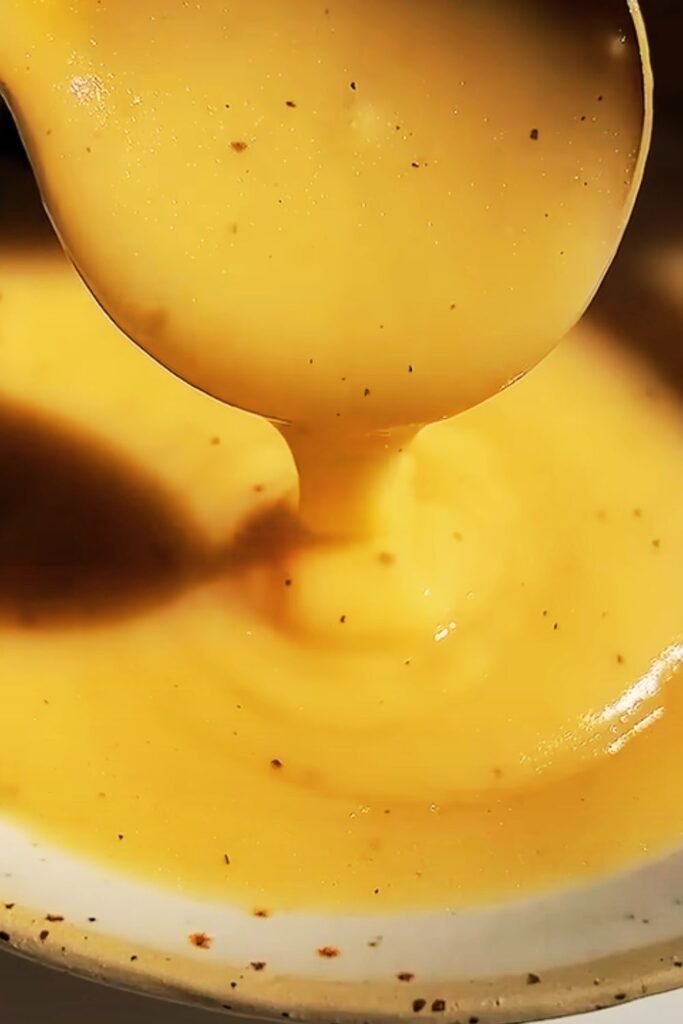
The beauty of homemade turkey gravy lies in its simplicity and the incredible depth of flavor you achieve by using those precious pan drippings. Unlike store-bought alternatives that often taste artificial or overly salty, my method creates a rich, velvety sauce that enhances rather than masks the natural turkey flavors.
Essential Ingredients and Equipment
Gravy Base:
- Turkey drippings (rendered fat and juices from roasted turkey)
- All-purpose flour
- Turkey or chicken stock
- Fresh herbs (thyme, sage, rosemary)
- Salt and freshly ground black pepper
Optional Flavor Enhancers:
- Dry white wine or cooking sherry
- Heavy cream for richness
- Butter for glossy finish
- Onion powder or garlic powder
- Fresh giblets for extra depth
Essential Equipment:
- Heavy-bottomed saucepan or skillet
- Fine-mesh strainer
- Wire whisk
- Fat separator (highly recommended)
- Wooden spoon
- Measuring cups and spoons
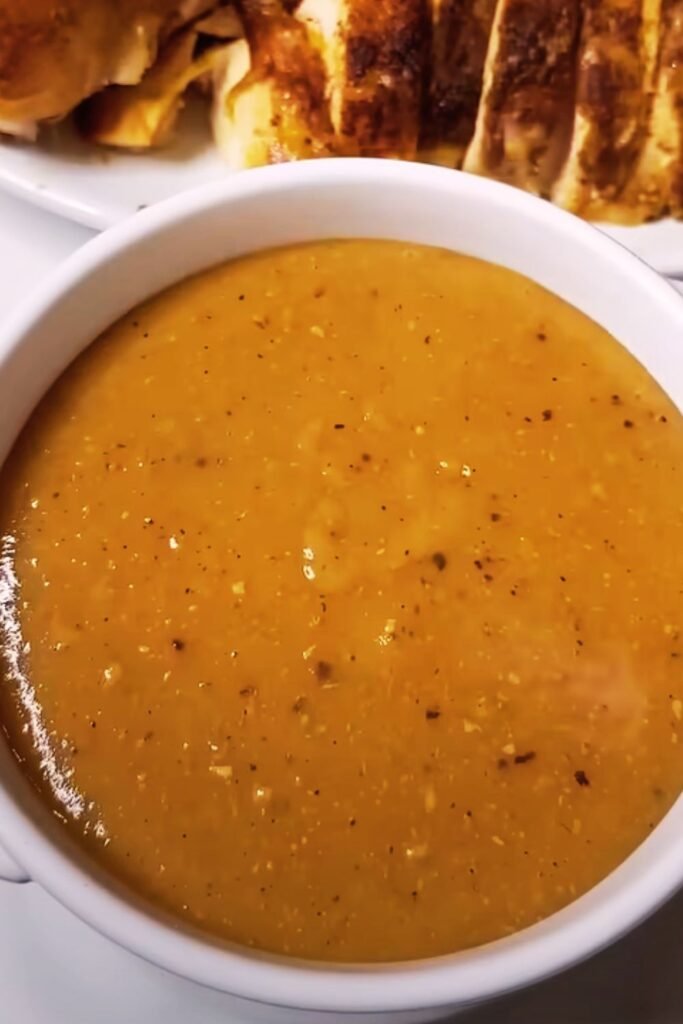
The quality of your ingredients directly impacts your final result. I always use real turkey drippings rather than shortcuts because that’s where the magic happens – those caramelized bits stuck to the roasting pan contain concentrated flavor that you simply cannot replicate with store-bought bases.
Understanding the Science Behind Perfect Gravy
Creating exceptional gravy requires understanding a few fundamental cooking principles. The foundation of any good gravy is a proper roux – that combination of fat and flour that provides both thickening power and flavor development.
Roux Types and Their Characteristics:
| Roux Type | Cook Time | Color | Flavor Profile | Best Uses |
|---|---|---|---|---|
| White Roux | 2-3 minutes | Pale blonde | Neutral, subtle | Classic turkey gravy |
| Blonde Roux | 4-5 minutes | Light golden | Nutty undertones | Enhanced flavor gravy |
| Brown Roux | 8-10 minutes | Medium brown | Rich, toasted | Gumbo-style gravies |
The key insight I’ve gained over the years is that patience during the roux-making process pays enormous dividends in flavor development. Rushing this step often leads to raw flour taste or insufficient thickening power.
Temperature Control Guidelines:
| Stage | Temperature | Visual Cues | Time Required |
|---|---|---|---|
| Fat Heating | Medium heat | Shimmering, not smoking | 1-2 minutes |
| Flour Addition | Medium-low | Bubbling gently | 2-3 minutes |
| Stock Addition | Medium | Steady simmer | 10-15 minutes |
| Final Seasoning | Low heat | Gentle bubbling | 2-3 minutes |
Step-by-Step Gravy Preparation Method
My foolproof method breaks down into manageable stages that even nervous cooks can master. I’ve refined this process through countless holiday meals, and it consistently delivers smooth, flavorful results.
Stage 1: Preparing the Pan Drippings
After removing my turkey from the roasting pan, I immediately get to work on the drippings. This timing is crucial because hot drippings are easier to work with and incorporate better into the roux.
First, I pour all the pan drippings into my fat separator, allowing the fat to rise to the surface. While waiting, I place the roasting pan over medium heat and deglaze it with a splash of stock or wine, scraping up those precious browned bits with a wooden spoon. These fond particles add incredible depth to the final gravy.
Stage 2: Creating the Perfect Roux
I measure out approximately 1/4 cup of the separated fat and pour it into my heavy-bottomed saucepan over medium heat. Once the fat begins to shimmer, I gradually whisk in an equal amount of flour, creating a smooth paste.
This is where patience becomes your greatest ally. I cook this roux for at least 3-4 minutes, whisking constantly to prevent burning while allowing the flour to cook out completely. The mixture should bubble gently and develop a light golden color with a pleasant, nutty aroma.
Stage 3: Building the Gravy Base
Slowly – and I cannot emphasize this enough – SLOWLY, I begin adding my warmed stock to the roux. I start with just a few tablespoons, whisking vigorously until completely smooth before adding more. This gradual incorporation prevents lumping and ensures a silky texture.
Once I’ve added about half the liquid, I can increase the addition rate while maintaining constant whisking. The mixture will seem thin initially but will thicken as it heats and simmers.
Liquid Addition Schedule:
- First 1/4 cup: Add 1 tablespoon at a time, whisking constantly
- Second 1/4 cup: Add 2 tablespoons at a time
- Remaining liquid: Add in steady stream while whisking
- Final consistency check: Should coat spoon but flow freely
Stage 4: Seasoning and Finishing
After bringing the gravy to a gentle simmer, I reduce the heat and let it cook for 10-15 minutes, stirring occasionally. This cooking time allows the flavors to meld and the flour to fully hydrate, eliminating any raw taste.
Seasoning requires careful attention because turkey drippings already contain salt. I taste frequently and adjust with salt, pepper, and herbs. Fresh thyme or sage complement turkey beautifully, but I add them judiciously to avoid overwhelming the turkey flavor.
Troubleshooting Common Gravy Problems
Even experienced cooks encounter gravy challenges, but I’ve learned that most issues have simple solutions if you know what to look for.
Lumpy Gravy Solutions:
- Strain through fine-mesh strainer
- Use immersion blender for stubborn lumps
- Start over with fresh roux if severely lumpy
- Prevention: Add liquid gradually and whisk constantly
Too Thin Consistency:
- Create slurry with equal parts flour and cold stock
- Whisk slurry into simmering gravy
- Allow additional cooking time for thickening
- Alternative: Mix cornstarch with cold liquid
Too Thick Consistency:
- Add warm stock gradually while whisking
- Strain if necessary to ensure smoothness
- Adjust seasoning after thinning
- Reheat gently to proper serving temperature
Flavor Issues:
- Underseasoned: Add salt gradually, taste frequently
- Too salty: Add unsalted stock or cream to dilute
- Flat flavor: Enhance with herbs, pepper, or wine
- Bitter taste: Usually from burned roux – start over
Advanced Techniques for Gourmet Gravy
Once you’ve mastered basic gravy, several advanced techniques can elevate your results from good to exceptional. These methods require slightly more effort but produce restaurant-quality results.
Giblet Gravy Enhancement: I often prepare giblet stock alongside my turkey, simmering the neck, heart, and gizzard with aromatics. This intensely flavored stock adds remarkable depth when used as the liquid base for gravy.
Wine Reduction Technique: Before adding stock, I sometimes deglaze the roux with dry white wine or sherry, reducing it by half. This adds complexity and brightness that beautifully complements rich turkey flavors.
Cream Finishing: For special occasions, I finish my gravy with a splash of heavy cream, which adds luxurious richness and creates an incredibly silky mouthfeel.
Herb Oil Integration: I prepare herb-infused oil by gently heating olive oil with fresh thyme, sage, and rosemary, then straining. A few drops stirred into finished gravy adds aromatic complexity.
Storage and Reheating Guidelines
Proper storage ensures your carefully crafted gravy maintains quality for leftovers and future meals. I’ve learned that gravy actually improves in flavor after resting, as the ingredients continue to meld.
Storage Methods:
| Storage Type | Temperature | Duration | Container Type |
|---|---|---|---|
| Refrigerator | 32-40°F | 3-4 days | Covered container |
| Freezer | 0°F or below | 2-3 months | Freezer-safe container |
| Room Temperature | Not recommended | 2 hours maximum | Covered serving dish |
Reheating Techniques:
- Stovetop: Reheat gently over low heat, whisking frequently
- Microwave: Heat in 30-second intervals, stirring between
- Add liquid if thickened: Use stock or cream to restore consistency
- Seasoning adjustment: Taste and adjust salt and pepper after reheating
Nutritional Considerations and Modifications
Understanding the nutritional aspects of homemade gravy helps you make informed decisions about serving sizes and modifications for dietary needs.
Traditional Turkey Gravy Nutritional Profile (per 1/4 cup serving):
| Nutrient | Amount | % Daily Value |
|---|---|---|
| Calories | 45-60 | 2-3% |
| Total Fat | 4-5g | 6-8% |
| Saturated Fat | 1-2g | 5-10% |
| Sodium | 180-250mg | 8-11% |
| Carbohydrates | 3-4g | 1-2% |
| Protein | 1-2g | 2-4% |
Healthier Modification Options:
- Reduce fat content by skimming excess from drippings
- Use low-sodium stock to control salt levels
- Incorporate vegetables for added fiber and nutrients
- Substitute part of the flour with cornstarch for lower calories
Serving Suggestions and Pairing Ideas
The versatility of homemade turkey gravy extends far beyond traditional holiday applications. I’ve discovered numerous creative ways to incorporate this flavorful sauce throughout the year.
Classic Applications:
- Pour over sliced turkey and mashed potatoes
- Serve alongside stuffing and cranberry sauce
- Use as base for turkey potpie filling
- Drizzle over roasted vegetables
Creative Extensions:
- Transform into turkey stroganoff sauce
- Create savory breakfast gravy over biscuits
- Use as soup base with added vegetables
- Incorporate into casserole dishes
Complementary Side Dishes:
- Garlic mashed potatoes
- Roasted root vegetables
- Wild rice pilaf
- Sage and onion stuffing
- Steamed green beans with almonds
Seasonal Variations and Holiday Adaptations
Different occasions call for subtle variations in my basic gravy recipe. I’ve developed several seasonal adaptations that highlight specific flavors while maintaining the fundamental technique.
Thanksgiving Variation: I add fresh sage and a touch of maple syrup for warmth and complexity that perfectly complements traditional holiday flavors.
Christmas Adaptation: Fresh rosemary and a splash of cooking sherry create an elegant gravy that pairs beautifully with roasted vegetables and prime rib.
Easter Modification: Light herbs like tarragon and chives provide freshness that complements spring vegetables and ham.
Q&A Section
Q: How can I prevent my gravy from becoming lumpy? The key is patience and gradual liquid addition. Always whisk your roux constantly while slowly incorporating warm stock. If lumps do form, strain the gravy through a fine-mesh strainer or use an immersion blender to smooth it out.
Q: Can I make gravy ahead of time? Absolutely! I often prepare gravy up to two days in advance. Store it covered in the refrigerator and reheat gently over low heat, whisking frequently. You may need to add a little stock or cream to restore the proper consistency.
Q: What if I don’t have enough turkey drippings? You can supplement with butter or olive oil for the fat component and use high-quality chicken or turkey stock. While it won’t have quite the same depth of flavor, it will still be delicious.
Q: How do I know when my gravy is thick enough? Perfect gravy should coat the back of a spoon but still flow freely when poured. It should be thick enough to cling to food without being gloppy. Remember that it will thicken slightly as it cools.
Q: Can I freeze leftover gravy? Yes, gravy freezes well for 2-3 months. Allow it to cool completely before freezing in portion-sized containers. Thaw in the refrigerator overnight and reheat gently, whisking in additional liquid if needed.
Q: What’s the best way to reheat gravy without it separating? Reheat slowly over low heat while whisking constantly. If the gravy appears to separate, whisk vigorously or blend briefly with an immersion blender to re-emulsify.
Q: How can I make my gravy more flavorful? Start with well-seasoned turkey drippings and don’t skip deglazing the roasting pan. Fresh herbs, a splash of wine, and proper seasoning all contribute to complex flavor. Taste and adjust throughout the cooking process.
Q: Is it necessary to strain my gravy? Straining isn’t mandatory, but it creates a more refined, restaurant-quality appearance and texture. I always strain my gravy when serving guests but sometimes skip this step for casual family meals.
Creating perfect homemade turkey gravy is one of those fundamental cooking skills that transforms ordinary meals into memorable experiences. Through practice and attention to detail, you’ll develop the confidence to create silky, flavorful gravy that becomes the highlight of your dinner table. The satisfaction of seeing family and friends reach for seconds – and thirds – of your homemade creation makes every minute of effort worthwhile.