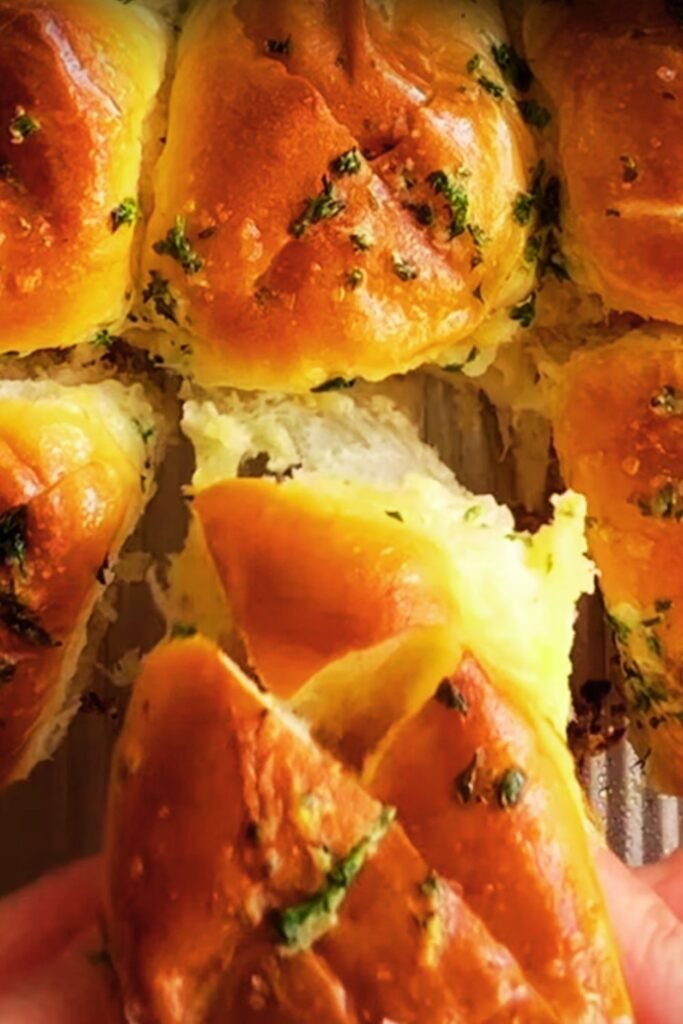
When I first tasted authentic Hawaiian rolls, I was completely blown away by their pillowy softness and subtle sweetness. These golden, buttery buns have become my absolute favorite for everything from dinner parties to casual family meals. There’s something magical about the way they melt in your mouth, leaving behind a delicate sweetness that pairs beautifully with both savory and sweet dishes.
Hawaiian rolls aren’t just bread – they’re a culinary experience that transforms any meal into something special. Originally inspired by Portuguese sweet bread brought to Hawaii by immigrants, these rolls have evolved into an American favorite that graces tables from coast to coast. My journey perfecting this recipe has taught me that the secret lies in understanding the delicate balance of ingredients and techniques that create their signature texture.
Understanding Hawaiian Rolls: Key Definitions
Enriched Dough : A bread dough that contains additional ingredients like eggs, butter, milk, and sugar beyond the basic flour, water, and yeast mixture. This creates a richer flavor and softer texture.
Tangzhong Method : A technique where a small portion of flour is cooked with liquid to create a paste, which helps retain moisture and creates incredibly soft bread.
Proofing : The process of allowing yeast dough to rise, during which yeast ferments sugars and produces carbon dioxide gas that creates the bread’s airy structure.
Egg Wash : A mixture of beaten egg and liquid (usually milk or water) brushed on bread before baking to create a golden, glossy finish.
Gluten Development : The process of kneading dough to develop gluten proteins, which creates the bread’s structure and allows it to trap gas bubbles from yeast.
The Science Behind Perfect Hawaiian Rolls
Creating the perfect Hawaiian roll requires understanding the science behind each ingredient. The high sugar content doesn’t just add sweetness – it also helps retain moisture and creates that characteristic tender crumb. The eggs contribute to both richness and structure, while the butter adds flavor and creates layers of fat that result in the rolls’ signature flaky texture.
I’ve discovered that the key to achieving that extra-soft texture lies in the hydration level of the dough. Hawaiian rolls typically have a higher liquid content than regular bread, which creates steam during baking and results in a more tender crumb. The pineapple juice, a signature ingredient in authentic versions, adds both subtle flavor and natural enzymes that help break down proteins for an even softer texture.
Essential Ingredients and Their Roles
| Ingredient | Amount | Purpose | Quality Tips |
|---|---|---|---|
| Bread Flour | 4 cups | Provides structure and gluten development | Use high-protein bread flour for best results |
| Granulated Sugar | 1/3 cup | Adds sweetness and feeds yeast | Fine granulated sugar dissolves better |
| Active Dry Yeast | 2 1/4 tsp | Leavening agent for rise | Check expiration date, proof before using |
| Warm Milk | 1/2 cup | Hydration and richness | Heat to 110°F for optimal yeast activation |
| Pineapple Juice | 1/4 cup | Authentic flavor and tenderness | Use 100% pure pineapple juice |
| Eggs | 2 large | Structure and richness | Room temperature eggs mix better |
| Butter | 1/4 cup | Flavor and texture | Use unsalted butter for control |
| Salt | 1 tsp | Flavor enhancement | Fine sea salt or table salt |
| Vanilla Extract | 1 tsp | Aromatic enhancement | Pure vanilla extract preferred |
My Foolproof Hawaiian Roll Recipe
Preparation Steps
- Activate the yeast: In a small bowl, combine warm milk with 1 teaspoon of sugar. Sprinkle the yeast over the surface and let it sit for 5-10 minutes until foamy. This step ensures your yeast is active and will create proper rise.
- Mix wet ingredients: In a large mixing bowl, whisk together the remaining sugar, pineapple juice, eggs, melted butter, and vanilla extract. The mixture should be smooth and well-combined.
- Combine dry ingredients: In a separate bowl, whisk together the flour and salt. This prevents the salt from directly contacting the yeast, which could inhibit its activity.
- Create the dough: Add the activated yeast mixture to the wet ingredients, then gradually incorporate the flour mixture. Mix until a shaggy dough forms.
- Knead to perfection: Transfer the dough to a floured surface and knead for 8-10 minutes until smooth and elastic. The dough should be slightly tacky but not sticky.
- First rise: Place the dough in a greased bowl, cover with a damp cloth, and let rise in a warm place for 1-1.5 hours until doubled in size.
Shaping and Baking Process
- Shape the rolls: Punch down the dough and divide into 12 equal pieces. Roll each piece into a smooth ball and place in a greased 9×13 inch baking dish.
- Second rise: Cover the shaped rolls and let them rise for another 45-60 minutes until they’re touching each other and have doubled in size.
- Prepare for baking: Preheat your oven to 375°F. Brush the tops with egg wash for that beautiful golden color.
- Bake to perfection: Bake for 15-18 minutes until golden brown on top. The internal temperature should reach 190°F.
Professional Tips for Success
Through years of perfecting this recipe, I’ve learned several crucial techniques that make the difference between good and exceptional Hawaiian rolls. The temperature of your ingredients matters significantly – using room temperature eggs and properly warmed milk ensures even mixing and optimal yeast activity.
I always recommend the “poke test” for checking if your dough has risen properly. Gently poke the dough with your finger – if the indentation springs back slowly, it’s ready. If it springs back immediately, give it more time. If it doesn’t spring back at all, you’ve over-proofed.
Troubleshooting Common Issues
| Problem | Cause | Solution |
|---|---|---|
| Dense, heavy rolls | Over-kneaded dough or inactive yeast | Check yeast expiration, don’t over-knead |
| Pale tops | Insufficient egg wash or low oven temperature | Double egg wash application, verify oven temp |
| Dry texture | Too much flour or overbaking | Measure flour by weight, check doneness early |
| Uneven rise | Inconsistent shaping or cold environment | Ensure uniform ball shapes, use warm rising area |
| Overly sweet | Too much sugar or pineapple juice | Reduce sugar by 1-2 tablespoons |
Storage and Serving Suggestions
Fresh Hawaiian rolls are best enjoyed within 24 hours of baking, but proper storage extends their life significantly. I store mine in an airtight container at room temperature for up to three days, or freeze them for up to three months. When reheating, I wrap them in damp paper towels and microwave for 15-20 seconds to restore their softness.
These versatile rolls complement countless dishes. They’re perfect for holiday dinners alongside roasted turkey or ham, excellent for sliders and sandwiches, and absolutely divine when served warm with butter and honey. I love using them for breakfast sandwiches or even as a base for bread pudding.
Nutritional Information and Dietary Considerations
| Nutrient | Per Roll | Daily Value % |
|---|---|---|
| Calories | 185 | 9% |
| Carbohydrates | 32g | 11% |
| Protein | 5g | 10% |
| Fat | 4g | 6% |
| Fiber | 1g | 4% |
| Sugar | 8g | – |
| Sodium | 220mg | 10% |
For those with dietary restrictions, I’ve successfully adapted this recipe using gluten-free flour blends, though the texture differs slightly. Dairy-free versions work well with plant-based milk and vegan butter substitutes. The key is maintaining the proper hydration levels regardless of substitutions.
Variations and Flavor Enhancements
My creativity with Hawaiian rolls has led to some delightful variations. Adding a tablespoon of honey creates an even richer sweetness, while a hint of coconut extract enhances the tropical flavor profile. For special occasions, I sometimes incorporate orange zest or a touch of rum extract for complexity.
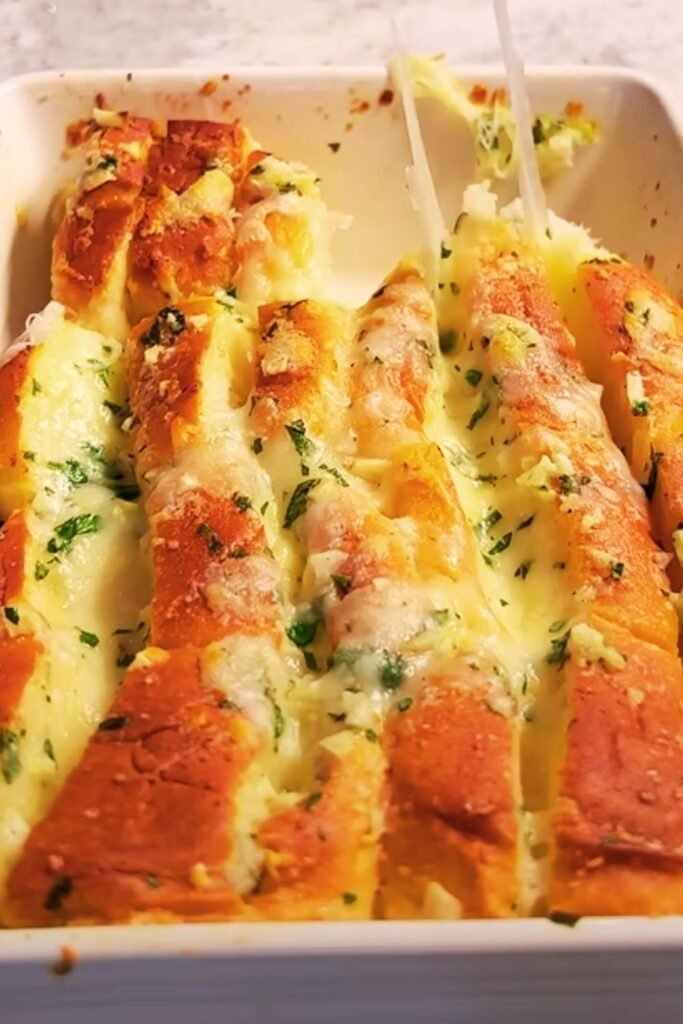
Savory versions work wonderfully too. Reducing the sugar by half and adding herbs like rosemary or thyme creates rolls perfect for dinner parties. Garlic powder and parmesan cheese make an Italian-inspired variation that’s absolutely irresistible.
The Cultural Significance
Hawaiian rolls represent more than just a recipe – they’re a testament to cultural fusion and culinary evolution. The Portuguese immigrants who brought sweet bread to Hawaii in the 1800s couldn’t have imagined how their traditional recipe would evolve into an American staple. This evolution reflects the beautiful way food adapts and transforms while maintaining its essential character.
Understanding this history has deepened my appreciation for these rolls. Each batch I make connects me to generations of bakers who’ve perfected and passed down these techniques. It’s a reminder that cooking is about more than following recipes – it’s about continuing traditions and creating new memories.
Advanced Techniques for Perfection
For those ready to take their Hawaiian rolls to the next level, I recommend mastering the tangzhong method. This Japanese technique involves cooking a small portion of flour with liquid to create a paste that’s then incorporated into the dough. This method produces incredibly soft, moist bread that stays fresh longer.
Another professional technique I’ve adopted is the overnight cold fermentation method. After the first rise, I refrigerate the dough overnight, which develops deeper flavors and improves the texture. This method requires planning but produces superior results.
Equipment Recommendations
The right tools make a significant difference in bread making. A kitchen scale ensures accurate measurements, while a instant-read thermometer helps monitor dough and oven temperatures. A bench scraper makes dividing dough easier, and a good stand mixer with a dough hook saves considerable effort during kneading.
I’ve found that using a digital probe thermometer to monitor internal temperature eliminates guesswork about doneness. The rolls are perfectly baked when they reach 190°F internally, regardless of surface color.
Q&A Section
Q: Can I make Hawaiian rolls without a stand mixer? A: Absolutely! While a stand mixer makes the process easier, you can knead by hand. It requires more effort and time – about 10-12 minutes of vigorous kneading – but the results are just as good.
Q: Why do my rolls turn out dense instead of fluffy? A: Dense rolls usually result from using too much flour, inactive yeast, or insufficient rising time. Make sure your yeast is fresh and properly activated, measure flour accurately, and allow adequate time for both rises.
Q: Can I prepare the dough ahead of time? A: Yes! After the first rise, you can refrigerate the dough for up to 24 hours. Let it come to room temperature before shaping and allow extra time for the second rise.
Q: What’s the best way to reheat leftover rolls? A: Wrap rolls in damp paper towels and microwave for 15-20 seconds, or warm them in a 300°F oven for 5-7 minutes. This restores their soft texture without drying them out.
Q: Can I freeze Hawaiian rolls? A: Definitely! Wrap cooled rolls tightly in plastic wrap, then aluminum foil. They’ll keep for up to three months. Thaw at room temperature and reheat gently before serving.
Q: Why is pineapple juice important in the recipe? A: Pineapple juice adds the signature subtle sweetness and contains natural enzymes that help tenderize the dough, contributing to the rolls’ incredibly soft texture.
Q: How do I know when the dough has risen enough? A: Use the “poke test” – gently poke the dough with your finger. If the indentation springs back slowly, it’s ready. If it springs back immediately, give it more time.
Q: Can I make mini Hawaiian rolls instead? A: Absolutely! Divide the dough into 24 pieces instead of 12 for mini rolls. Reduce the baking time to 12-15 minutes and watch carefully to prevent overbaking.
Q: What causes the tops to be pale instead of golden? A: Pale tops usually indicate insufficient egg wash or too low oven temperature. Make sure to brush thoroughly with egg wash and verify your oven temperature with a thermometer.
Q: Is it normal for the dough to be slightly sticky? A: Yes, Hawaiian roll dough should be slightly tacky but not sticky. If it’s too sticky to handle, add small amounts of flour gradually until manageable.
The journey to perfect Hawaiian rolls is incredibly rewarding. Each batch teaches you something new about the delicate balance of ingredients and techniques. My hope is that this comprehensive guide helps you create rolls that bring the same joy to your table that they’ve brought to mine. The combination of science, technique, and a little bit of love creates something truly special – rolls that are not just food, but an experience that brings people together around the table.