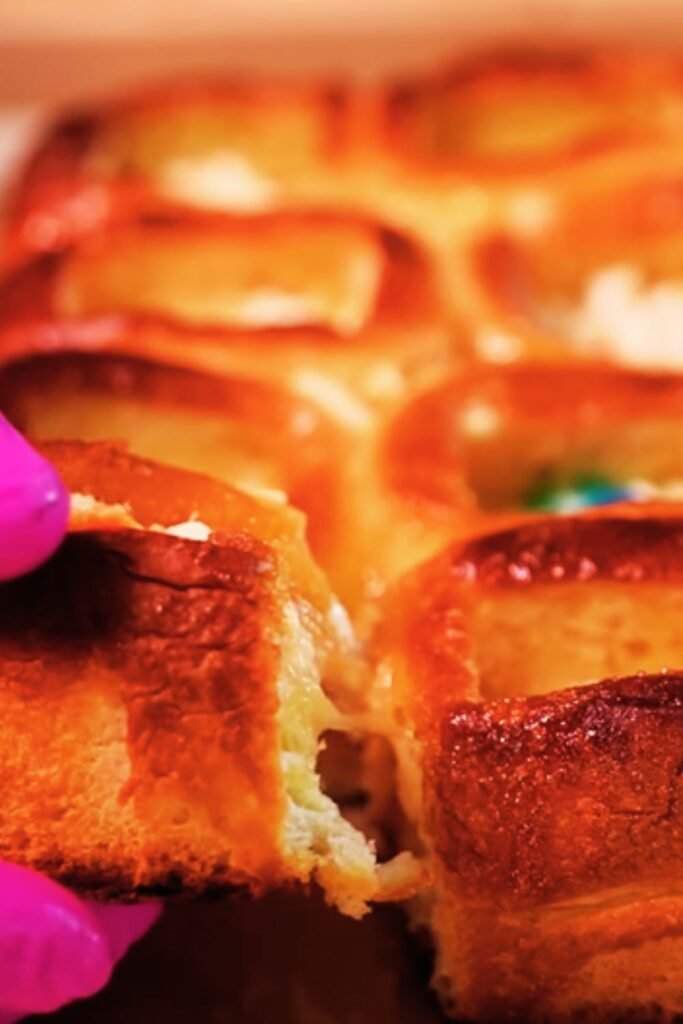
When I first stumbled upon the idea of combining King’s Hawaiian sweet bread with a creamy cheesecake filling, I knew I had discovered something truly special. This King’s Hawaiian Cheesecake Danish represents the perfect marriage of tropical sweetness and rich, tangy cream cheese – a combination that transforms ordinary breakfast pastry into an extraordinary treat.
The beauty of this recipe lies in its simplicity and the way it elevates familiar ingredients into something that feels both comforting and exotic. I’ve been perfecting this recipe for years, and what started as a weekend experiment has become my go-to dessert for special occasions and lazy Sunday mornings alike.
What Makes This Danish Special
Traditional Danish pastries require hours of laminating dough and precise temperature control. My King’s Hawaiian Cheesecake Danish takes a different approach, using the naturally sweet and soft King’s Hawaiian bread as our foundation. This creates a dessert that’s approachable for home bakers while delivering professional-quality results.
The tropical notes from the Hawaiian bread complement the rich cheesecake filling beautifully, while the addition of fresh fruit and a delicate glaze transforms this into a showstopper dessert. I’ve served this at dinner parties, potluck gatherings, and family brunches, and it never fails to impress.
Essential Ingredients Breakdown
Understanding your ingredients is crucial for success with this recipe. Let me walk you through each component and why it matters:
King’s Hawaiian Sweet Bread : The star of our show, this bread brings natural sweetness and a tender, slightly dense texture that holds up beautifully to the cheesecake filling. I always recommend using fresh loaves rather than day-old bread for the best results.
Cream Cheese : The foundation of our filling, cream cheese should be at room temperature for smooth mixing. I prefer full-fat Philadelphia cream cheese for its consistency and flavor.
Eggs : These bind our filling and create that signature cheesecake texture. Room temperature eggs incorporate more easily into the mixture.
Vanilla Extract : Pure vanilla extract adds depth and rounds out the flavors. I never skimp on quality here – it makes a noticeable difference.
Powdered Sugar : This dissolves more easily than granulated sugar, creating a smoother filling without grittiness.
Detailed Recipe and Instructions
Ingredients
| Ingredient | Amount | Purpose | Storage Notes |
|---|---|---|---|
| King’s Hawaiian Sweet Bread | 2 loaves (12 oz each) | Base structure | Keep sealed until use |
| Cream Cheese | 16 oz (2 packages) | Primary filling | Room temperature 2 hours before use |
| Large Eggs | 2 | Binding agent | Room temperature |
| Powdered Sugar | 1 cup | Sweetener | Sift before measuring |
| Pure Vanilla Extract | 2 teaspoons | Flavor enhancer | Store in cool, dark place |
| Lemon Zest | 1 tablespoon | Brightness | Fresh lemons only |
| Heavy Cream | 1/4 cup | Richness | Cold from refrigerator |
| Butter | 4 tablespoons | Richness and browning | Unsalted, melted |
| Fresh Berries | 1 cup | Garnish and flavor | Strawberries, blueberries, or raspberries |
Equipment Needed
- Large mixing bowl
- Electric mixer (stand or hand mixer)
- Sharp serrated knife
- Baking sheet
- Parchment paper
- Measuring cups and spoons
- Zester or fine grater
- Pastry brush
Step-by-Step Instructions
Preparation Phase
I always start by preheating my oven to 350°F (175°C). This ensures consistent temperature throughout the baking process. Line your baking sheet with parchment paper – this prevents sticking and makes cleanup effortless.
Creating the Bread Base
Using a sharp serrated knife, I slice each King’s Hawaiian loaf horizontally, creating a top and bottom piece. The key here is maintaining even thickness – aim for about 1-inch thick slices. I then hollow out the center of the bottom piece, leaving about a 1/2-inch border around the edges. This creates our vessel for the cheesecake filling.
Preparing the Cheesecake Filling
In my large mixing bowl, I start by beating the room-temperature cream cheese until it’s completely smooth and fluffy. This usually takes about 3-4 minutes with an electric mixer. I then gradually add the powdered sugar, beating until fully incorporated.
Next, I add the eggs one at a time, beating well after each addition. The vanilla extract and lemon zest go in next, followed by the heavy cream. I beat everything together until the mixture is smooth and creamy, with no lumps remaining.
Assembly Process
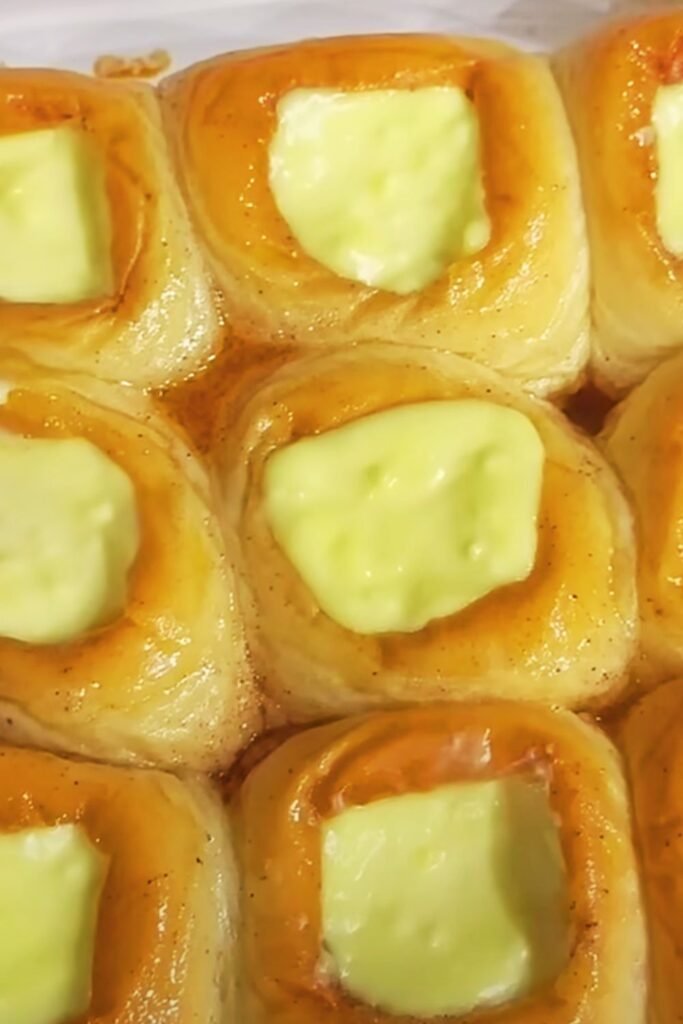
I brush the hollowed-out bread bottoms with melted butter, paying special attention to the edges. This creates a barrier that helps prevent the filling from making the bread soggy. I then spoon the cheesecake filling into each hollowed-out bread bottom, spreading it evenly but not overfilling.
The top pieces of bread get a light brush of melted butter as well before being placed over the filling. I gently press down to ensure good contact but avoid pressing too hard, which could squeeze out the filling.
Baking to Perfection
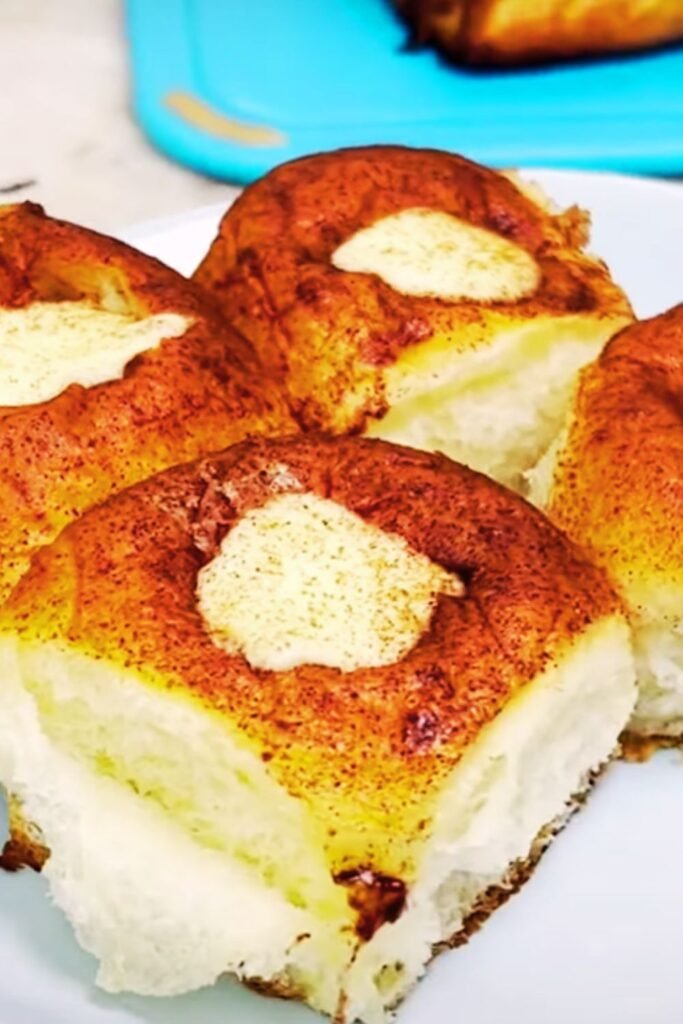
I place the assembled Danish on my prepared baking sheet and bake for 25-30 minutes, until the tops are golden brown and the filling has set. The key indicator I look for is when the bread springs back lightly when touched and the filling doesn’t jiggle excessively when gently shaken.
Variations and Customizations
Over the years, I’ve experimented with numerous variations of this base recipe. Here are some of my favorites:
Tropical Paradise Version I add 1/2 cup of crushed pineapple (well-drained) and 1/4 cup of shredded coconut to the filling. The pineapple adds bright acidity that balances the richness perfectly.
Berry Bliss Variation I fold 1/2 cup of fresh blueberries directly into the filling before assembly. The berries burst during baking, creating pockets of sweet-tart flavor throughout.
Chocolate Indulgence I melt 2 ounces of dark chocolate and swirl it into the filling before assembly. This creates beautiful marbled patterns and adds sophisticated depth.
Seasonal Fruit Toppings Depending on the season, I top the finished Danish with fresh strawberries in spring, peaches in summer, or spiced apples in fall.
Nutritional Information and Serving Suggestions
| Nutritional Component | Per Serving (1/8 of recipe) | Daily Value % |
|---|---|---|
| Calories | 385 | 19% |
| Total Fat | 18g | 28% |
| Saturated Fat | 11g | 55% |
| Cholesterol | 95mg | 32% |
| Sodium | 320mg | 13% |
| Total Carbohydrates | 48g | 16% |
| Dietary Fiber | 2g | 8% |
| Sugars | 32g | – |
| Protein | 9g | 18% |
| Calcium | 120mg | 12% |
| Iron | 2mg | 11% |
I typically serve this Danish warm, about 15 minutes after it comes out of the oven. This allows the filling to set slightly while maintaining that wonderful warmth that makes the flavors sing. Each loaf serves about 4 people generously, making this perfect for intimate gatherings.
For presentation, I like to dust the tops with powdered sugar and arrange fresh berries around the plate. A drizzle of honey or maple syrup adds an extra touch of sweetness that complements the tropical flavors beautifully.
Storage and Make-Ahead Tips
One of the things I love most about this recipe is how well it stores and travels. I can prepare the entire Danish up to 24 hours in advance, wrapping it tightly in plastic wrap and refrigerating until ready to bake. This makes it perfect for holiday mornings or when I’m hosting guests.
Refrigerator Storage : Wrapped properly, the unbaked Danish keeps for up to 2 days in the refrigerator. The baked version stays fresh for 3-4 days.
Freezer Storage : I can freeze the assembled but unbaked Danish for up to 1 month. I thaw it overnight in the refrigerator before baking, adding an extra 5-10 minutes to the baking time.
Reheating Instructions : For leftover baked Danish, I reheat individual portions in the microwave for 30-45 seconds or in a 300°F oven for 8-10 minutes.
Troubleshooting Common Issues
Through years of making this recipe, I’ve encountered and solved virtually every problem that can arise. Here are the most common issues and my solutions:
Soggy Bottom Bread This usually happens when the bread isn’t properly sealed with butter or when the filling is too thin. I always ensure the melted butter creates a good barrier, and I make sure my cream cheese is properly beaten to the right consistency.
Filling Overflow Overfilling is a common mistake. I’ve learned that less is more – the filling will expand slightly during baking, so I never fill more than 3/4 full.
Uneven Browning This typically indicates hot spots in the oven. I rotate my baking sheet halfway through baking and ensure my oven is fully preheated before starting.
Cracked Filling Usually caused by overbaking or too high temperature. I keep a close eye on the Danish during the last 5 minutes of baking and look for the visual cues I mentioned earlier.
Pairing and Serving Suggestions
The beauty of this King’s Hawaiian Cheesecake Danish lies in its versatility. I’ve served it successfully in numerous contexts:
Breakfast and Brunch It pairs wonderfully with fresh fruit salad, crispy bacon, and hot coffee. The sweetness balances savory breakfast items perfectly.
Afternoon Tea I serve smaller portions alongside cucumber sandwiches and fresh scones for an elegant afternoon spread.
Dessert Course With a scoop of vanilla ice cream or a dollop of whipped cream, it transforms into a restaurant-quality dessert.
Holiday Entertaining The festive appearance and crowd-pleasing flavors make it perfect for holiday gatherings. I often make multiple variations to offer variety.
Professional Tips for Success
After making this recipe countless times, I’ve developed several techniques that ensure consistent, professional results:
Temperature Control I always use an oven thermometer to verify my oven’s accuracy. Even small temperature variations can affect the final result significantly.
Ingredient Quality I invest in high-quality cream cheese and pure vanilla extract. These ingredients form the flavor foundation, and quality makes a noticeable difference.
Timing Coordination I prepare all my ingredients and equipment before starting. This recipe moves quickly once you begin, and having everything ready prevents mistakes.
Visual Cues I rely more on visual and tactile cues than exact timing. Every oven is different, so I watch for the golden-brown color and gentle spring-back when touched.
The Cultural Connection
What makes this recipe particularly special to me is how it bridges different culinary traditions. King’s Hawaiian bread itself represents the beautiful fusion of Portuguese malasadas and Hawaiian ingredients that occurred when Portuguese immigrants arrived in Hawaii in the 1800s. By incorporating this bread into a Danish-style pastry with American cheesecake flavors, we’re creating something that celebrates multiple cultural influences.
I find that food often tells stories about cultural exchange and adaptation, and this recipe is a perfect example of how traditions evolve and merge to create something new and wonderful. Every time I make this Danish, I’m reminded of the beautiful ways that different cultures can come together to create something greater than the sum of their parts.
Seasonal Adaptations
Throughout the year, I adapt this basic recipe to celebrate seasonal ingredients and flavors:
Spring Adaptation I incorporate fresh strawberries and a hint of rhubarb for tartness. The pink and green colors make it perfect for Easter celebrations.
Summer Version Fresh peaches and a touch of cinnamon create a summer stone fruit version that’s absolutely divine. I sometimes add a handful of fresh mint for brightness.
Fall Variation I fold in diced apples and warm spices like cinnamon and nutmeg. This creates a Danish that tastes like apple pie but with the rich creaminess of cheesecake.
Winter Holiday Edition I add dried cranberries and orange zest for a festive flavor that works beautifully for holiday entertaining.
Questions and Answers
Q: Can I use day-old King’s Hawaiian bread for this recipe? A: While fresh bread works best, day-old bread can work if it’s still soft. I avoid using bread that’s become hard or dried out, as it won’t create the proper texture for the Danish.
Q: What’s the best way to ensure my cream cheese is at room temperature quickly? A: I cut the cream cheese into small cubes and let it sit at room temperature for about 30 minutes. In a pinch, I can microwave it for 10-15 seconds, but I’m careful not to overheat it.
Q: Can I make this recipe gluten-free? A: While King’s Hawaiian bread contains gluten, I’ve successfully made this using gluten-free sweet bread from other brands. The texture is slightly different, but the results are still delicious.
Q: How do I know when the cheesecake filling is properly set? A: The filling should no longer jiggle when gently shaken, and a toothpick inserted into the center should come out with just a few moist crumbs attached.
Q: Can I substitute low-fat cream cheese? A: I don’t recommend it. Low-fat cream cheese has a different texture and doesn’t create the same rich, creamy consistency that makes this Danish special.
Q: What’s the best way to hollow out the bread without breaking it? A: I use a sharp serrated knife and work slowly, sawing gently rather than pressing down hard. I save the removed bread pieces for making breadcrumbs or French toast.
Q: Can I add other fruits to the filling? A: Absolutely! I’ve successfully added mashed bananas, diced apples, and even small pieces of mango. Just be mindful of the moisture content and adjust accordingly.
Q: How far in advance can I prepare this for a party? A: I can assemble the entire Danish up to 24 hours ahead and refrigerate it. For longer storage, I freeze the assembled Danish and thaw it overnight before baking.
Q: Why does my filling sometimes curdle? A: This usually happens when the cream cheese isn’t at room temperature or when eggs are added too quickly. I always ensure proper temperature and add eggs one at a time, beating well after each addition.
Q: Can I use a different type of sweet bread? A: While King’s Hawaiian bread is ideal, I’ve used challah, brioche, and even cinnamon swirl bread with good results. The key is using a bread that’s naturally sweet and has a tender texture.
This King’s Hawaiian Cheesecake Danish has become more than just a recipe in my kitchen – it’s a celebration of flavors, cultures, and the joy of sharing good food with people I care about. Whether you’re making it for a special occasion or just because you want to try something new, I’m confident you’ll love the unique combination of tropical sweetness and creamy richness that makes this Danish truly special.