There’s something undeniably special about deviled eggs. These little bites of creamy, tangy perfection have graced countless family gatherings, holiday tables, and potluck parties for generations. As a lifelong enthusiast of these eggy delights, I’ve spent years perfecting my recipe, and today I’m thrilled to share my definitive guide to creating the absolute best classic deviled eggs.
Whether you’re preparing them for Easter brunch, a summer picnic, or just because you’re craving something delicious, this recipe will deliver consistent, crowd-pleasing results. I’ve included everything from selecting the perfect eggs to exciting variations that might become your new favorites.
The Humble History of Deviled Eggs
Before diving into the recipe, I find it fascinating to look at where these delectable treats came from. The concept of stuffed eggs dates back to ancient Rome, where eggs were boiled, seasoned with spicy sauces, and served as a first course during fancy meals.
The term “deviled” emerged in the 18th century, referring to dishes prepared with hot seasonings or spicy ingredients. Our modern version of deviled eggs—with that distinctive mayonnaise-mustard filling—became standardized in American cookbooks around the 1940s.
These appetizers have shown remarkable staying power across generations, adapting to changing tastes while maintaining their essential character. I love that something so simple continues to delight people across cultures and decades!
Ingredients for Perfect Classic Deviled Eggs
For this recipe that serves 12 as an appetizer (24 deviled egg halves), you’ll need:
- 12 large eggs (preferably 1-2 weeks old)
- ½ cup mayonnaise (good quality makes a difference)
- 2 teaspoons Dijon mustard
- 2 teaspoons yellow mustard
- 2 teaspoons white vinegar or pickle juice
- ¼ teaspoon salt (plus more to taste)
- ⅛ teaspoon freshly ground black pepper
- ⅛ teaspoon garlic powder (optional)
- Paprika for garnish
- Fresh herbs for garnish (dill, chives, or parsley)
Equipment You’ll Need
- Large pot for boiling
- Slotted spoon
- Bowl of ice water
- Small bowl for mixing filling
- Fork for mashing
- Piping bag with star tip (optional but recommended)
- Deviled egg tray or regular serving platter
The Secret to Perfect Hard-Boiled Eggs
The foundation of excellent deviled eggs is properly boiled eggs with tender whites and fully-cooked but not grayish-green yolks. After years of trial and error, I’ve settled on a method that works perfectly every time.

Step-by-Step Boiling Method
- Choose eggs that are 1-2 weeks old. Fresh eggs are more difficult to peel after boiling.
- Place eggs in a single layer in a large pot. Don’t stack them.
- Cover completely with cold water. Add about an inch of water above the eggs.
- Add 1 tablespoon of white vinegar and 1 teaspoon of salt to the water. This helps prevent cracking and makes peeling easier.
- Bring water to a gentle boil over medium-high heat.
- Once boiling, remove from heat, cover, and let sit for exactly 12 minutes.
- Prepare an ice bath while waiting. Fill a large bowl with cold water and plenty of ice.
- Transfer eggs immediately to the ice bath using a slotted spoon. Let them cool for at least 15 minutes.
The Art of Peeling Eggs
Peeling can make or break your deviled egg presentation. Here’s my foolproof technique:
- Gently tap the egg all over on a hard surface to create cracks throughout the shell.
- Roll the egg between your palms to loosen the shell further.
- Start peeling from the wider end where the air pocket is located.
- Peel under running cold water if the shell is stubborn.
- Pat the peeled eggs dry with paper towels before cutting.
Creating the Perfect Filling
Now for the star of the show—that creamy, zesty filling that makes deviled eggs so irresistible!
- Cut the peeled eggs in half lengthwise.
- Carefully remove the yolks and place them in a medium bowl.
- Arrange the whites on your serving platter, hollowed side up.
- Mash the yolks thoroughly with a fork until no lumps remain.
- Add mayonnaise, both mustards, vinegar, salt, pepper, and garlic powder to the yolks.
- Mix until completely smooth and creamy. The consistency should be similar to thick frosting.
- Taste and adjust seasonings as needed. Some people prefer more tang, others more creaminess.
Filling and Garnishing Techniques
The presentation is what elevates homemade deviled eggs above the ordinary.
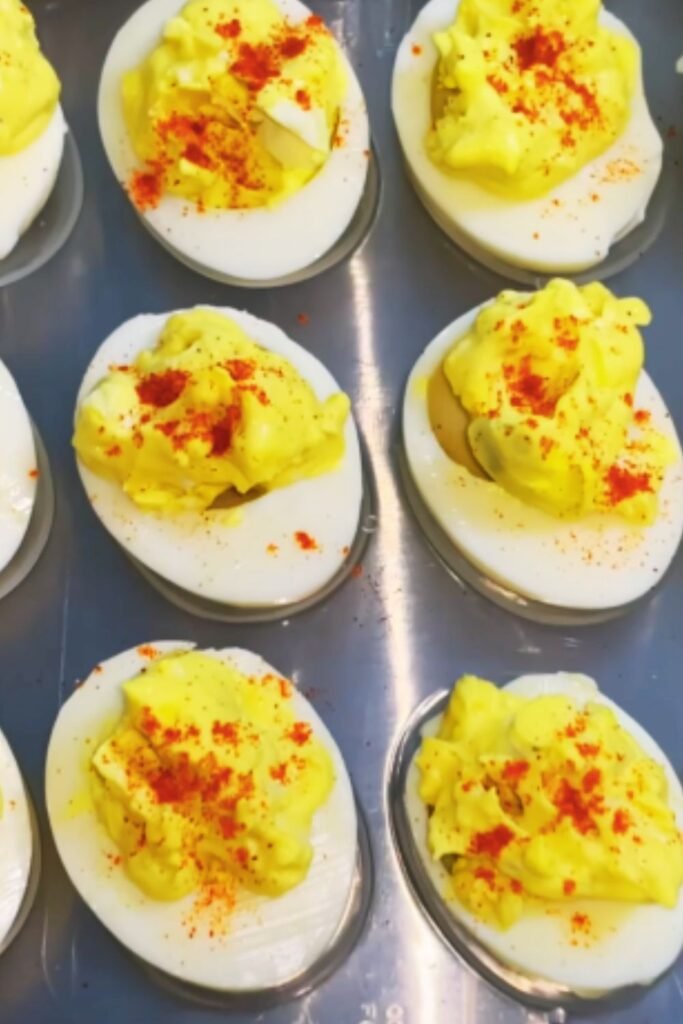
Standard Method
- Spoon the filling into each egg white cavity.
- Smooth the tops with the back of a spoon.
- Sprinkle with paprika for that classic look.
Elegant Piping Method (My Preferred Technique)
- Transfer the filling to a piping bag fitted with a star tip.
- Pipe the filling into each egg white with a gentle swirl motion.
- Garnish with a light dusting of paprika and small herb sprigs.
Storage and Make-Ahead Tips
Timing is everything with deviled eggs. Here’s how to manage preparation:
Make-Ahead Options
- Hard-boiled eggs can be cooked up to 3 days ahead and kept unpeeled in the refrigerator.
- Peeled whole eggs can be stored for up to 2 days in an airtight container with damp paper towels.
- Prepared filling can be made 1 day ahead and refrigerated separately in a piping bag or container.
- Fully assembled deviled eggs are best served within 24 hours.
Storage Tips
- Always refrigerate deviled eggs when not serving.
- Cover loosely with plastic wrap to prevent the filling from sticking.
- For potlucks or picnics, keep eggs chilled with ice packs or in specialized carriers.
Variation Ideas for Every Occasion
While the classic recipe is timeless, these variations can add excitement to your repertoire:
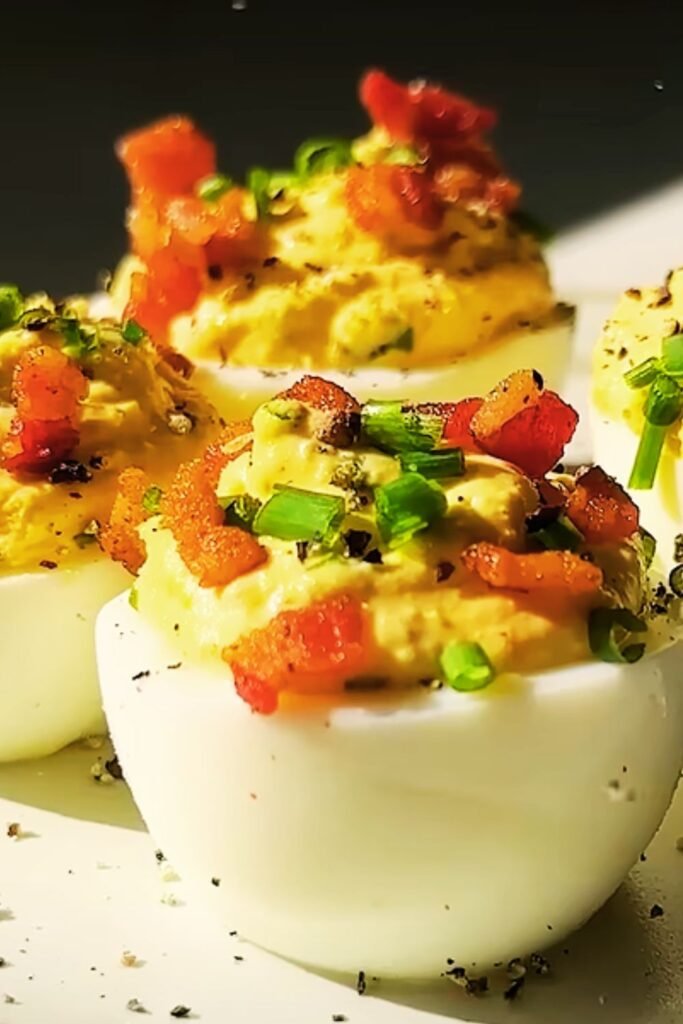
Bacon Lovers
- Add 3 tablespoons of finely crumbled crispy bacon to the filling
- Garnish with an additional small piece of bacon on top
Avocado Delight
- Replace half the mayonnaise with ripe mashed avocado
- Add a squeeze of lime juice and a pinch of cumin
- Garnish with cilantro and a tiny slice of jalapeño
Mediterranean Style
- Add 2 tablespoons of finely crumbled feta cheese and 1 teaspoon of dried oregano to the filling
- Garnish with a small piece of olive and a sprinkle of fresh oregano
Smoked Salmon Luxury
- Add 2 tablespoons of finely chopped smoked salmon and 1 teaspoon of fresh dill to the filling
- Garnish with a small piece of salmon and a sprig of dill
Spicy Southwestern
- Add 1 teaspoon of hot sauce and 1 tablespoon of finely chopped pickled jalapeños to the filling
- Garnish with a slice of pickled jalapeño and a sprinkle of chili powder
Nutritional Information
For those tracking their intake, here’s a breakdown of what’s in a classic deviled egg (per half):
| Nutrient | Amount |
|---|---|
| Calories | 68 |
| Protein | 3.6g |
| Fat | 5.7g |
| Saturated Fat | 1.3g |
| Cholesterol | 94mg |
| Carbohydrates | 0.3g |
| Sodium | 84mg |
| Potassium | 48mg |
| Vitamin A | 4% DV |
| Vitamin D | 6% DV |
| Calcium | 2% DV |
| Iron | 3% DV |
Common Issues and Troubleshooting
Even experienced cooks encounter challenges with deviled eggs. Here are solutions to the most common problems:
Difficulty Peeling Eggs
Problem: Shells stick to the eggs, creating torn, unattractive whites. Solution: Use older eggs (1-2 weeks old), add vinegar to the boiling water, and shock in ice water immediately after cooking.
Runny Filling
Problem: The filling is too loose and doesn’t hold its shape. Solution: Use less mayonnaise, or add more egg yolk. In a pinch, a teaspoon of softened cream cheese can help stabilize the mixture.
Dry, Crumbly Filling
Problem: The filling doesn’t have a smooth, creamy texture. Solution: Add mayonnaise one teaspoon at a time until reaching desired creaminess. Ensure yolks are mashed completely before adding other ingredients.
Green-Tinged Yolks
Problem: The yolks have an unappealing greenish-gray outer layer. Solution: This indicates overcooking. Reduce the standing time after boiling and ensure rapid cooling in ice water.
Sliding Filling
Problem: The filling slides off the whites during transport. Solution: Pat the whites completely dry before filling. Refrigerate filled eggs for at least 30 minutes before transporting.
Serving Suggestions for Different Occasions
Deviled eggs are incredibly versatile. Here’s how I like to serve them for different events:
Holiday Gatherings
- Arrange on a tiered serving platter with fresh herb garnishes
- Create color themes with different garnishes (red and green for Christmas, pastels for Easter)
- Pair with other finger foods like stuffed mushrooms and cheese straws
Summer Picnics
- Serve in specialized deviled egg carriers with secure lids
- Keep on ice or in coolers until ready to serve
- Accompany with fresh crudités and refreshing lemonade
Cocktail Parties
- Present on small spoons as one-bite hors d’oeuvres
- Serve with sparkling water with citrus garnishes
- Pair with cheese boards and mixed nuts
Brunch
- Arrange on a bed of fresh greens with edible flowers
- Serve alongside fresh fruit, pastries, and coffee
- Include as part of a larger egg dish selection
Why Homemade Deviled Eggs Beat Store-Bought Every Time
I’ve tried many store-bought versions over the years, and they simply don’t compare to homemade. Here’s why making your own is worth the effort:
- Freshness is unmatched. Store-bought versions often contain preservatives that affect flavor.
- You control the ingredients. No fillers, artificial flavors, or unnecessary additives.
- Customization is limitless. Adjust flavors to your exact preference.
- The presentation can be tailored to your specific occasion.
- They’re significantly more economical when made at home, especially for larger gatherings.
Questions & Answers About Deviled Eggs
After years of making these treats for family and friends, I’ve fielded countless questions. Here are the most common ones:
Q: Can I make deviled eggs without mayonnaise? Yes! Greek yogurt, sour cream, or mashed avocado can substitute for mayonnaise. Each will create a slightly different flavor profile, but all work well.
Q: How far in advance can I make deviled eggs for a party? You can hard-boil the eggs up to three days ahead, but I recommend filling them no more than 24 hours before serving for the best texture and flavor.
Q: Why do my egg whites sometimes tear when I’m peeling them? Very fresh eggs tend to be difficult to peel. Use eggs that are 1-2 weeks old, and make sure to shock them in ice water immediately after cooking.
Q: Are deviled eggs healthy? Eggs are packed with high-quality protein and nutrients. The mayo adds fat and calories, but you can use lighter versions or substitutes like Greek yogurt if you’re watching your intake.
Q: How long can deviled eggs sit out at room temperature? For food safety, don’t leave them unrefrigerated for more than 2 hours (or 1 hour if the temperature is above 90°F/32°C).
Q: Why are they called “deviled” eggs? The term “deviled” originally referred to dishes made with spicy or zesty ingredients. Early versions of these eggs were quite peppery!
Q: My egg yolks always end up in the center. Any tricks to center them? Store your eggs on their sides for 24 hours before cooking, or gently rotate them during the first few minutes of cooking.
Q: Can I freeze deviled eggs? I don’t recommend it. The texture of both the whites and the filling deteriorates significantly when frozen and thawed.
My Final Tips for Deviled Egg Success
After years of perfecting this recipe, I’ve collected some wisdom that makes all the difference:
- Temperature matters. Always start with eggs straight from the refrigerator and cold water.
- Quality ingredients shine. Use the best mayonnaise and mustard you can afford.
- Don’t rush the cooling process. Properly chilled eggs are much easier to peel.
- When in doubt, under-fill slightly. You can always add more filling, but overfilled eggs are messy.
- Make extra. People always eat more deviled eggs than you expect!
- Keep it classic for crowds. Save experimental versions for smaller gatherings where you know preferences.
- A light dusting of paprika goes a long way. Too much can overwhelm the delicate flavor.
- Invest in a proper deviled egg plate if you make them often. It prevents sliding and makes transport easier.
These timeless treats have earned their place in culinary history for good reason—they’re relatively simple to prepare, endlessly customizable, and universally beloved. With this comprehensive guide, you’re well-equipped to create deviled eggs that will impress at any gathering and perhaps become your signature contribution to family celebrations for years to come.
Whether you stick with the classic recipe or venture into creative variations, the principles remain the same: quality ingredients, careful preparation, and a touch of presentation flair. Happy cooking!