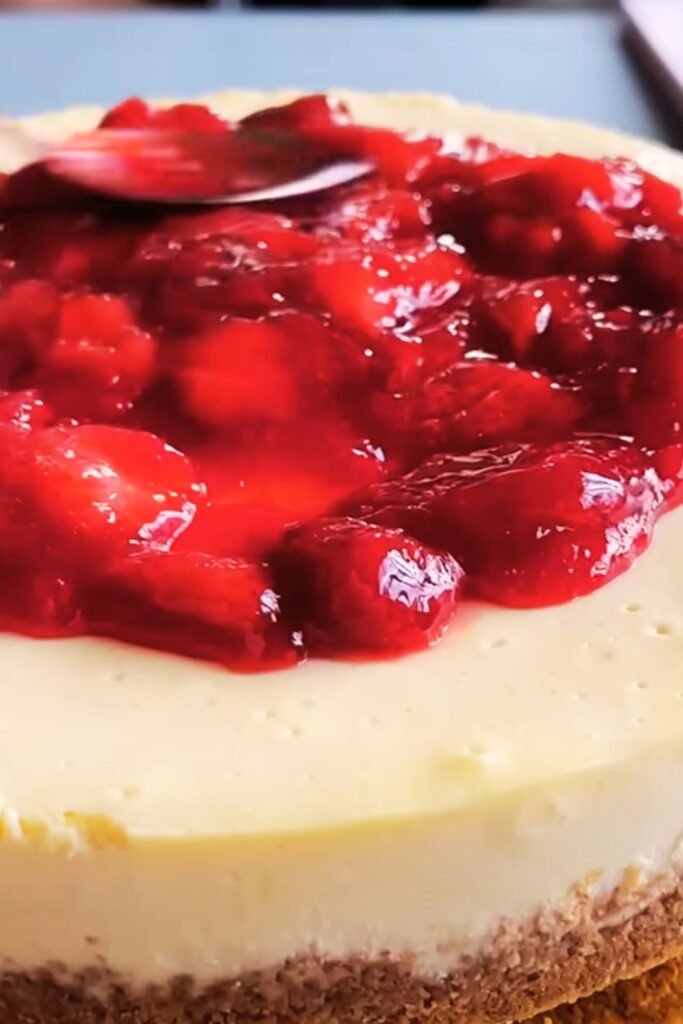
There’s something magical about a perfect slice of New York cheesecake. That first forkful – where the dense, creamy filling yields to your bite, supported by the subtle crunch of graham cracker crust – creates an experience that’s both indulgent and comforting. I’ve spent years perfecting my New York cheesecake recipe, facing every possible challenge from cracks to sunken centers. Today, I’m sharing all my hard-earned secrets so you can create this iconic dessert in your own kitchen.
What Makes a New York Cheesecake Special?
Before we dive into the recipe, let’s understand what sets New York cheesecake apart from other varieties. Its distinctive characteristics come from specific ingredients and techniques that give it that unmistakable texture and flavor:
- Extra cream cheese for unparalleled richness
- A hint of lemon zest for brightness
- Minimal flour (just enough for stability)
- A longer, lower-temperature bake for that perfect texture
- Natural cooling in the oven to prevent cracks
Unlike Italian or Japanese cheesecakes, New York-style is unapologetically rich, dense, and tall. It doesn’t try to be light or airy – it embraces its decadent nature wholeheartedly. The result is a dessert that feels substantial but melts in your mouth.
A Brief History of the New York Cheesecake
I’ve always been fascinated by the story behind this iconic dessert. While cheesecake itself dates back to ancient Greece, the New York style we know today was popularized in the 1900s. Legend has it that German immigrant Arnold Reuben (yes, of Reuben sandwich fame) was served a cheese pie at a dinner party. He was so impressed that he began experimenting with the recipe at his restaurant, eventually creating the New York cheesecake we know today.
By the 1950s, Junior’s in Brooklyn had become famous for their version, cementing this style as an American classic. Today, getting a slice of authentic New York cheesecake remains on many foodies’ bucket lists when visiting the Big Apple.
Essential Ingredients for Success
When I first started making cheesecakes, I learned the hard way that quality ingredients make all the difference. Here’s what you’ll need:
For the Graham Cracker Crust:
- 2 cups graham cracker crumbs (about 15-16 full sheets)
- 1/4 cup granulated sugar
- 1/2 cup (1 stick) unsalted butter, melted
- Pinch of salt
For the Cheesecake Filling:
- 4 packages (8 oz each) full-fat cream cheese, room temperature
- 1 1/4 cups granulated sugar
- 1/2 cup sour cream, room temperature
- 2 teaspoons pure vanilla extract
- 1 teaspoon lemon zest (optional but recommended)
- 5 large eggs, room temperature
- 2 tablespoons all-purpose flour
For Serving (Optional):
- Fresh berries
- Fruit compote
- Whipped cream
- Caramel sauce
- Chocolate ganache
Ingredient Notes:
Cream cheese: Philadelphia is my go-to brand, but any good quality full-fat cream cheese works. The fat content is crucial for that signature texture – don’t substitute with low-fat versions.
Room temperature ingredients: This isn’t just chef talk – having your cream cheese, sour cream, and eggs at room temperature prevents lumps and ensures a silky-smooth batter.
Sour cream: Adds tanginess and moisture. Greek yogurt can work in a pinch, but the flavor profile will be slightly different.
Lemon zest: Optional but adds a bright note that balances the richness. I never skip it.
Essential Equipment
Having the right tools makes creating this showstopper much easier:
- 9-inch springform pan
- Large roasting pan (for water bath)
- Heavy-duty aluminum foil
- Stand mixer or powerful hand mixer
- Rubber spatula
- Measuring cups and spoons
- Food processor (optional, for graham crackers)
Step-by-Step Instructions
Preparing the Pan and Oven
- Preheat your oven to 325°F (165°C).
- Wrap the outside of a 9-inch springform pan with a double layer of heavy-duty aluminum foil, covering the bottom and extending up the sides. This prevents water from seeping in during baking.
- Grease the inside of the pan lightly with butter or cooking spray.
Making the Graham Cracker Crust
- In a medium bowl, combine graham cracker crumbs, sugar, and salt.
- Pour in melted butter and stir until the mixture resembles wet sand.
- Press the mixture firmly into the bottom and about 1 inch up the sides of your prepared springform pan. I use the bottom of a measuring cup to compact it evenly.
- Bake the crust for 10 minutes, then remove and cool on a wire rack while preparing the filling.
- Reduce oven temperature to 300°F (150°C).
Creating the Cheesecake Filling
- In the bowl of a stand mixer fitted with the paddle attachment, beat the cream cheese on medium-low speed until completely smooth, about 2 minutes.
- Add sugar gradually and continue beating until incorporated and smooth, scraping down the sides of the bowl as needed.
- Add sour cream, vanilla extract, and lemon zest (if using). Mix until just combined.
- Add eggs, one at a time, mixing on low speed after each addition just until incorporated. Don’t overmix!
- Sprinkle in the flour and mix on low just until no white streaks remain.
The Water Bath Method
Here’s where many home bakers get nervous, but I promise it’s worth it:
- Boil 4-5 cups of water for your water bath.
- Place your foil-wrapped springform pan in a large roasting pan.
- Pour the cheesecake batter into the springform pan, smoothing the top with a spatula.
- Open the oven, pull out the rack partway, and place the roasting pan on it.
- Carefully pour the hot water into the roasting pan until it reaches about halfway up the sides of the springform pan.
- Gently slide the rack back in and close the oven.
Baking and Cooling (This Is Critical!)
- Bake at 300°F (150°C) for 1 hour and 15 minutes. The edges should be set, but the center should still jiggle slightly (like set gelatin).
- Without opening the oven door, turn off the heat and let the cheesecake cool in the oven for 1 hour.
- Crack the oven door slightly and allow the cheesecake to cool for another 30 minutes.
- Remove from the oven and water bath, then run a thin knife around the edge of the pan to prevent cracking as it cools further.
- Allow to cool completely at room temperature (about 2-3 hours).
- Cover and refrigerate overnight, or at least 8 hours before serving.
Troubleshooting Common Cheesecake Problems
I’ve made every mistake in the book when it comes to cheesecakes. Here’s how to avoid them:
| Problem | Cause | Solution |
|---|---|---|
| Cracks on top | Overbeating, too-high temperature, or cooling too quickly | Beat minimally after adding eggs, use water bath, cool gradually in oven |
| Sunken center | Underbaking or opening oven door during baking | Bake until edges are set but center jiggles slightly, never open door during baking |
| Lumpy batter | Cold ingredients | Always use room temperature ingredients and beat cream cheese thoroughly before adding other ingredients |
| Soggy crust | Water leaking into pan | Use multiple layers of heavy-duty foil and ensure it comes up the sides of the pan |
| Browned top | Too high oven temperature | Bake at lower temperature (300°F or even 275°F for longer) |
| Custard-like texture instead of creamy | Too many eggs or overbaking | Follow recipe precisely and look for the jiggle test rather than baking to firm |
Delicious Variations to Try
While the classic is perfect on its own, I sometimes like to mix things up:
Crust Variations:
- Chocolate cookie crust (substitute Oreo crumbs, omit sugar)
- Shortbread crust (substitute shortbread cookies)
- Nut crust (add 1/2 cup finely chopped nuts to graham cracker mixture)
Flavor Variations:
- Marble cheesecake: Swirl in 1/4 cup melted chocolate before baking
- Lemon cheesecake: Increase lemon zest to 1 tablespoon and add 2 tablespoons fresh lemon juice
- Berry swirl: Swirl in 1/4 cup strained berry preserves before baking
- Espresso: Add 1 tablespoon instant espresso powder dissolved in 1 tablespoon hot water
- Pumpkin: Swap 1 cup of cream cheese for 1 cup pumpkin puree and add pumpkin spice
Serving Suggestions
My favorite ways to serve New York cheesecake:
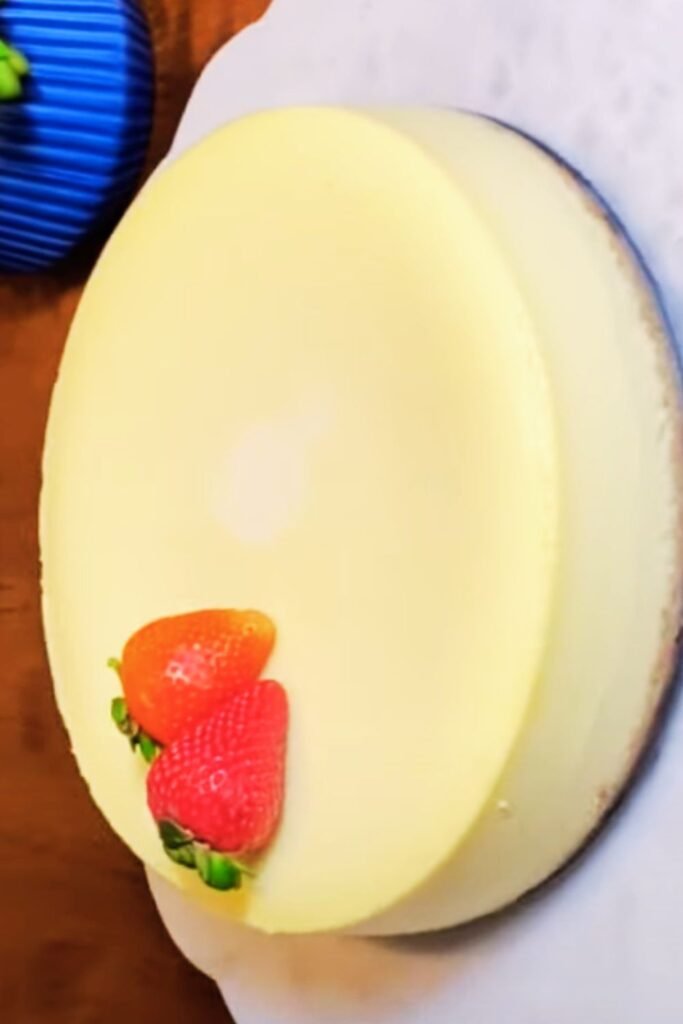
- Classic: Plain with fresh berries on the side
- Berry compote: Cook down seasonal berries with a bit of sugar until syrupy
- Chocolate lover’s: Drizzle with warm chocolate ganache
- Caramel delight: Drizzle with salted caramel sauce and sprinkle with toasted pecans
- Coffee pairing: Serve with a shot of espresso for the perfect contrast

Make-Ahead and Storage Tips
I often make my cheesecake a day or two before serving:
- Refrigerator: Tightly wrapped, the cheesecake will keep for up to 5 days.
- Freezer: Wrap individual slices or the whole cake (without toppings) in plastic wrap, then aluminum foil, and freeze for up to 3 months. Thaw overnight in the refrigerator.
Nutritional Information
For those watching their intake, here’s an approximate breakdown per slice (1/12 of cake, plain without toppings):
| Nutrient | Amount per Serving |
|---|---|
| Calories | 450 |
| Total Fat | 32g |
| Saturated Fat | 18g |
| Cholesterol | 165mg |
| Sodium | 320mg |
| Total Carbohydrates | 34g |
| Dietary Fiber | 0.5g |
| Sugars | 28g |
| Protein | 8g |
Common Questions and Answers
Q: Can I make this without a springform pan? While a springform pan is ideal, you can use a deep-dish pie plate or cake pan lined with parchment paper with extra hanging over the sides to help lift it out after cooling.
Q: Is the water bath really necessary? I always recommend it. The water bath provides gentle, even heat and moisture that prevents cracking and helps achieve that perfect texture. If you absolutely must skip it, bake at 325°F for about 55 minutes, then turn off the oven and let it cool inside with the door closed for an hour.
Q: My cheesecake always cracks! What am I doing wrong? The most common causes are overbeating (especially after adding eggs), not using a water bath, and rapid temperature changes. Mix just until combined after adding eggs, always use a water bath, and cool the cheesecake gradually in the oven.
Q: Can I use low-fat cream cheese? Technically yes, but I don’t recommend it. The texture and flavor will be significantly different, and you’re more likely to get a rubbery result. Cheesecake is inherently an indulgent dessert – better to enjoy a smaller piece of the real thing.
Q: My crust gets soggy. How can I prevent this? Make sure your foil wrap is secure with no tears, and consider double-wrapping. You can also pre-bake the crust a bit longer (12-15 minutes) to help it stand up to the filling better.
Q: How do I know when my cheesecake is done? This is tricky even for experienced bakers! Look for set edges but a center that still has a slight jiggle – like set gelatin or pudding. The center will continue to cook and set as it cools. If the entire cake looks firm and doesn’t jiggle at all, it’s overbaked.
Q: Can I add fruit to the batter? Fresh fruit contains too much moisture and can make the batter runny. If you want fruit inside, use small amounts of well-drained canned fruit or swirl in thick preserves just before baking.
Q: How far in advance can I make cheesecake? Cheesecake actually improves with time! I recommend making it at least one day ahead. It will keep perfectly in the refrigerator for up to 5 days.
Why This Recipe Works
After years of trial and error, I’ve learned that creating the perfect New York cheesecake comes down to a few key principles:
- Temperature matters: Room temperature ingredients mix more smoothly, preventing lumps.
- Minimal mixing: Overbeating incorporates air, which can cause cracks and affect texture.
- Low and slow baking: A lower temperature for longer time allows the cheesecake to bake evenly without drying out.
- Gradual cooling: Allowing the cheesecake to cool slowly prevents the dramatic temperature change that causes cracks.
- Patience: Perhaps the hardest part – the overnight refrigeration is essential for that perfect texture.
The first time I made a truly perfect New York cheesecake, I felt like I’d unlocked a culinary achievement. There’s something deeply satisfying about mastering this classic dessert that has stood the test of time.
Final Thoughts
Making a New York cheesecake from scratch is more than just following a recipe – it’s an experience. There’s the anticipation as it bakes, filling your home with its wonderful aroma. The patience as you wait for it to cool and set. And finally, that moment of triumph when you release the springform and reveal your creation.
Yes, it takes time. Yes, there are easier desserts to make. But few offer the same reward – that perfect slice of creamy, rich heaven that connects you to generations of bakers before you who have crafted this iconic dessert.
So heat up your oven, gather your ingredients, and prepare to create something truly special. And when you serve that first perfect slice, watch for that moment – the closed eyes, the satisfied smile – that tells you all your effort was absolutely worth it.