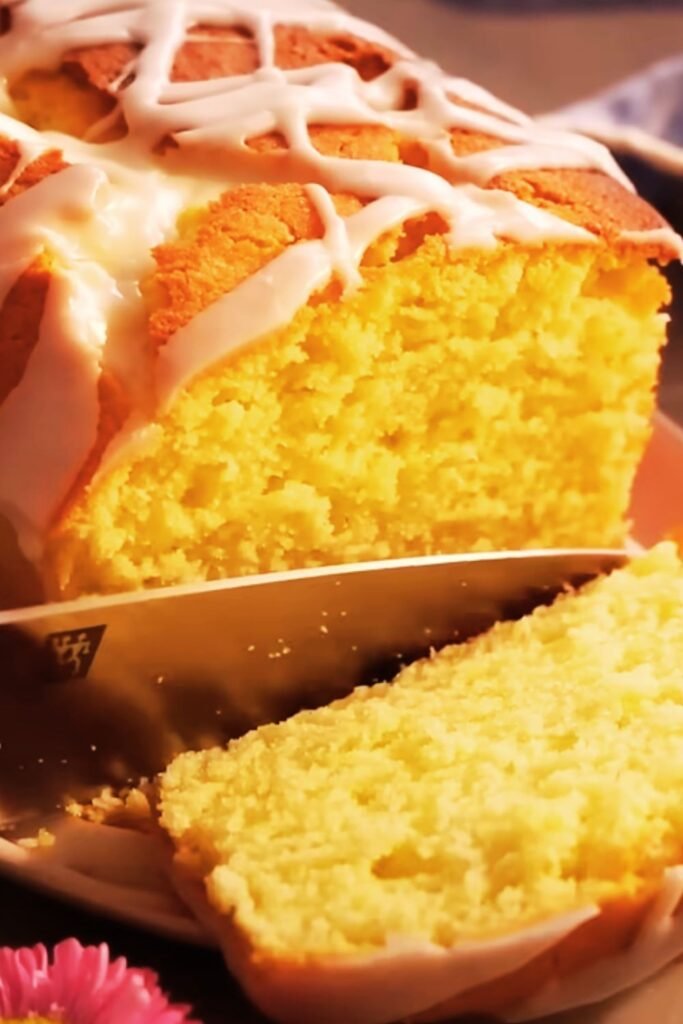
There’s something magical about slicing into a marble pound cake and revealing those beautiful swirls of vanilla and chocolate dancing together in perfect harmony. I’ve been baking this classic for years, and every time I pull one from the oven, I’m reminded why this cake has stood the test of time. The rich, dense texture combined with the visual appeal of marbled patterns makes this dessert a showstopper for any occasion.
Marble pound cake represents the perfect marriage of two beloved flavors – vanilla and chocolate – creating a dessert that’s both visually stunning and incredibly delicious. Unlike regular pound cakes that can sometimes feel monotonous, the marble version keeps your taste buds guessing with each bite. Whether you’re serving it at a family gathering, bringing it to a potluck, or simply treating yourself to a slice with your afternoon coffee, this cake delivers every single time.
Understanding the Art of Marble Pound Cake
Marble Cake: A type of cake made by combining two different colored batters, typically vanilla and chocolate, then swirling them together to create a marbled appearance when sliced.
Pound Cake: A dense, buttery cake traditionally made with a pound each of butter, sugar, eggs, and flour, though modern recipes have been adapted for practical portions while maintaining the characteristic rich texture.
Marbling Technique: The process of creating swirled patterns by alternating spoonfuls of different colored batters and using a knife or skewer to create decorative swirls.
The beauty of marble pound cake lies not just in its appearance but in its versatility. I love how this cake can be dressed up for elegant occasions or enjoyed casually with a simple dusting of powdered sugar. The dense, moist crumb holds up beautifully whether served fresh from the oven or stored for several days.
Essential Ingredients and Their Roles
Creating the perfect marble pound cake requires understanding how each ingredient contributes to the final result. I’ve learned through countless batches that quality ingredients make all the difference.
| Ingredient | Amount | Purpose | Quality Tips |
|---|---|---|---|
| Unsalted Butter | 1 cup (2 sticks) | Provides richness, moisture, and structure | Use room temperature, high-fat content butter |
| Granulated Sugar | 1½ cups | Sweetness, tenderness, and helps create proper texture | Fine granulated works best for smooth mixing |
| Large Eggs | 4 whole eggs | Structure, richness, and binding agent | Room temperature eggs incorporate better |
| All-Purpose Flour | 2 cups | Main structural component | Measure accurately, don’t overmix |
| Baking Powder | 1 teaspoon | Gentle lift without compromising density | Fresh baking powder is crucial |
| Salt | ½ teaspoon | Enhances flavors and balances sweetness | Fine sea salt or table salt |
| Vanilla Extract | 2 teaspoons | Primary flavoring for base batter | Pure vanilla extract, not imitation |
| Whole Milk | ⅓ cup | Moisture and tenderness | Room temperature for better incorporation |
| Unsweetened Cocoa Powder | 3 tablespoons | Chocolate flavor and color | Dutch-processed or natural both work |
| Hot Water | 2 tablespoons | Blooms cocoa powder for richer flavor | Just off the boil |
The key to success lies in having all ingredients at room temperature before you begin. I cannot stress this enough – cold ingredients don’t cream properly and can lead to a dense, uneven cake. I typically remove my butter and eggs from the refrigerator about two hours before baking.
Step-by-Step Baking Process
Preparation Phase
- Preheat your oven to 325°F (163°C)
- Generously grease a 10-cup bundt pan or 9×5 loaf pan with butter
- Dust the greased pan with flour, tapping out excess
- Place a kitchen towel on your counter to prevent bowl slipping
Creating the Base Batter
I start by creaming the butter and sugar together until the mixture becomes light and fluffy – this usually takes about 4-5 minutes with an electric mixer on medium speed. The mixture should increase in volume and become noticeably paler. This step is crucial because it incorporates air into the batter, contributing to the cake’s texture.
Next, I add the eggs one at a time, beating well after each addition. I’ve learned that rushing this step can cause the batter to curdle, which affects the final texture. After the eggs are fully incorporated, I mix in the vanilla extract.
In a separate bowl, I whisk together the flour, baking powder, and salt. I then alternate adding the dry ingredients and milk to the butter mixture, beginning and ending with the flour mixture. I mix just until combined – overmixing develops too much gluten, resulting in a tough cake.
Creating the Chocolate Component
For the chocolate portion, I remove about one-third of the vanilla batter to a separate bowl. In a small bowl, I whisk the cocoa powder with hot water until smooth – this blooming process intensifies the chocolate flavor significantly. I then fold this chocolate mixture into the reserved vanilla batter until just combined.
The Marbling Technique
Here’s where the magic happens. I alternate spoonfuls of vanilla and chocolate batter into the prepared pan, creating layers. Once all the batter is in the pan, I take a butter knife and draw it through the batter in a figure-eight pattern, then make a few swirls in different directions. The key is not to overmix – you want distinct swirls, not a muddy brown color.
Baking and Cooling Guidelines
| Baking Parameter | Specification | Why It Matters |
|---|---|---|
| Oven Temperature | 325°F (163°C) | Lower temperature prevents over-browning and ensures even cooking |
| Baking Time | 60-75 minutes | Varies by pan size and oven; test with toothpick |
| Pan Position | Center rack | Ensures even heat distribution |
| Doneness Test | Clean toothpick when inserted in center | Most reliable indicator of doneness |
| Cooling Time | 10 minutes in pan, then turn out | Prevents sticking while maintaining structure |
| Final Cooling | 1 hour on wire rack | Complete cooling prevents crumbling when sliced |
I bake the cake for 60-75 minutes, depending on my pan choice. The cake is done when a toothpick inserted into the center comes out clean or with just a few moist crumbs. I’ve learned not to open the oven door for the first 45 minutes – the temperature fluctuation can cause the cake to sink.
After removing from the oven, I let the cake cool in the pan for exactly 10 minutes. This brief cooling period allows the cake to set up slightly, making it easier to remove from the pan without breaking. I then turn it out onto a wire rack to cool completely.
Troubleshooting Common Issues
Dense, Heavy Texture: Usually caused by overmixing the batter or using cold ingredients. The butter and eggs must be at room temperature for proper incorporation.
Muddy Marbling: Over-swirling the batters creates a muddy appearance instead of distinct swirls. Use a light hand when creating the marble pattern.
Dry Cake: Often results from overbaking or measuring flour incorrectly. I recommend weighing flour when possible – 2 cups should equal about 240 grams.
Sunken Center: Typically caused by opening the oven door too early or using too much leavening agent. Resist the urge to peek before 45 minutes of baking time.
Variations and Flavor Combinations
Over the years, I’ve experimented with numerous variations of this classic recipe. Here are some of my favorites:
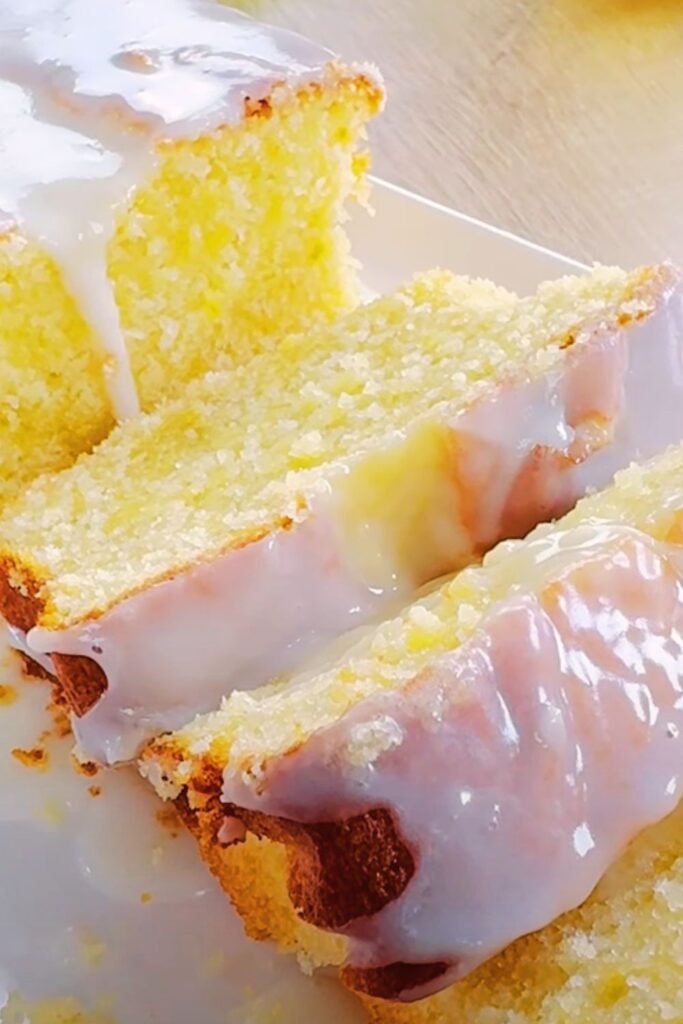
- Lemon-Vanilla Marble: Replace vanilla extract with lemon extract in one portion and add lemon zest
- Strawberry-Vanilla: Use strawberry extract and a few drops of red food coloring for a pink marble
- Orange-Chocolate: Add orange zest to the vanilla batter for a citrus twist
- Espresso-Vanilla: Replace cocoa powder with instant espresso powder dissolved in hot water
- Almond-Chocolate: Use almond extract instead of vanilla for a sophisticated flavor profile
Each variation follows the same basic technique but offers a completely different flavor experience. I particularly love the lemon-vanilla version during spring and summer months.
Storage and Serving Recommendations
| Storage Method | Duration | Best Practices |
|---|---|---|
| Room Temperature | 3-4 days | Wrap tightly in plastic wrap or store in airtight container |
| Refrigerated | 1 week | Bring to room temperature before serving for best texture |
| Frozen (whole) | 3 months | Wrap in plastic wrap, then aluminum foil |
| Frozen (sliced) | 2 months | Individual slices wrapped separately for convenience |
This cake actually improves after the first day as the flavors meld together. I often bake it a day ahead of serving for optimal taste and texture. When serving, I cut slices about ¾-inch thick – any thinner and they may crumble, any thicker and they become overwhelming.
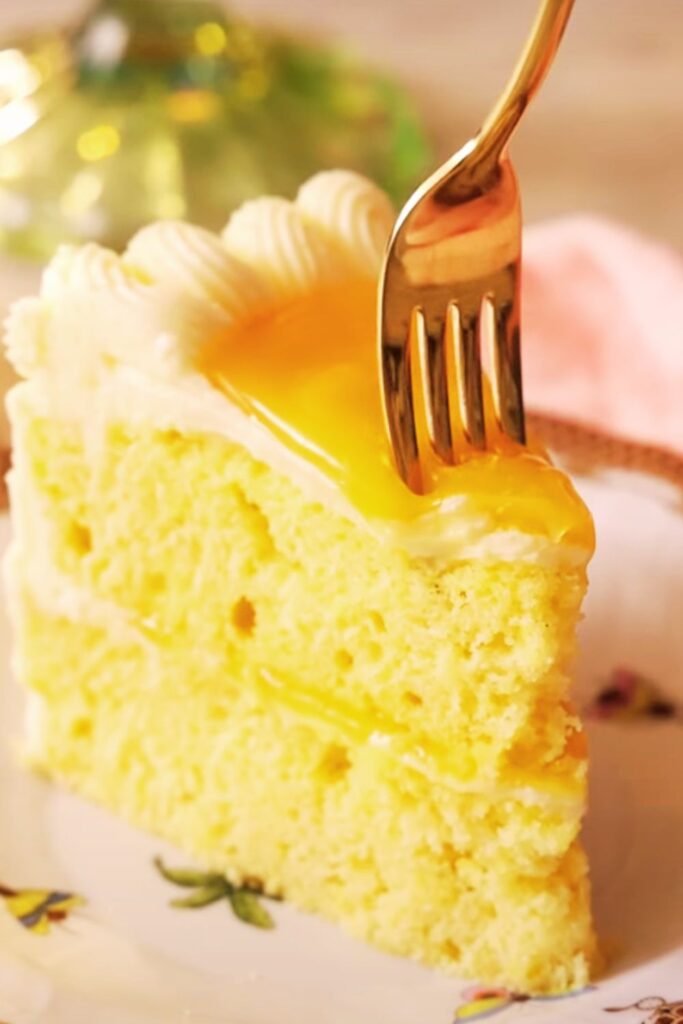
For special occasions, I like to serve slices with fresh berries and a dollop of whipped cream. The tartness of the berries provides a lovely contrast to the rich, sweet cake. During winter months, I might serve it with a warm vanilla sauce or a light dusting of powdered sugar.
Professional Tips for Perfect Results
After years of perfecting this recipe, I’ve discovered several professional techniques that make a significant difference:
I always use a kitchen scale when possible – baking by weight is far more accurate than volume measurements. Room temperature ingredients cannot be overstated in importance; I sometimes place eggs in warm water for 5-10 minutes if I’ve forgotten to take them out early.
The creaming process deserves special attention. I cream butter and sugar for a full 5 minutes on medium speed, scraping down the bowl sides twice during this time. The mixture should be noticeably lighter in color and increased in volume.
When folding in the flour mixture, I use a large spoon or rubber spatula and fold gently from the bottom up. I stop mixing the moment I no longer see streaks of flour – overmixing is the enemy of tender cake.
For the marbling technique, I use a butter knife and make deliberate, controlled movements. I create about 4-5 swirls through the batter, turning the pan slightly between each swirl to ensure even distribution.
Nutritional Considerations and Modifications
| Nutritional Aspect | Per Slice (1/12 of cake) | Modification Options |
|---|---|---|
| Calories | Approximately 380 | Use applesauce to replace half the butter |
| Fat | 18g | Greek yogurt can substitute for some butter |
| Carbohydrates | 52g | Reduce sugar by ¼ cup without significant impact |
| Protein | 6g | Add an extra egg for slightly higher protein |
| Fiber | 2g | Substitute ¼ cup flour with almond flour |
While this is definitely an indulgent treat, there are ways to make it slightly healthier without sacrificing too much flavor. I’ve successfully replaced up to half the butter with unsweetened applesauce, though this does change the texture slightly – making it a bit more tender and less rich.
For those watching sugar intake, reducing the sugar by ¼ cup still produces an acceptable result, though the cake won’t keep quite as long. The sugar contributes to moisture retention as well as sweetness.
Perfect Occasions for Marble Pound Cake
This versatile cake works beautifully for numerous occasions. I’ve served it at:
- Birthday parties where its visual appeal delights both children and adults
- Potluck dinners where it travels well and serves many people
- Afternoon tea parties paired with hot beverages
- Holiday gatherings as a lighter alternative to heavier desserts
- Casual family dinners when you want something special but not too fussy
The cake’s sturdy structure makes it ideal for transport, and its crowd-pleasing flavor combination ensures empty plates every time.
Frequently Asked Questions
Q: Can I make this cake ahead of time? I absolutely recommend making this cake a day ahead. The flavors develop beautifully overnight, and the texture becomes even more tender. Just wrap it tightly in plastic wrap and store at room temperature.
Q: Why did my marble pattern disappear during baking? This usually happens when the batters are too similar in consistency or when the marbling was done too vigorously. Make sure your chocolate batter is slightly thicker than the vanilla, and use gentle swirling motions.
Q: Can I use a different pan size? Yes, but adjust baking time accordingly. A 9×13 pan will bake in about 35-40 minutes, while individual bundt cakes take about 25-30 minutes. Always test for doneness with a toothpick.
Q: My cake stuck to the pan. How can I prevent this? Proper pan preparation is crucial. I grease thoroughly with butter, then dust with flour, tapping out excess. For bundt pans, I sometimes use a baking spray with flour for extra insurance.
Q: Can I freeze individual slices? Absolutely! I wrap individual slices in plastic wrap, then place them in freezer bags. They thaw beautifully at room temperature in about 30 minutes.
Q: What’s the best way to get clean, even slices? Use a sharp, serrated knife and wipe it clean between cuts. For the cleanest slices, make sure the cake is completely cool – warm cake tends to crumble more easily.
Q: Can I add mix-ins like chocolate chips or nuts? While you can add mix-ins, they may interfere with the marbling pattern. If you choose to add them, fold them into each batter separately before creating the marble pattern.
Q: How do I know when the butter and sugar are properly creamed? The mixture should be light, fluffy, and noticeably paler than when you started. It typically takes 4-5 minutes with an electric mixer on medium speed. Under-creamed butter won’t incorporate enough air, resulting in a denser cake.
This marble pound cake has become one of my signature desserts, and I hope it becomes a favorite in your kitchen too. The combination of rich flavors, beautiful presentation, and reliable results makes it a recipe worth mastering. Every time I serve it, I’m reminded of why some classics never go out of style.