As someone who has spent countless hours in the kitchen experimenting with cocoa, dark chocolate, and every sweet variation in between, I can tell you that there’s nothing quite like the pure joy of creating the perfect chocolate dessert. The rich aroma that fills your kitchen, the anticipation as you wait for that first bite, and the absolute satisfaction when everything comes together perfectly – these are the moments that make my passion for chocolate desserts so rewarding.
I’ve discovered that chocolate desserts aren’t just about satisfying a sweet tooth; they’re about creating experiences, memories, and moments of pure indulgence. Whether you’re planning a romantic dinner, celebrating a special occasion, or simply treating yourself after a long day, the right chocolate dessert can transform any ordinary moment into something extraordinary.
Throughout my culinary journey, I’ve learned that working with chocolate requires both patience and understanding. Each type of chocolate – from bitter dark chocolate to creamy milk chocolate – has its own personality and preferred applications. I’ve made my share of mistakes along the way, from seized chocolate to overly dense cakes, but each failure taught me something valuable about this incredible ingredient.
What excites me most about sharing these recipes is knowing that they’ve all been tested in my own kitchen, refined through trial and error, and perfected to deliver consistent results. These aren’t just recipes pulled from cookbooks; they’re tried-and-true formulas that have impressed dinner guests, satisfied family cravings, and earned me countless compliments over the years.
Understanding Your Chocolate Arsenal
Before diving into specific recipes, let me share what I’ve learned about different types of chocolate and their best applications. This knowledge has been game-changing in my dessert-making journey.
Dark Chocolate (70-85% cocoa): This is my go-to for intense, sophisticated desserts. The higher cocoa content provides deep, complex flavors that pair beautifully with coffee, wine, or fruit. I use this for ganaches, flourless cakes, and mousses when I want that rich, slightly bitter edge.
Semi-Sweet Chocolate (50-60% cocoa): Perfect for balanced sweetness in cookies, brownies, and general baking. This variety offers the best of both worlds – enough sweetness to please most palates while maintaining good chocolate character.
Milk Chocolate (30-40% cocoa): Ideal for those who prefer milder, creamier flavors. I incorporate milk chocolate into frostings, truffles, and desserts where I want comfort and familiarity rather than intensity.
White Chocolate: Technically not chocolate since it contains no cocoa solids, but invaluable for contrast, decoration, and creating layered flavor profiles. I use it in mousses, cheesecakes, and as decorative elements.
Cocoa Powder: Essential for deep chocolate flavor without added fats. I always keep both Dutch-processed and natural cocoa powder in my pantry, as they behave differently in recipes due to their acidity levels.
Essential Chocolate Dessert Recipes
Decadent Dark Chocolate Lava Cakes
These individual cakes hold a special place in my heart because they never fail to impress. The molten center creates that perfect “wow” moment when you cut into them, and the contrast between the firm exterior and flowing interior is simply divine.
Ingredients:
- 6 oz dark chocolate (70% cocoa), chopped
- 6 tablespoons unsalted butter
- 2 large eggs
- 2 large egg yolks
- 1/4 cup granulated sugar
- 2 tablespoons all-purpose flour
- Pinch of salt
- Butter and cocoa powder for ramekins
Instructions:
I start by preheating my oven to 425°F and generously buttering four 6-ounce ramekins before dusting them with cocoa powder. This step is crucial – any sticking will ruin the dramatic presentation.
In a double boiler, I melt the chocolate and butter together, stirring until smooth. The key here is gentle heat; I never let the water boil vigorously as it can cause the chocolate to seize. Once melted, I remove it from heat and let it cool slightly.
In a separate bowl, I whisk the whole eggs, egg yolks, and sugar until the mixture becomes pale and slightly thickened. This usually takes about 2-3 minutes of vigorous whisking. I then gradually fold in the chocolate mixture, followed by the flour and salt.
I divide the batter evenly among the prepared ramekins and bake for 12-14 minutes. The edges should be firm, but the centers should still jiggle slightly when gently shaken. After letting them cool for exactly 1 minute, I run a knife around the edges and invert them onto serving plates.
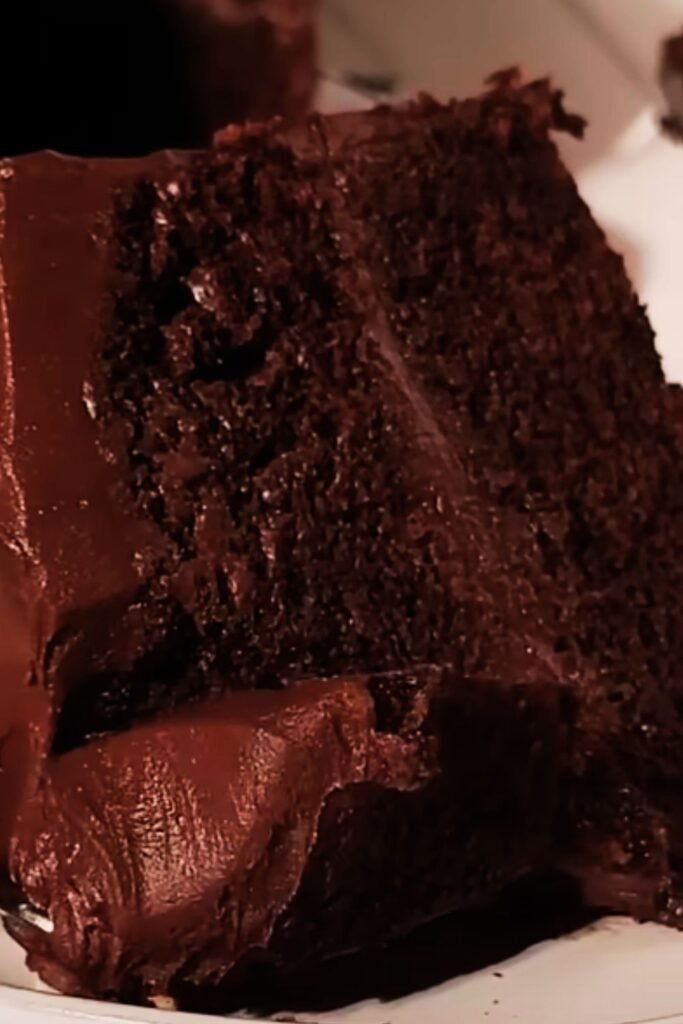
Classic Triple Chocolate Brownies
My brownie recipe took years to perfect, and I’m particularly proud of the fudgy texture and intense chocolate layers. These brownies incorporate three forms of chocolate for maximum impact.
Ingredients:
- 8 oz dark chocolate, chopped
- 1/2 cup unsalted butter
- 1 cup granulated sugar
- 3 large eggs
- 1 teaspoon vanilla extract
- 3/4 cup all-purpose flour
- 1/4 cup cocoa powder
- 1/2 teaspoon salt
- 1 cup semi-sweet chocolate chips
Instructions:
I begin by preheating my oven to 350°F and lining a 9×13-inch pan with parchment paper, leaving some overhang for easy removal. This has saved me countless times from stuck brownies.
Using my double boiler method, I melt the dark chocolate and butter together until smooth. In a large bowl, I whisk the sugar, eggs, and vanilla until well combined. The mixture should be glossy and smooth.
I slowly add the melted chocolate mixture to the egg mixture, whisking constantly to prevent the eggs from cooking. Then I sift together the flour, cocoa powder, and salt directly into the bowl, folding everything together until just combined. Overmixing at this stage can lead to tough brownies.
Finally, I fold in the chocolate chips and spread the batter evenly in the prepared pan. I bake for 25-30 minutes, checking with a toothpick that should come out with a few moist crumbs attached. The key to fudgy brownies is not overbaking them.
Silky Chocolate Mousse
This mousse represents elegance in its simplest form. The technique I use creates an incredibly light yet intensely flavored dessert that melts on your tongue.
Ingredients:
- 6 oz dark chocolate (70% cocoa), chopped
- 3 tablespoons water
- 3 large eggs, separated
- 1/4 cup granulated sugar
- 1 cup heavy cream
- 1 teaspoon vanilla extract
- Pinch of salt
Instructions:
I melt the chocolate with water in a double boiler, stirring until completely smooth. This water helps create a silkier texture than using chocolate alone. I remove it from heat and let it cool for 5 minutes.
In the meantime, I whisk the egg yolks with half the sugar until pale and thick. I slowly add the warm chocolate mixture, whisking constantly to create a smooth base.
In a clean bowl, I whip the egg whites with the remaining sugar and salt until soft peaks form. The peaks should hold their shape but still look glossy and smooth. In another bowl, I whip the cream with vanilla until soft peaks form.
The folding technique is crucial here. I first lighten the chocolate mixture by folding in one-third of the whipped egg whites. Then I gently fold in the remaining whites, followed by the whipped cream. I use a rubber spatula and fold from the bottom up, being careful not to deflate the mixture.
I divide the mousse among serving glasses and refrigerate for at least 4 hours or overnight. The texture becomes perfectly set and incredibly smooth during this time.
Rich Chocolate Tart with Ganache
This tart is my showstopper dessert – visually stunning and intensely satisfying. The contrast between the crisp pastry and smooth ganache creates textural perfection.
For the Pastry:
- 1 1/4 cups all-purpose flour
- 1/4 cup cocoa powder
- 1/3 cup powdered sugar
- 1/4 teaspoon salt
- 1/2 cup cold unsalted butter, cubed
- 1 large egg yolk
- 2-3 tablespoons ice water
For the Ganache:
- 8 oz dark chocolate, chopped
- 1 cup heavy cream
- 2 tablespoons butter
- 2 tablespoons corn syrup
Instructions:
I start with the pastry by combining flour, cocoa powder, powdered sugar, and salt in a food processor. I pulse in the cold butter until the mixture resembles coarse crumbs. Adding the egg yolk and ice water gradually, I process until the dough just comes together.
I wrap the dough in plastic wrap and refrigerate for at least 1 hour. This resting period allows the flour to hydrate and makes the dough easier to roll.
On a lightly floured surface, I roll the dough into a 12-inch circle and carefully transfer it to a 9-inch tart pan. I trim the excess, leaving a 1-inch overhang, and fold it inward to create a double-thick edge. After pricking the bottom with a fork, I freeze the shell for 30 minutes.
I blind bake the shell at 375°F for 15 minutes with pie weights, then remove the weights and bake for another 10 minutes until the pastry looks set and dry.
For the ganache, I place the chopped chocolate in a heatproof bowl. I heat the cream until it just begins to simmer, then pour it over the chocolate. I let it sit for 2 minutes before stirring from the center outward until smooth. I stir in the butter and corn syrup for extra shine and smoothness.
I pour the ganache into the cooled tart shell and refrigerate for at least 2 hours until set. The result is a glossy, mirror-like surface that’s absolutely stunning.
Advanced Chocolate Techniques
Tempering Chocolate for Professional Results
Learning to temper chocolate properly transformed my dessert game completely. Tempered chocolate has that perfect snap, glossy finish, and stable texture that makes all the difference in professional-looking desserts.
The process involves heating chocolate to 115°F, cooling it to 84°F, then warming it back to 88°F. I use a thermometer and work on a cool, dry day for best results. The chocolate should feel cool to the touch and have a glossy appearance when properly tempered.
Creating Perfect Ganache Ratios
Through countless experiments, I’ve developed my go-to ganache ratios for different applications:
- For glazing: 1:1 ratio of chocolate to cream
- For truffles: 2:1 ratio of chocolate to cream
- For whipped ganache: 1:1 ratio, cooled and whipped
- For tart filling: 1.5:1 ratio of chocolate to cream
Chocolate Dessert Pairing Guide
| Chocolate Type | Best Flavor Pairings | Complementary Textures | Ideal Occasions |
|---|---|---|---|
| Dark Chocolate (70-85%) | Coffee, red wine, cherries, orange zest, sea salt | Smooth mousses, crunchy nuts, flaky pastry | Dinner parties, romantic evenings |
| Semi-Sweet Chocolate | Vanilla, caramel, berries, peanut butter | Chewy cookies, fluffy cakes, creamy fillings | Family gatherings, celebrations |
| Milk Chocolate | Strawberries, bananas, hazelnuts, honey | Soft textures, light mousses, tender cakes | Children’s parties, comfort desserts |
| White Chocolate | Lemon, raspberry, coconut, lavender | Contrasting dark elements, crunchy textures | Spring occasions, elegant presentations |
Troubleshooting Common Chocolate Issues
Seized Chocolate Solutions
When chocolate seizes (becomes grainy and thick), I don’t panic. Adding a small amount of warm water or cream, one teaspoon at a time, while stirring vigorously often saves the batch. The key is adding liquid gradually and stirring constantly.
Achieving Smooth Ganache
If my ganache breaks or looks grainy, I place it over a double boiler and whisk in a small amount of warm cream. Sometimes I use an immersion blender to re-emulsify the mixture, which works wonderfully.
Preventing Chocolate Bloom
I store my finished chocolate desserts in cool, dry places away from temperature fluctuations. Wrapping them properly prevents both fat bloom (white streaks) and sugar bloom (gray discoloration).
Seasonal Chocolate Dessert Variations
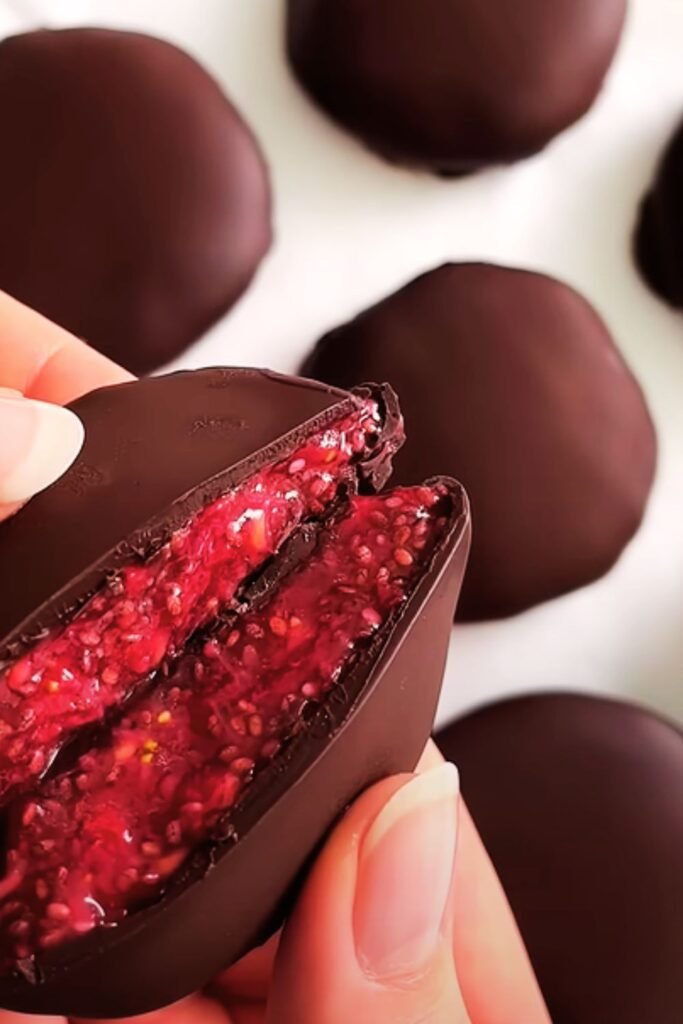
Spring Inspirations
During spring, I love incorporating fresh berries into my chocolate desserts. Strawberry-chocolate tarts, raspberry-filled chocolate cakes, and chocolate-dipped fruit create perfect seasonal balance.
Summer Adaptations
Hot weather calls for frozen chocolate desserts. I make chocolate gelato, frozen chocolate mousse, and chocolate-dipped frozen fruit pops that provide cooling relief while satisfying chocolate cravings.
Fall Combinations
Autumn brings opportunities to combine chocolate with warm spices. Chocolate-cinnamon cookies, spiced chocolate cakes, and chocolate-pumpkin combinations create cozy, comforting desserts.
Winter Indulgences
Cold weather deserves rich, warming chocolate desserts. Hot chocolate soufflés, chocolate bread pudding, and boozy chocolate truffles provide perfect winter comfort.
Storage and Serving Tips
Proper Storage Techniques
I’ve learned that different chocolate desserts require specific storage methods:
- Mousse and ganache-based desserts: Refrigerate covered for up to 3 days
- Chocolate cakes: Store at room temperature for 2 days, refrigerate for up to 1 week
- Chocolate cookies: Airtight containers at room temperature for up to 1 week
- Chocolate tarts: Refrigerate for up to 5 days, bring to room temperature before serving
Serving Temperature Guidelines
Temperature dramatically affects chocolate dessert enjoyment. I serve:
- Molten cakes: Immediately while warm
- Mousses: Chilled but not frozen
- Ganache tarts: Slightly cool, not cold
- Chocolate soufflés: Immediately upon removal from oven
Nutritional Considerations
| Dessert Type | Calories per Serving | Key Nutrients | Healthier Modifications |
|---|---|---|---|
| Dark Chocolate Mousse | 320 | Antioxidants, iron | Use Greek yogurt base |
| Chocolate Brownies | 280 | Fiber from cocoa | Add black beans or avocado |
| Chocolate Tart | 420 | Healthy fats from nuts | Use date-sweetened filling |
| Lava Cake | 380 | Magnesium from cocoa | Reduce sugar by 25% |
Professional Presentation Tips
Plating Techniques
I’ve developed several go-to plating methods that make home desserts look restaurant-quality:
Sauce Drizzling: I warm chocolate sauce slightly and use a squeeze bottle to create elegant patterns around the plate.
Dust Effects: Powdered sugar or cocoa powder dusted through stencils creates professional-looking designs.
Garnish Placement: Fresh berries, mint leaves, or chocolate shavings placed strategically add visual interest and complementary flavors.
Temperature Contrast
Serving warm chocolate desserts with cold accompaniments creates exciting textural and temperature contrasts. I often pair warm chocolate cakes with vanilla ice cream or chilled chocolate tarts with warm berry compotes.
Q&A Section
Q: What’s the most important factor for successful chocolate desserts? Temperature control is absolutely crucial. I always use a thermometer when melting chocolate and pay attention to ingredient temperatures. Room temperature eggs and butter incorporate much better than cold ingredients.
Q: How do I prevent my chocolate from seizing when melting? Keep all utensils completely dry, use gentle heat, and avoid getting any water in the chocolate. I prefer using a double boiler over direct heat, and I always chop chocolate into uniform pieces for even melting.
Q: What’s the difference between Dutch-processed and natural cocoa powder? Dutch-processed cocoa has been treated with alkali to neutralize its acidity, creating a milder flavor and darker color. Natural cocoa powder is more acidic and works better with baking soda. I keep both types in my pantry since they’re not always interchangeable.
Q: How can I tell if my chocolate has gone bad? Look for white or gray bloom on the surface, which indicates temperature fluctuations but doesn’t necessarily mean the chocolate is bad. However, if the chocolate smells rancid or tastes off, it should be discarded.
Q: What’s the best way to store homemade chocolate desserts? Most chocolate desserts should be stored in the refrigerator, covered tightly to prevent them from absorbing other flavors. I bring refrigerated desserts to room temperature for about 30 minutes before serving for optimal texture and flavor.
Q: Can I substitute different types of chocolate in recipes? You can substitute, but results will vary. When substituting, I consider the cocoa content and adjust sugar accordingly. Dark chocolate can replace semi-sweet, but you might need to add extra sugar to balance the bitterness.
Q: How do I achieve a glossy finish on chocolate ganache? The key is proper ratios and technique. I use equal parts chocolate and cream, heat the cream just to a simmer, and stir the ganache from the center outward. Adding a tablespoon of corn syrup or glucose creates extra shine.
Q: What’s the secret to fudgy brownies versus cakey ones? Fat content and mixing technique make the difference. For fudgy brownies, I use more chocolate and butter, less flour, and I don’t overmix the batter. For cakey brownies, I’d add more flour and sometimes an extra egg.
Q: How far in advance can I make chocolate desserts? Many chocolate desserts actually improve with time. I can make mousses and ganache-based desserts 2-3 days ahead. Chocolate cakes often taste better the next day as flavors meld. However, I always make items like soufflés and molten cakes fresh.
Q: What’s the best chocolate for melting and tempering? I prefer high-quality chocolate with a cocoa content between 60-70% for most applications. Brands like Callebaut, Valrhona, or Ghirardelli work well. Avoid chocolate chips for melting as they contain stabilizers that prevent smooth melting.
These chocolate dessert recipes represent years of experimentation, countless kitchen failures, and the pure joy of sharing incredible desserts with people I care about. Each recipe has been refined through practice and perfected through passion. I hope they bring as much satisfaction to your kitchen as they have to mine, creating sweet memories and moments of pure chocolate bliss.